Catalogs - Admin Guide
Note: Items in the Advanced View > Student Menu generally provide legacy access to individual features that are generally available and supported in more modern formats, such as in the Overview Page, Search Tab and elsewhere using the LMS or TMS (Performance Tab, User Profile) Simple View
Course Catalogs
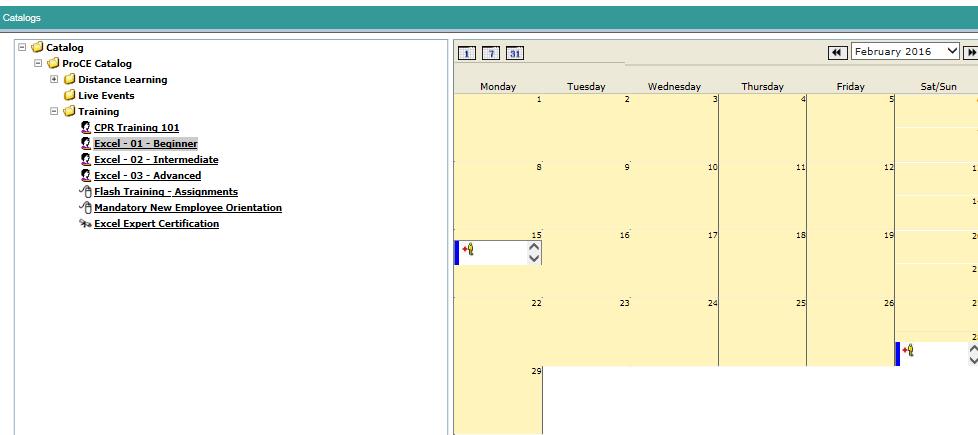
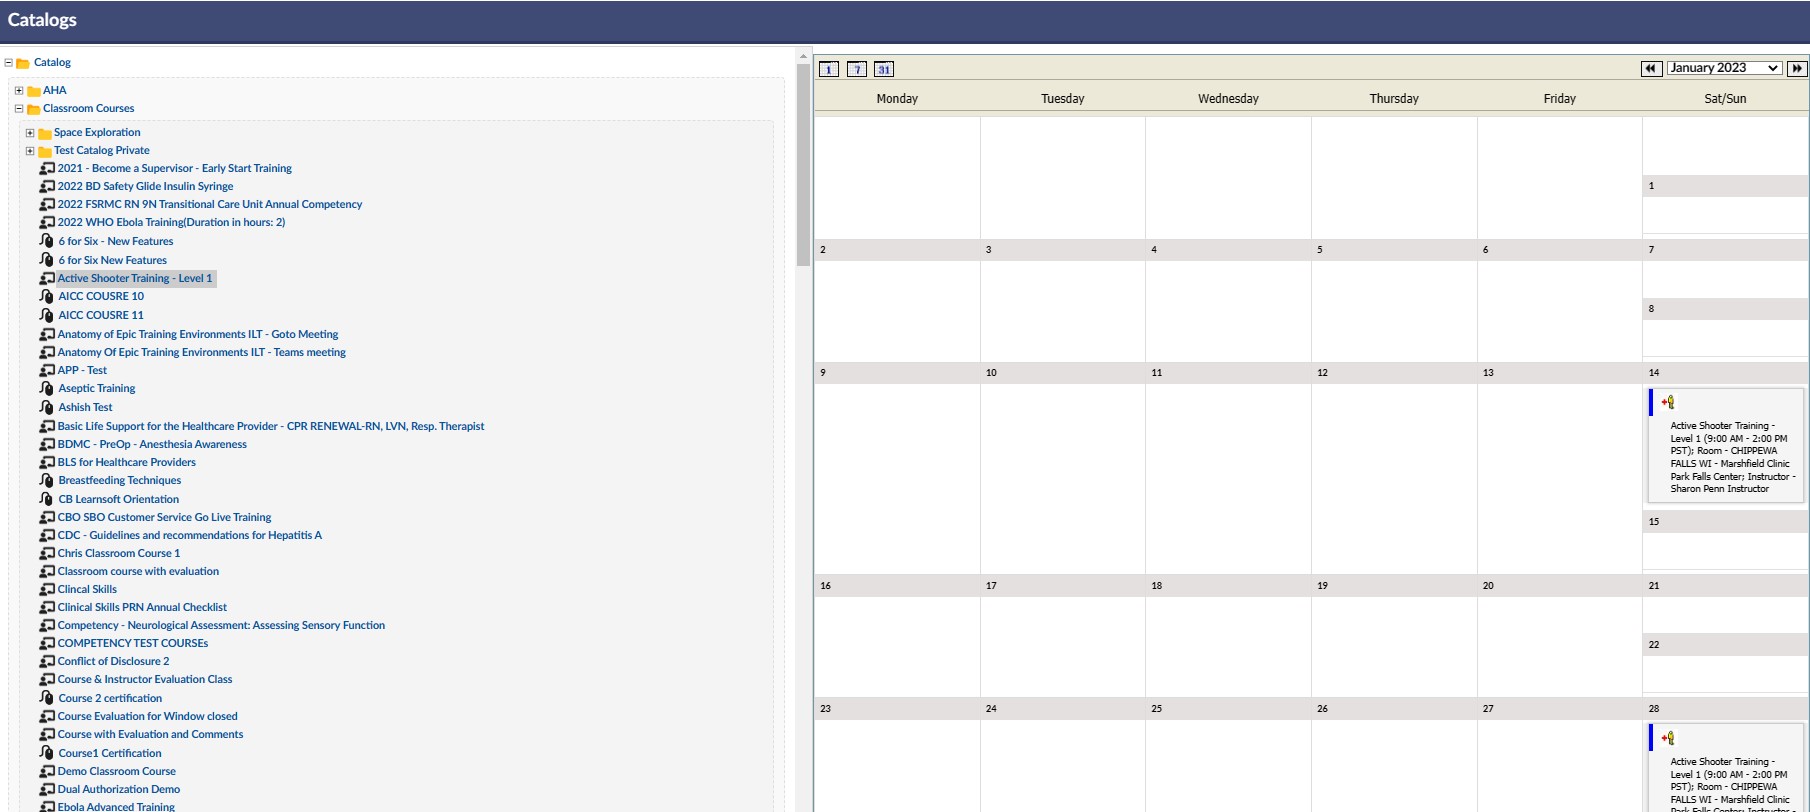
The Catalogs features allows the user to select courses using a standard catalog tree structure, such as found in Windows Explorer. It also contains a calendar to show selected ILT course instances in a date time format. Note: This is a legacy feature which has been supplanted by the Simple View > Search Tab > Catalogs FeatureTo use this feature:
- 1 In the Advanced View, Hover over the STUDENT tab.
- 2 Select CATALOGS.
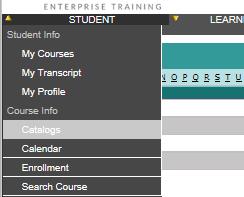
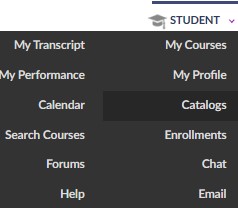
Click to select The screen will be split into two sections –
- (i) Catalog tree
- (ii) Calendar view for current month.
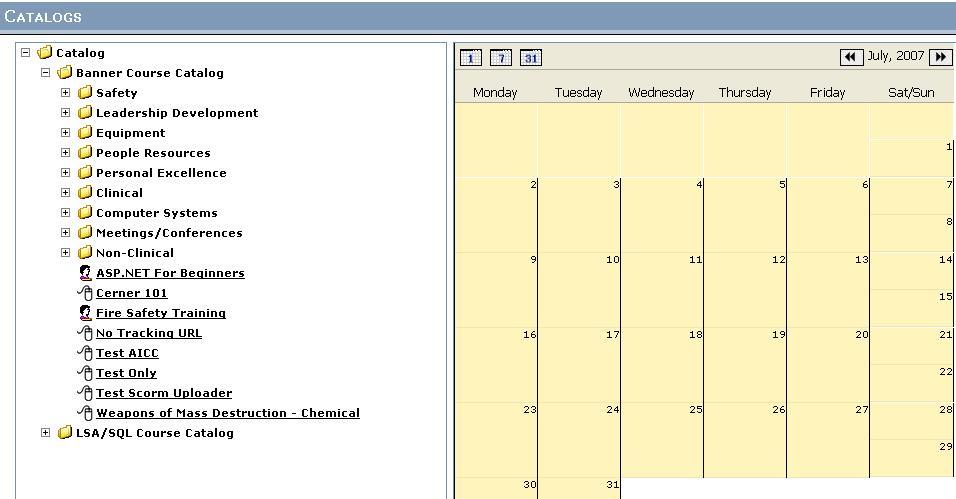
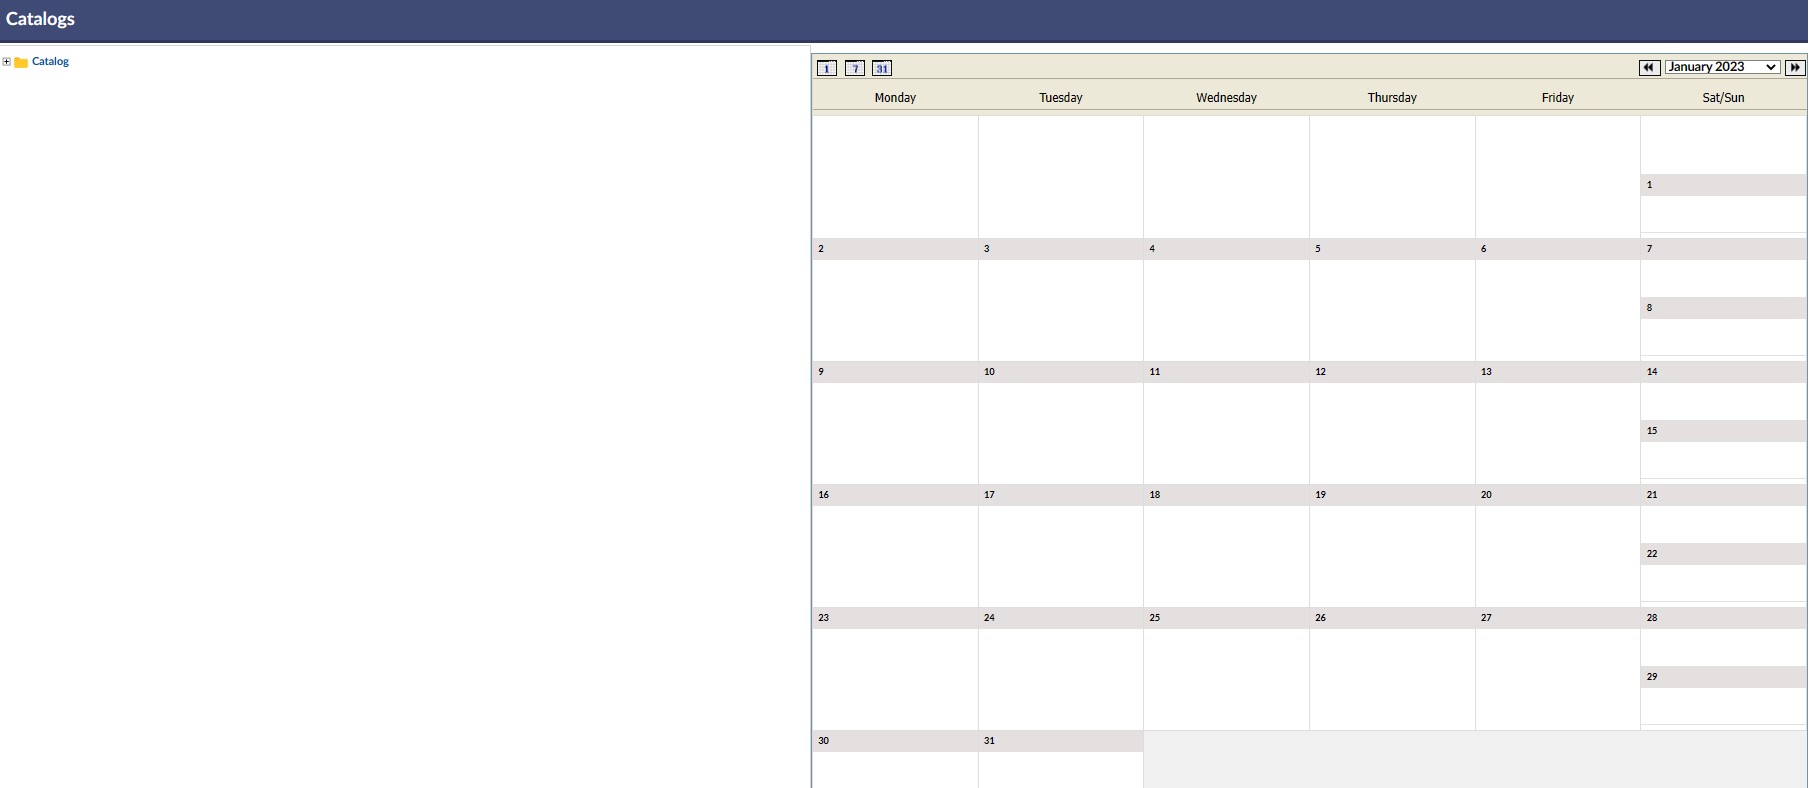
NOTE: The current month is displayed in the calendar view. Use the arrows at the top of the calendar to go forward or back in months if searching for a course in a particular monthmonth.
- 3 Click the + sign to expand the tree A list of sub-folders as well as courses will be displayed. If there is a + sign next to a folder it indicates that there are further components (courses) that fall below this node. Two types of courses are displayed.
- (i) Instructor-led courses (ILT)
-
(ii) Web(ii) Computer based Courses (CBT) (Aka Web based courses (WBT) – see point 9
- 4 Select the required ILT course by clicking on it If one is searching for an instructor-led class, and there are no dates for these classes in the current month, an error message will displayed –
If there are dates in this month for the selected course, they will be displayed in the calendar
- 5 By hovering the mouse over a date – details for this class will be displayed
-
6 Click6 To see class details and be able to enroll yourself. Click on the required class date to select it A new window will appear (the Learning Object Instance) where all the details for this class are displayed.
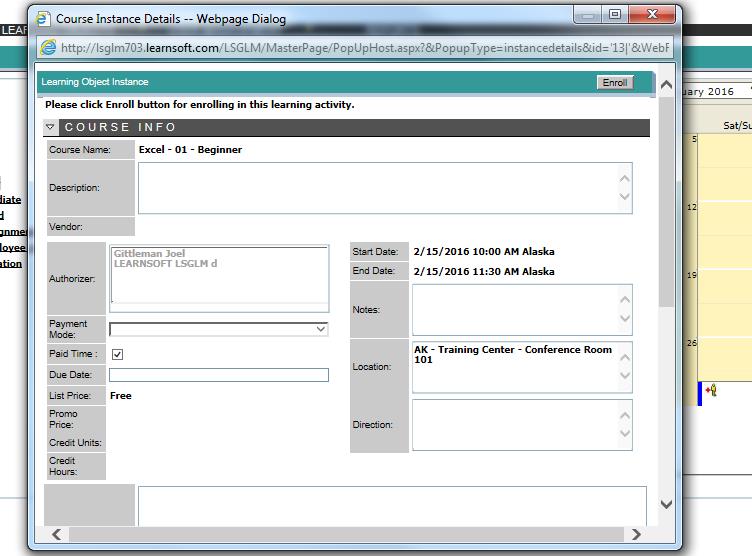
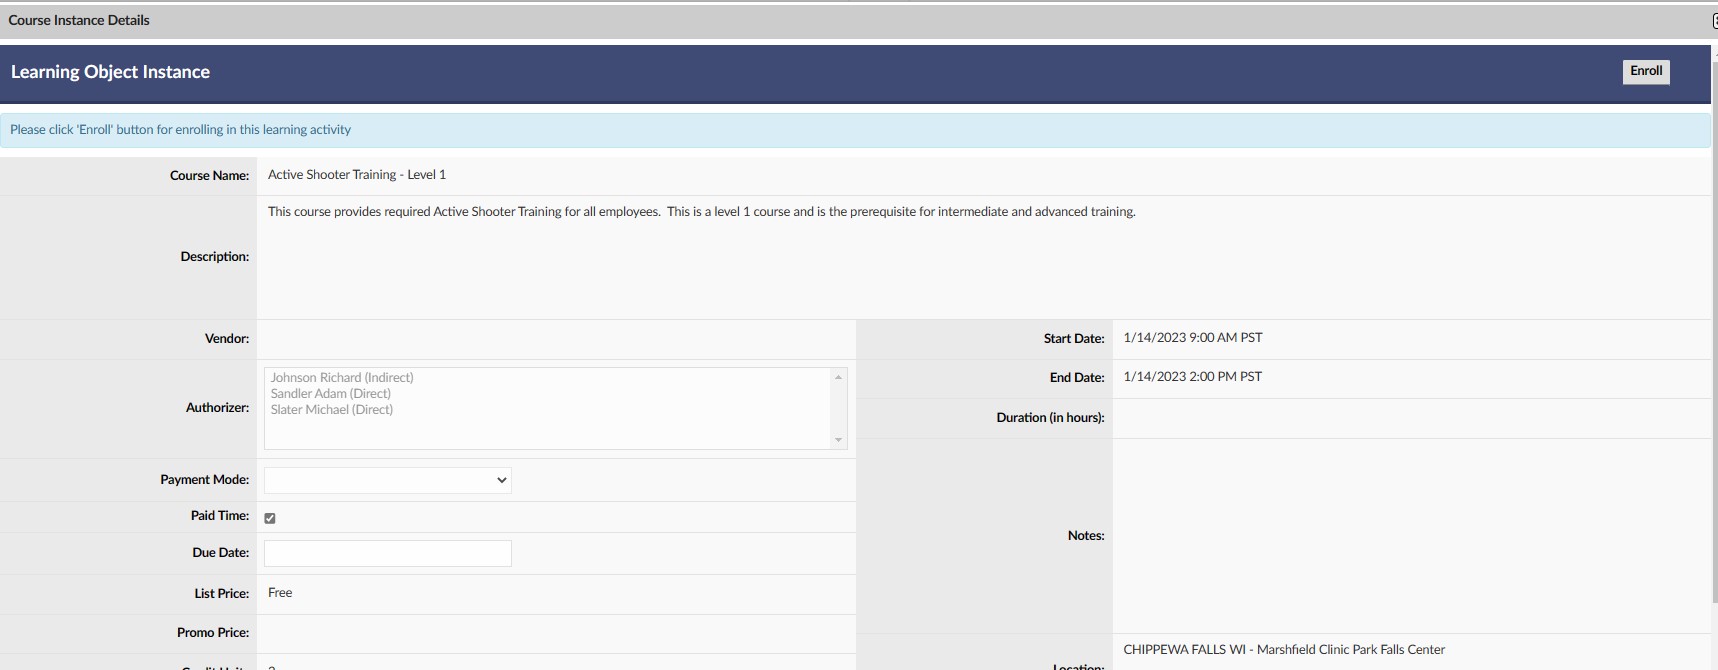
- 7 If authorization is required for this class, the user has the option to select one from the list displayed. Important details contained in this screen –
- (i) The location of the class
- (ii) Start and End times
- (iii) A course outline
- (iv) Directions to the classroom
- (v) The instructor(s)
- (vi) Any attachments – which can be documents or files that, are linked to this course. For example, pre-attendance course notes an overview or white paper. There can be multiple attachments.
See screen shot below
- 8 Click the ENROLL button at the top of the new window to enroll in the class
You have now been successfully enrolled in the class.
-
9 Click9 If you desire to enroll in an CBT / WBT, Click on a CBT / WBT course to select it The calendar is replaced by a list of web based courses that met the selection.


- 10 Click the View Detail to see details and enroll yourself in the course. If wishing to Enroll other users, click the ADD icon of the course that you want to select
. This icon brings up the dialog box, with all the students, who are reporting to the logon user. User can select each user by checking a checkbox and clicking “Add Attendees” button for the enrollment.