Sponsors - Admin Guide
Sponsors
The LMS allows for the creation of Sponsors in the system. When creating a COURSE in the system, one of the available fields in the course record is Sponsor.
The system is able to generate reports by Sponsor, as well as display Sponsor logos in a course listing, or as a featured course on a web page.
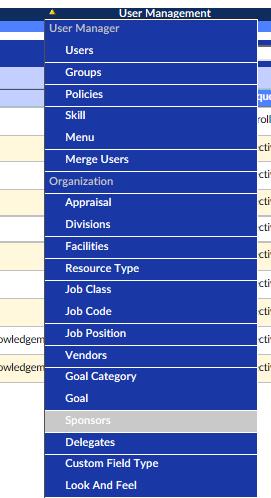
To access the Sponsors Feature, navigate to the Advanced View, hover over the User Management dropdown menu and select Sponsors.
This will bring up the Sponsors List which provides a listing of all Sponsors that have been added as to the LMS system.

Explanation of Columns: Resource Type List
- - Column of checkboxes allows selection of single or multiple facilities.

- Sponsor ID – LMS System generated ID based on order of creation.
- Name –Sponsor name as entered by the creator.
- Address – Sponsor Street address.
- City – Sponsor City.
- State - Sponsor State.
- Delete – Red (X) icon. If available and if clicked, it will ask for confirmation to delete a specific Sponsor (See section 2.6).
To add a new Sponsor:..
- 1 - Click the New Sponsor button in the upper right hand corner of the Sponsor List.
- 2 - This will load the Add Sponsor / Sponsor Details page.
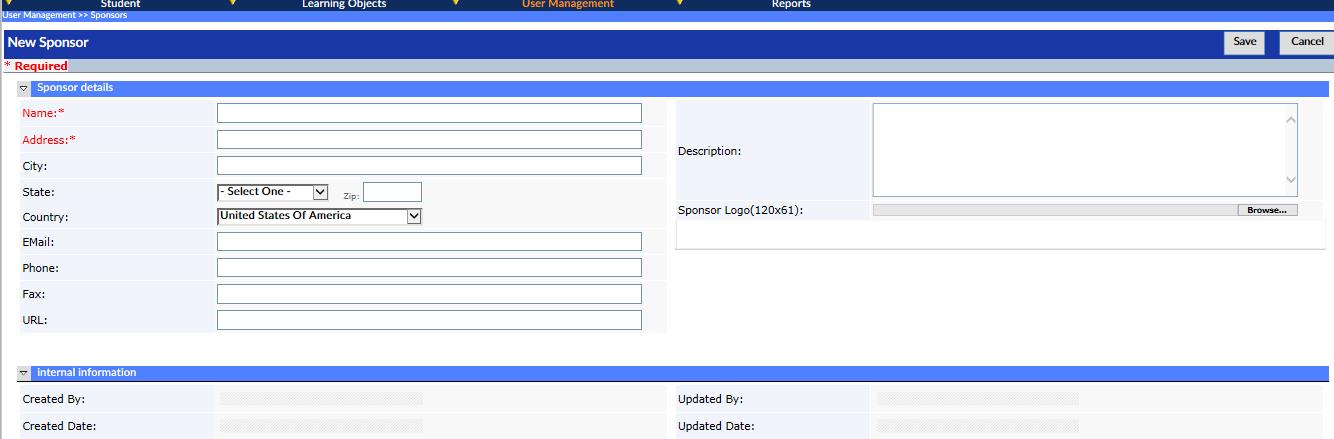
Explanation of Columns: Resource Type List
- Name* –Sponsor name.
- Address* – Sponsor Street address.
- City - Sponsor city.
- State – Sponsor state selected from a dropdown box.
- Zip – Sponsor zip code.
- Country – Sponsor Country selected from a dropdown box.
- Email – an email address for the Sponsor.
- Phone – a phone number for the Sponsor.
- Fax – a fax number for the Sponsor
- Description – a description of the sponsor.
- Sponsor Logo - allows for upload of a sponsor logo.
- Click the Browse button to search local files for a logo image file. When selected click the Open button.
(*) Required
- 3 - Enter a Name and Address for the Sponsor.
- 4 - Enter any additional information as desired.
- 5 - Click the Save button.
- 6 - The new Sponsor will be saved and the Sponsor Details Screen will reload with the updated information.
- 7 - # If wishing to make changes, click the Edit button.
- 8 - To return to the Sponsor List where the new Sponsor will now have been added, click Exit.
How to add a Sponsor to a Learning Object (Course)
This document will assume Administrators already know how to navigate, create and edit Learning Object (Courses) and Course Instances. If not, see separate Courses – How to Guide.
Whether adding a new course or editing an existing course:..
- 1 - Access the Learning Object (Courses) Details page of the specific course to which you wish to add (a) Sponsor(s).
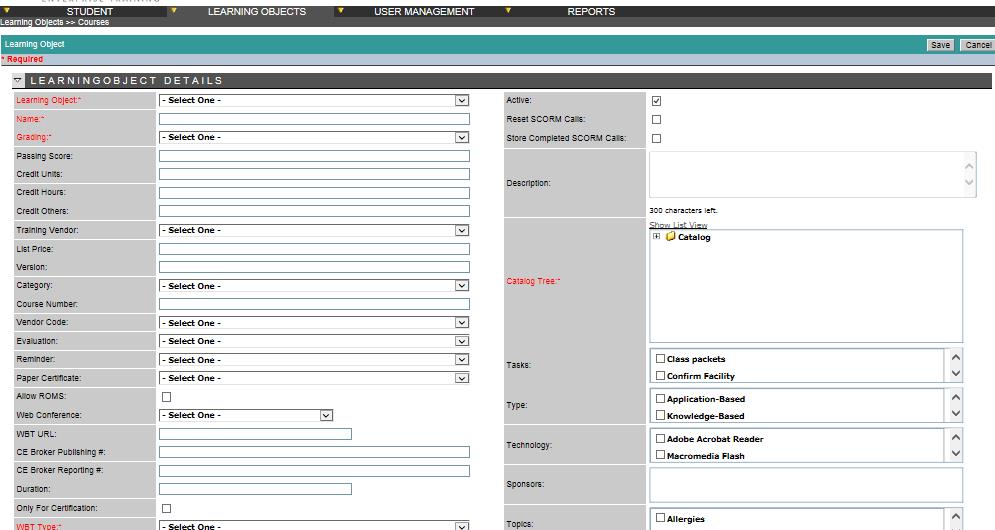
- 2 - Navigate to the Sponsors section which is on the right side, a few sections below the Catalog Tree.
- - Note: you need to be creating a new course or in edit mode of an existing course.

- 3 - Use the scroll bars to navigate through the full list of sponsors.
- 4 - Click on the checkbox of the sponsor or sponsors.
- 5 - When finished with all entries, select Save