EVENTS - ORIGINAL GUIDE
Events
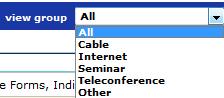
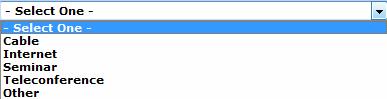
There are four types of events supported by the LMS –
- Cable
- Internet
- Seminar
- Teleconference
Live Event courses require that not only a course be created in the system, but that instances of the course (class dates) be set up as well. Without dates being assigned to classroom courses they are not accessible by users of the system.
The LMS is extremely flexible in that it has been designed in such a way that different parameters can be associated with different instances of the instructor-led class. For example, the class on the 15th September for a particular course may have a limit of 12 students, but the same course that is being held on the 30th may have a limit of 20 students – and may be held in a different location.
Access the Events Feature
To Access the Events Feature,
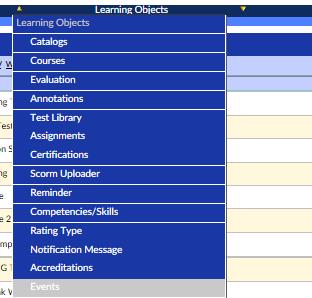
- Using the Advanced Menu, hover over the Learning Object dropdown menu.
- Select Events.
- This will bring up the Events List, which provides a line by line listing of all events in the LMS system.

- The system displays ALL Events/courses by default, but by clicking on the view group button at the top of the screen, the types of Events are displayed.
Adding a New Event
To create a new event…
- Click on the New Event button.
- The New Event Details page will load.
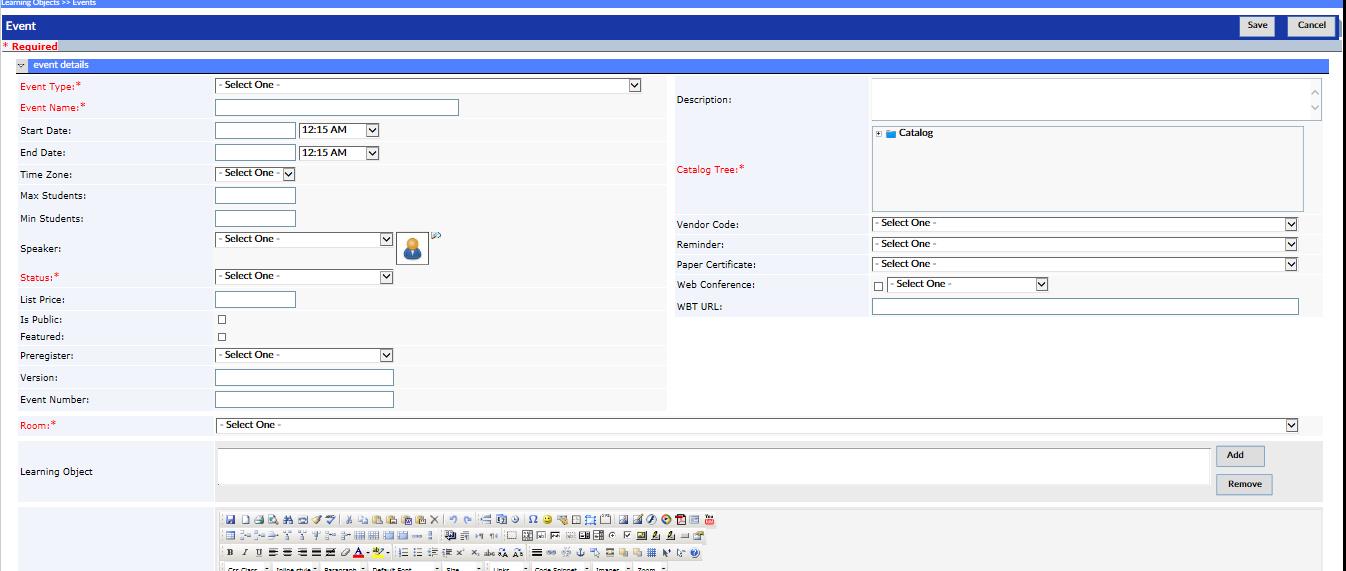
- The screen is split into two sections – left and right. The left contains the fields associated with the event, and the right is the Catalog Tree, whose selection is required.
Screenshot 05
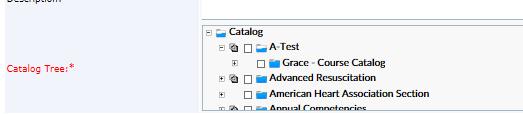
- Click on the + sign in the Catalog Tree, to display further branches of the tree.
- Check the empty box on the left side of the associated catalog entry to which this event will be added
- Enter the Additional Required information: Event Type, Event Name, Status and Room.
- Enter optional information a desired (see explanation of fields below)
Explanation of Fields
- Event Type* - Select the type of event from the associated dropdown box.
- Name* - This is the name that will be displayed in the event list.
- Description - Description of the event.
- Start date time - Start date/time of the event.
- End date time - End date/time of the event.
- Time Zone - Time Zone of the event
- Max Student - Maximum student count allowed for this event.
- Min Student - Minimum student count for this event.
- Speaker - Associate Speaker for this event
- Status* - Status of this event. Select from the drop-down list
- List Price - List price for this event.
- Featured - Is this event featured? If this box is checked, it will appear on the portal page.
- Version - Version number of the event
- Event Number - Internal event number of the event
- Reminder - This class may have an associated reminder. Select from the drop-down list. Leave blank if there is no reminder required for this class
- Paper Certificate - This class may have an associated paper certificate. Select from the drop- down list. Leave blank if there is no paper certificate required for this class
- ''''Allow ROMS - This box should be checked if there is a requirement for ‘management by objectives’ to be assigned to this class.
- Web Conference - Check if this is a Webinar type class and select the type of webinar from the provided list
- Vendor Code - Associate vendor to this event.
- Room* - Associate room for this event
- WBT URL - In case of AICC or any other external WBT courses, please provide the URL.
- Learning Object - An event can be linked to a course. This is where one is able to attach one or more learning object instances that need to be taken to get credit for this event
- Company(s) - Select the companies to which this event has to be propagated
- Outline - Design the outline for this event. This field is displayed when a user selects the event for enrollment
- Review all entries and edit if necessary.
- Click the Save button to save the Event.
- Note: After the event is saved a new section, Available Event Promotions will appear near the bottom of the Event Details Page.

View Event Instances
- To display instances of a course – from the main event screen, click on the VIEW button, in the CLASS COUNT column
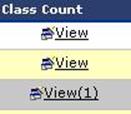
- The details of this particular class are displayed.
- For live event classes – the instances or class date details are displayed, as well as the number of students that are enrolled in the class
- For home study courses – the number of students that have been assigned this course is displayed.
- A list of the students can be displayed by clicking on the View icon in the ROSTER column
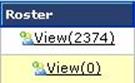
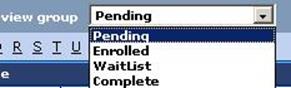
NOTE: The students can be sorted by group, by selecting the ‘view group’ option at the top of the list, and only have students in these groups displayed.
Screenshot 10
Adding Promotions to an Event.
- To add a new promotion to the event, click the New Event Promotion button at right side of the Available Event Promotions section near the bottom of the Event Details Page.
- The Add Event Promotions Details page will load in a popup window.
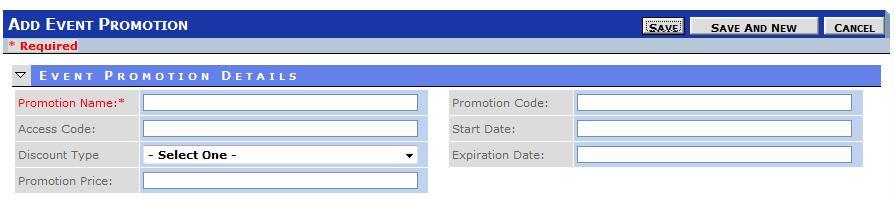
- Enter the required Promotion Name.
- Enter optional information a desired (see explanation of fields below)
Explanation of Fields
- Promotion Name* - Name of the Promotion.
- Access Code - Provide the access code for this event. A student needs this access code to enter the event. Without the access code, the student will be denied access to this event.
- Promotion Code - A promotion code is used when purchasing this course. A promotion is valid from a start date through an expiration date.
- Start date - Start date of the promotion.
- Expiration date - Expiration date of the promotion.
- Discount Type - There are 3 types of discount types: Discount Price, Discount Percentage, and Discount Reduction Price.
- Promotion Price - Promotion Price for this event.
(*) Required
Maintaining the instance roster of the course
To add students to the event instance:
- Click on Add link in the students column.

- This will launch the User Lookup screen in a popup window.
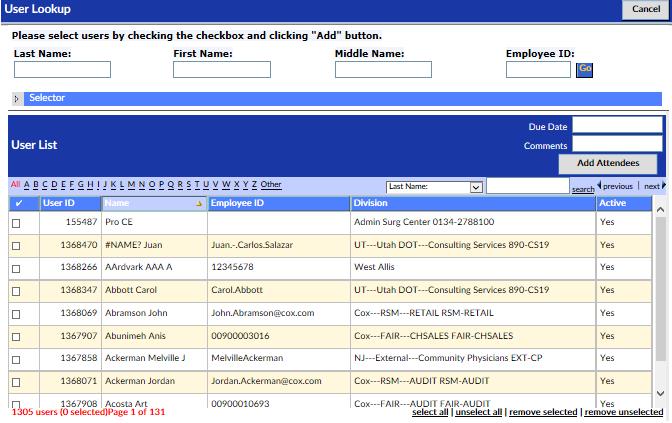
- Use the navigation, sort and search functions to find the desired users.
- Select the checkbox to the far left of the desired user(s) row(s).
- Click the Add Attendees button.
- Once the enrollment is successful, an automatic email is sent to the user. The Administrator will also be presented with all messages of enrollment details.