Job Code - Admin Guide
Section 1: Job Code - Overview
Who Should Use This Guide
This guide is for - Learning Management System (LMS) Client Super Administrators and Administrators to enable them to utilize and train others in the use of the Job Code Feature and Functionality.
Job Code - Overview
The Learnsoft LMS system makes provision for three levels of job types –
(i) Job Class
(ii) Job Code
(iii) Job Position
Users are allocated to one, both or all three types. This enables the system to assign courses or print reports based on any or all of these criteria. For example:
- List all employees in job class A123, who also have job code 33.
- Send this assignment to all Users in the California office with Job Code Manager.
Job Code is a mid-level classification. This level contains more listings than Job Class, but usually less than Job Position. The job Code record contains two text fields Job Code and Description. Job Code is the name that is displayed and Job Description gives the detail about the Job Code. Newer versions of the LMS will also offer a “Hidden” option, which if checked will eliminate these job codes from reporting and assignment searches.
Generally, Job Class, Job Code and Job Position are created automatically as part of the daily User Import Service where the latest organizational HR / ERP data is imported into the LMS system. Administrators, however, do have the capability of adding and editing these categories directly.
To access the Job Code Feature, navigate to the Advanced View, hover over the User Management dropdown menu and select Job Code.
Objectives
Upon completion, you will be able to:
- Access the Job Code Feature
- Create a New Job Code
- Edit and Existing Job Codes
- Delete Existing Job Codes
Section 2: Job Code – How to Guide
2.1 Access the Job Code Feature
The Learnsoft LMS system makes provision for three levels of job types – (i) Job Class; (ii) Job Code; (iii) Job Position. Job Code is a midlevel classification.
To access the Job Code Feature:
- 1 - Navigate to the Advanced View, hover over the User Management dropdown menu and select Job Code.
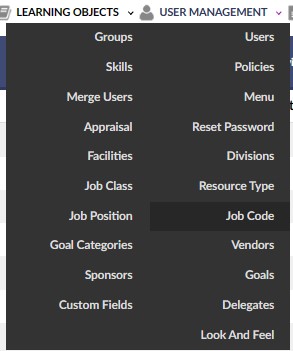
Screenshot 01
- 2 - This will bring up the Job Code List which provides a listing of all Job Codes in the LMS system.
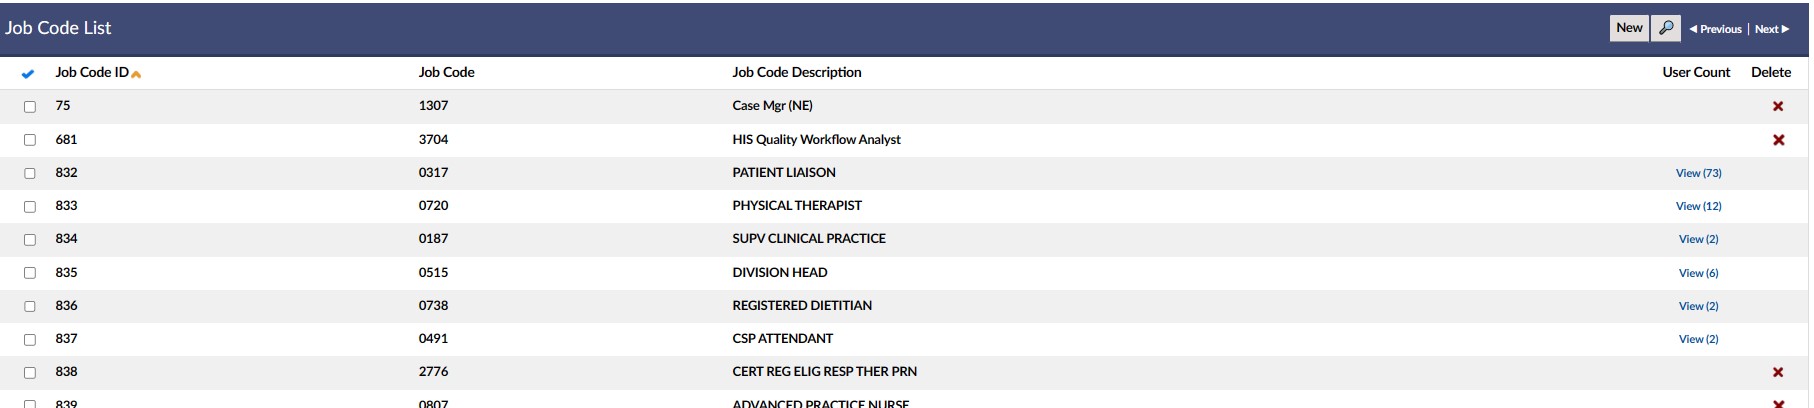
Explanation of Columns: Job Code List
- - Column of checkboxes allows selection of single or multiple Job codes.

- Job Code ID – LMS System generated ID based on order of creation.
- Job Code –Job Code Name based upon organizational naming conventions.
- Can be numeric, alphabetical or alphanumeric.
- Job Code (Description) – A description of the Job Code.
- User Count – Provides both a count of the number of users who have that job code and a View Link to see a listing of those users.
- Delete – Red (X) icon. If clicked, it will ask for confirmation to delete a job code (See section 2.4).
2.2 Add a Job Code
To Add a Job Code manually to the LMS system, follow these steps:
- 1 - Navigate to the Advanced View, hover over the User Management dropdown menu and select Job Code to bring up the Job Code List.
- 2 - Click the New button in the upper right hand corner of the Job Code List.
- 3 - This will bring up the Add Job Code / Job Code Details Screen.

Explanation of Columns: Job Code List
- Job Code –Textbox for entry of Job Code Name based upon organizational naming conventions.
- Can be numeric, alphabetical or alphanumeric.
- Description – Textbox for entry of Job Code Description.
- Hidden – Checkbox if selected will hide the Job Code from search criteria, e.g. when using assignments or reports.
- 4 - Enter both a Job Code and Description.
- 5 - Click the Save button.
- 6 - The new job code will be saved and the Job Code Details Screen will reload with the updated information.

Screenshot 05
- 7 - If wishing to make changes, click the Edit button.
- 8 - To return to the Job Code List where the new job code will now have been added, click Exit.
2.3 Editing a Job Code
Job Codes can be edited, both to make changes to the Job Code (name) and Description and to make the Job Code hidden from search functions. Clients sometimes use the hidden field for old or non-populated job codes to make assignment or reporting by job code easier.
To edit a Job Code,
- 1 - Navigate to the Advanced View, hover over the User Management dropdown menu and select Job Code to bring up the Job Code List.
- 2 - Use the navigation and search features to find the specific Job Code you wish to edit.
- 3 - Click anywhere in the Job Code ID, Job Code or Job Code (Description) columns of the row of the Job Code you wish to edit to bring up the Job Details Screen of the selected Job Code (see screenshot 05, above).
- 4 - Click the Edit button to enter Edit mode.

Screenshot 06
- 5 - Edit as needed.
- 6 - Click the Save button to save the edits.
- 7 - The new job code will be saved and the Job Code Details Screen will reload with the updated information.
- 8 - Click Exit to return to the Job Code List.
2.4 Deleting a Job Code
Note: Depending on system set-up, not all job codes may be deleted. It is also not recommended to delete job codes unless you are sure this will have no impact to users and reporting. Generally, job codes will not show a red x if any user is associated with this job code.
To delete a Job Code,
- 1 - Navigate to the Advanced View, hover over the User Management dropdown menu and select Job Code to bring up the Job Code List.
- 2 - Use the navigation and search features to find the specific Job Code you wish to edit.
- 3 - Click on the red (X) in the Delete Column of the row of the Job Code you wish to delete.

- 4 - A message will popup asking for confirmation of the deletion.
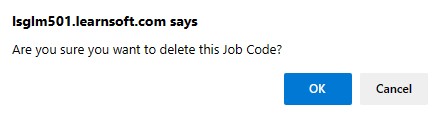
- 5 - Select OK to confirm deletion.