Merge Users - Admin Guide
Merge Users - Admin Guide
Merge Users - Overview
When a user clicks on Merge Users in the User Management menu, the routine for Merging Users in the LMS is invoked.
This function is utilized when the administrator wishes to merge two user accounts in the system that relate to the same person. It will enable the Administrator to combine two (2) users’ profiles, courses and transcripts into a single user account.
An example of this may be that a user was previously a contractor (non-employee) in the system with their own profile. They are then hired and now change their status to that of an employee – and are automatically added to the system via a web service – like the User import service, which gets data from the organization’s ERP system.
Now there are now two user accounts in the LMS system – that really belong to the same person. They need to be combined – and this function is used to merge the two accounts into one.
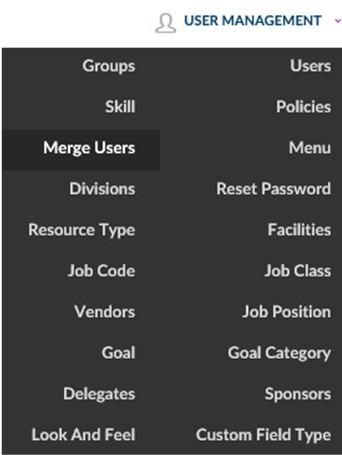
The Merge Users Feature is can be accessed by selecting the Advanced Menu and hovering over the User Management dropdown menu and selecting Merge Users.
How to Access the Merge Users Feature
The Merge Users Feature enables the Administrator to combine two (2) users’ profiles, courses and transcripts into a single user account.
To access this feature,
- 1 - From the Advanced Menu view, hover over the User Management dropdown menu and select Merge Users.
- 2 -Upon selecting the Merge Users feature, the Merge Users / Users Details page will load.
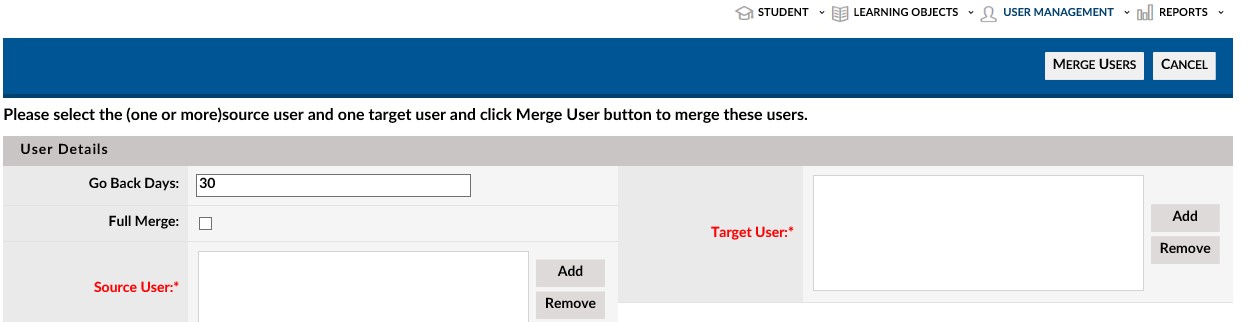
Explanation of Fields: Merge Users Details
Go Back days - How many prior days of data to include
Source User* - Select the source user from the source user list
Target User* - Select the source user from the source user list
- *Required
How to fill in the Merge User Details
To fill in this section,- 1 - Select a Source User by clicking on the Add button next to the Source Users text box.
- 2 - This will launch the User Lookup / User List screen in a popup window.
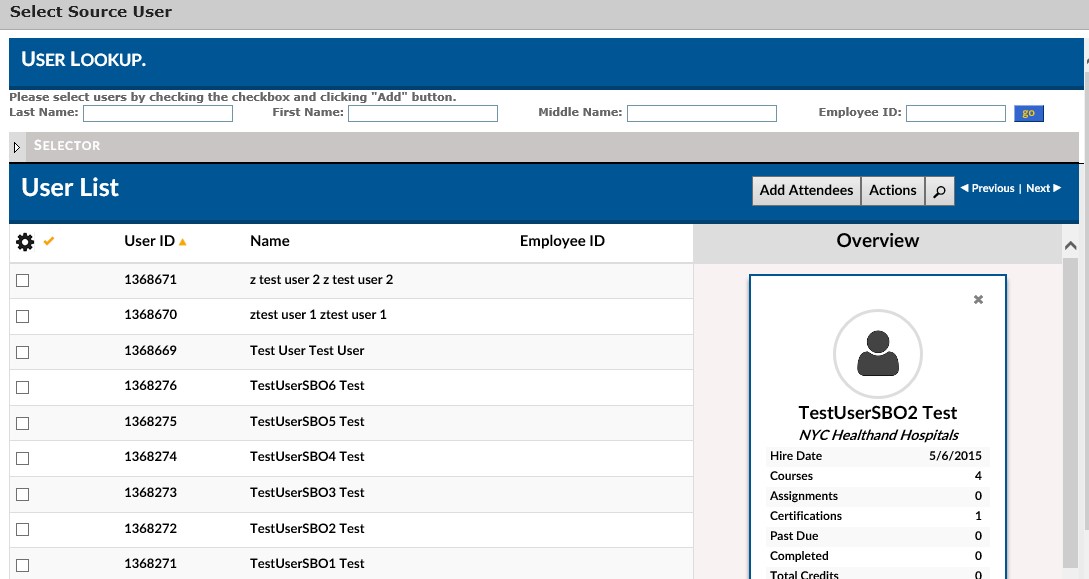
- 3 - Use the search and navigation features to select the Source User.
- Click the checkbox to the left of the row of the selected user.
- 4 - Click the Add Attendees button.
- 5 - This will bring you back to the Merge Users / Users Details page with the selected user’s name now appearing in the Source Users text box.
- 6 - Repeat the process in steps 1 – 5 using the Add button next to the Target User textbox.
- 7 - Enter the number of days of data to merge in the Go Back Days field.
- 8 - Review the entered information to ensure accuracy.
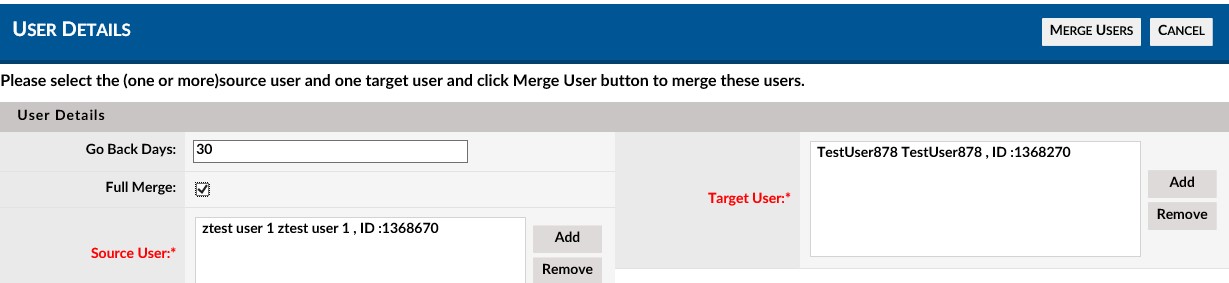
- 9 - Click the Merge Users button.
- 10 - A message will appear in a popup box asking for confirmation to merge the users.
- 11 - Press OK to confirm.
- 12 - A message will appear below the User Details title indicating if the merge was successful.
''''
- 13 - Repeat process as necessary for additional user merges.