Rating Type - Admin Guide
Section 1: Rating Type - Overview
Who Should Use This Guide
This guide is for - Learning Management System (LMS) Client Super administrators and Administrators to enable them to utilize and train others in the use of the Rating Type features and functionality.
Rating Type - Overview
In the Learnsoft LMS, Rating Types (aka Ratings or Evaluation Ratings) are essentially the predefined responses available to users who are completing evaluations. The Learnsoft LMS supports the use of two basic kinds of Evaluations –
- Class / Instructor Evaluations completed by students. (Evaluations can also be used by instructors to evaluate students in a class).
- Performance Evaluations related to the Talent Management modules of the Learnsoft system, in which a manager or peer evaluates an employee
Rating Types are often created in groups that allow for logical responses to evaluation questions. For example, True / False, Yes / No, Unsatisfactory / Satisfactory, Poor / Below Average / Average/ Above Average / Excellent, etc.
Another attribute of Rating Types is a Score. Each rating can have a numeric value associated with it. This allows for mathematical scoring allowing for greater insights into Evaluation Reporting.
Objectives
Upon completion, you will be able to:
- Navigate to the Rating Type Feature
- Access, navigate and search the Rating List
- Add a New Rating
- Edit Ratings
- Delete Ratings
Section 2: Rating Type – How to Guide
Each specific Rating Type is created using the Advanced View > Learning Objects Drop Down menu (and selecting “Rating Types”). Each Rating will require an Evaluation Rating Name and selection from the Entity Type dropdown menu. Optionally, each rating can have a score.
To create a Rating in the LMS system, follow these steps:
2.1 How to create a Rating in the LMS system
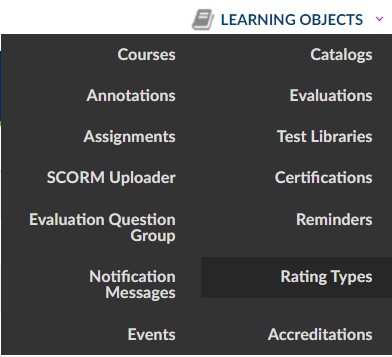
- Click on the Learning Objects Dropdown Box
- Click Rating Type
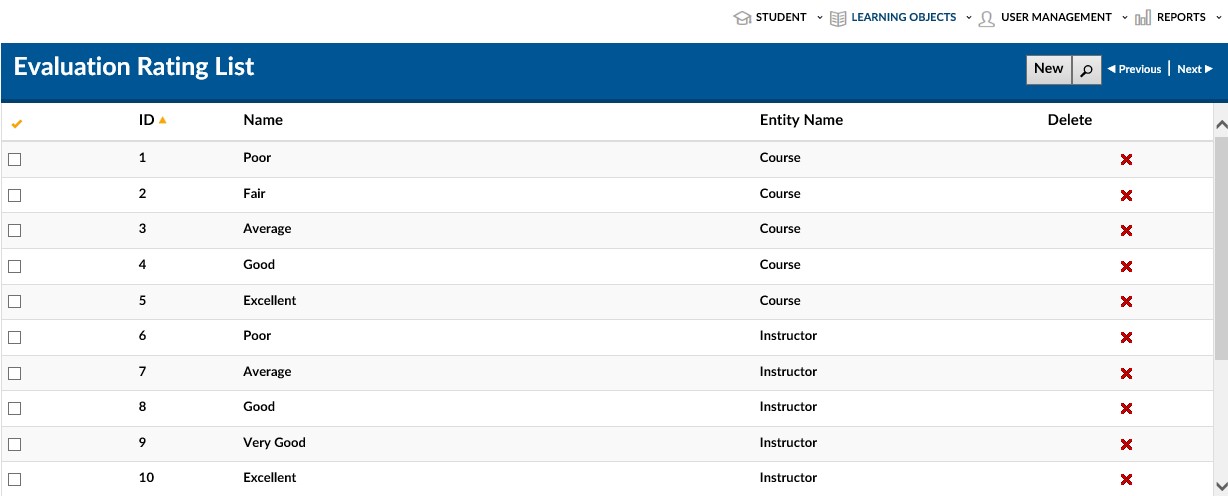
This will bring up the Rating List screen which displays Ratings that have previously been added to the system.
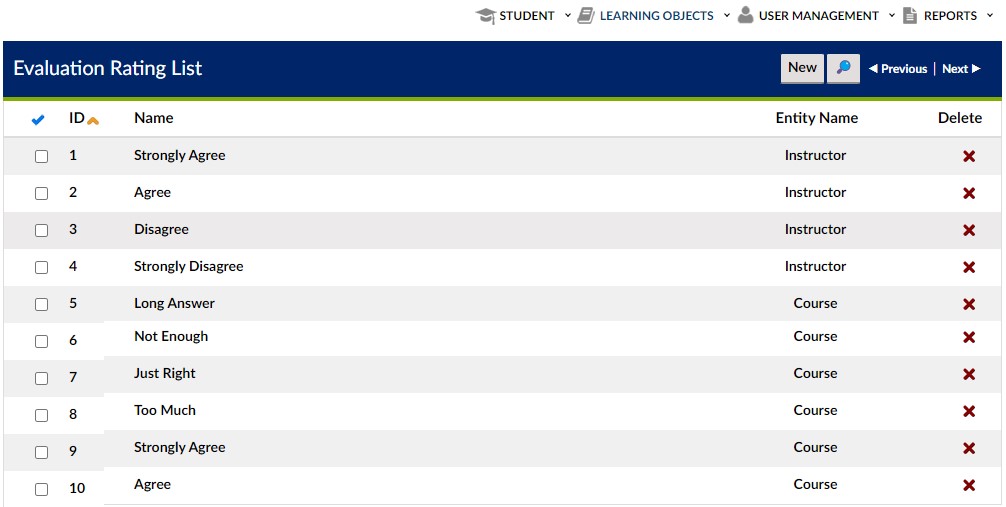
Screenshot 02
To add a New Rating
- Click on the New button near the top right portion of the screen.
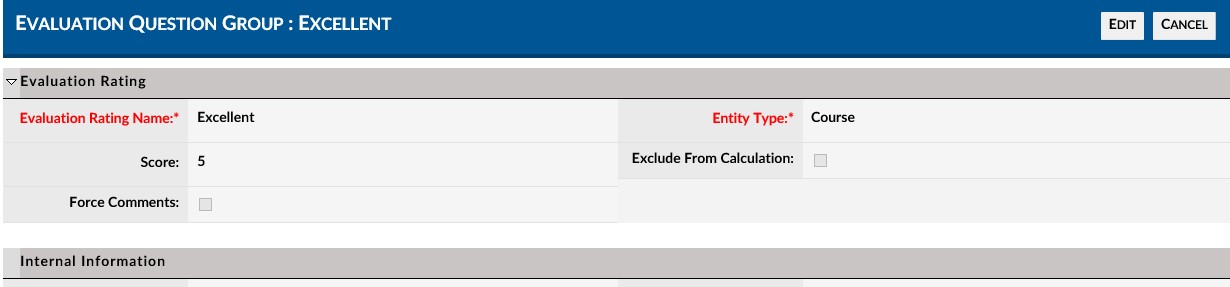
This will launch the Evaluation Question Group / Rating Details screen.
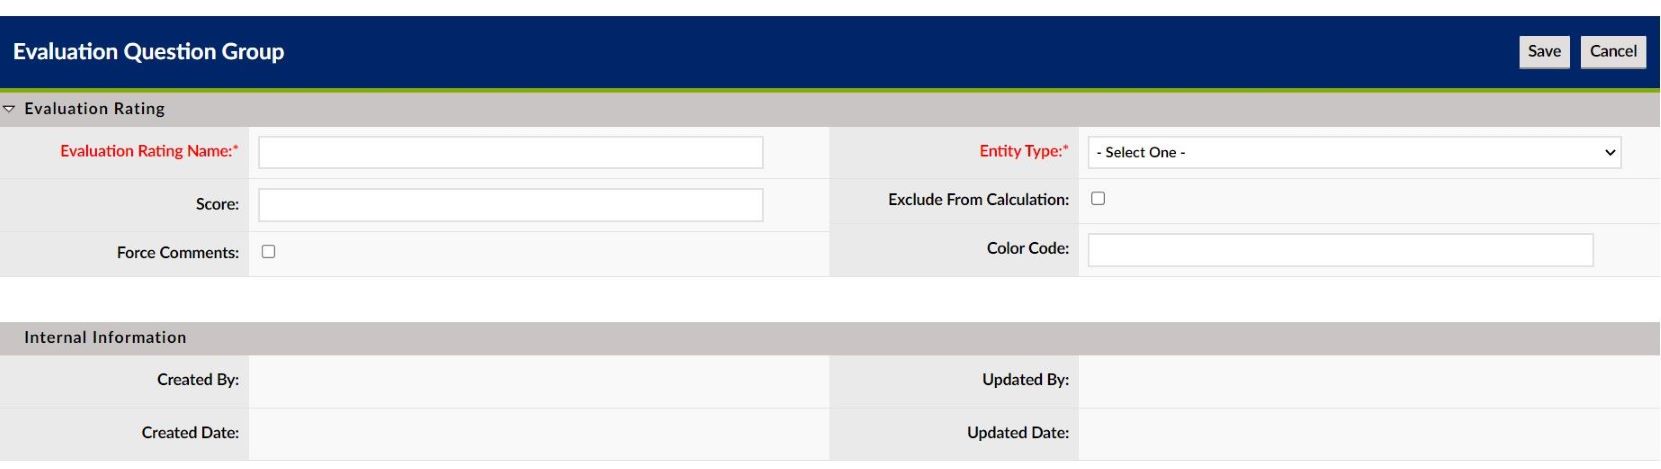
Explanation of Fields:
- Evaluation Rating Name* - The name of the Rating. This will be the response an evaluator would see when responding to a evaluation question. For example, if asked “How would you rate the instructor?’ The answers “Below Average”, “Average”, and “Above Average” would all be individual Ratings and each would be a Rating name.
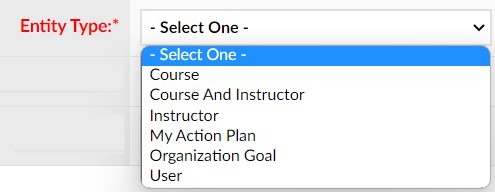
- Entity Type* - A dropdown menu containing a predefined list of evaluation types. Note, some of the Entity Types refer to the Performance evaluation.
- Score - This is where you would enter a numeric value associated with this Rating and which can be used in individual and aggregate reporting.
- Note: Depending on the scoring system, it may make sense to duplicate specific ratings with different Scores. For example, in one system “Average” might equal a score of “3” (in a 1 – 5 rating system), but another system “Average” may equal a score of “5” (in a 1 – 10 rating system).
- Exclude from Calculation - The checkbox is used to exclude the score from aggregate reporting.
- Force Comments - If checked, it will require the user to enter a comment if this Rating Type is selected.
- Color Code - This is used by specific clients to color code the Rating Type.
* Required Fields
- Enter the required information for Evaluation Rating Name and Entity Type.
- Click the Save button located near the top right of the screen.
The Rating has now been created and the system will display the completed Evaluation Question Group / Rating Details screen. (You can see the Rating Name in the upper left-hand corner) in read / only mode. To edit, click on the Edit button in the group of buttons in the upper right corner.
The Rating will also be available in the Rating List. Repeat the above steps as necessary for all Ratings required.
2.2 How to Edit a Rating
- Use the Advanced Menu > Learning Objects dropdown menu and select Rating Types
- This will bring up the Rating List screen which displays Ratings that were previously added to the system.
- Use the navigation and search features to find the specific rating you want to edit.
- Click on the checkmark, ID, Name or Entity Type columns in the row of the Rating type you want to edit.
- This will bring up the Evaluation Question Group / Rating Details screen of the specific Rating Type you want to edit.
- Click the Edit button to enter Edit mode.
- Make the updates / edits.
- Click Save to save the rating.
2.3 How to Delete a Rating
- Use the Advanced Menu > Learning Objects dropdown menu and select Rating Types
- This will bring up the Rating List screen which displays Ratings that were previously added to the system.
- Use the navigation and search features to find the specific rating you want to edit.
- Click on the red (X) on the far right of the row of the Rating you want to delete.
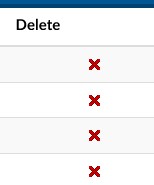
Screenshot 07
- A message will popup asking you to confirm the deletion of the selected rating.
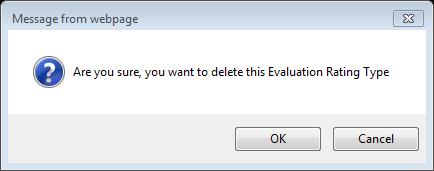
Screenshot 08
- Click on the OK button to confirm the deletion.
Section 3: Rating Type – Additional
For information in utilizing Ratings as part of the Evaluation Creation, Use and Reporting Processes, please see the following Additional Documentation:
- Evaluations – Overview
- Evaluations – How to Guide (Step-by-Step)
- Evaluations – Quick Start Guide