Reminders - Admin Guide
SECTION 1: REMINDERS – FEATURE OVERVIEW
Who Should Use This Guide
This guide is for - Learning Management System (LMS) Client Super administrators and Administrators to enable them to utilize and train others in the use of the Reminders Functionality as both creators and users.
What are Reminders?
In the Learnsoft LMS, Reminders are a feature that allows a single or series of emails to be sent to students, managers and others to notify or “remind” them about something related to a system event.
Examples of Reminders include sending an email to a student to “remind” them that they have an upcoming class, notifying a manager that their staff member didn’t show up for a class, reminding someone that their certification is about to expire.
Course Overview
The purpose of this manual is to guide administrator(s) on how to effectively create and schedule Reminders and associate these to courses and system events.
There are basic steps to the Reminder process: 1) Add a Reminder to the LMS System; 2) create and schedule one or more Reminder emails; 3) Associate these Reminders to a course; 4)
Editing and deleting reminders and associated reminder emails
Add a Reminder to the LMS System
Reminders are a feature that allows a single or series of emails to be sent to students, managers and others to notify or “remind” them about something related to a system event. Before reminders can be utilized, however, Reminder “objects” need to be created / added to the LMS system. Reminders can be created using the New Reminder button of the Reminders List Page. This page is accessible from the Advanced View > Learning Object > Reminders drop-down menu.
Create and schedule one or more Reminder emails
The power of the reminder is the performance of an action based on an event. The action is an email and the event is associated with a class (e.g. enroll, complete) and a time frame (e.g. 7 days prior to event, at time of an event). After a reminder is created, the Admin can create and associated (to this reminder) emails which can be sent based on the occurrence of these events.
Associate these Reminders to a course
To be useful, Reminders must be associated to courses. In fact, reminders are available as objects accessible by a simple drop down box as part of the Learning Object course creation (or editing) process. Once reminders are associated to courses, they will become active and utilized by the system (upon triggering by events and timeframes).
Edit and delete reminders and their associated email events
After reminders and the associated email events have been created, they can be edited and thereby allow for greater consistency with user and organizational needs. For example, a reminder may be originally set up with an email that will remind students 7 days before class that they have an upcoming class scheduled. The organization may find that most students only respond to events occurring in a shorter time frame and so the administrator could change the 7 day email to a 2 day or even 1 day email reminder (They could also add a 2 day email to the 7 day email and send both). Also, reminders and their associated emails that no longer serve a purpose can be deleted with a simple click of the mouse (and required confirmation) by Administrators.
Objectives
Upon completion, you will be able to:
- Add a Reminder
- Create Reminder Emails
- Schedule Reminder Emails
- Associate Reminders with Course
- Edit and delete reminders and reminder emails
Section 2: HOW TO USE THE REMINDERS FEATURE ==
Reminders are a feature that allows a single or series of emails to be sent to students, managers and others to notify or “remind” them about something related to a system event.
2.1 How to add a Reminder to the LMS system
To Add a Reminder to the LMS system, follow these steps (Note, if Reminders have previously been created, this step can be skipped):
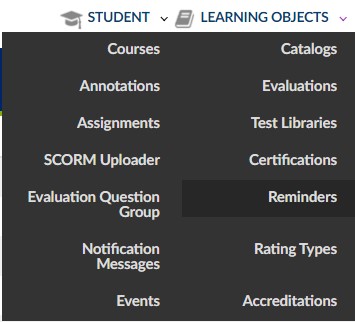
screenshot 01
- Click on the Learning Object dropdown box.
- Click Reminders.
This will bring up the Reminder List screen which displays Reminders that have previously been added to the system.
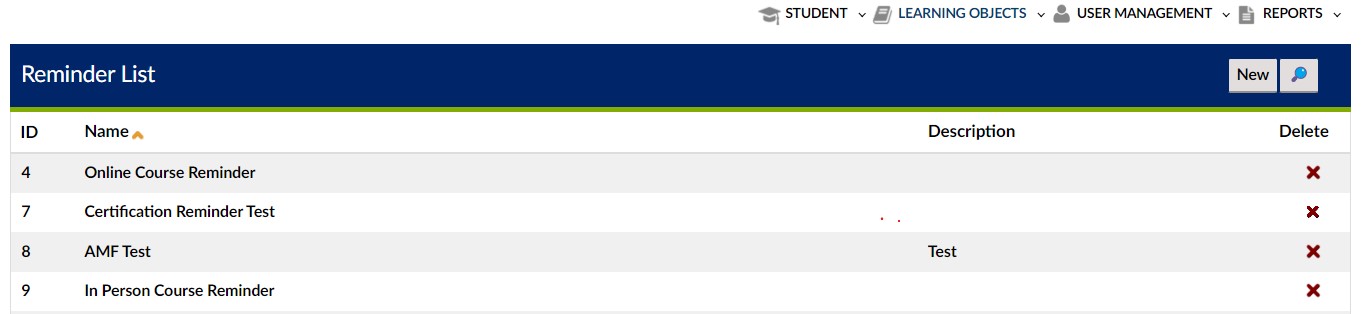
To add a New Reminder
- Click on the New Reminder button near the top right portion of the screen.
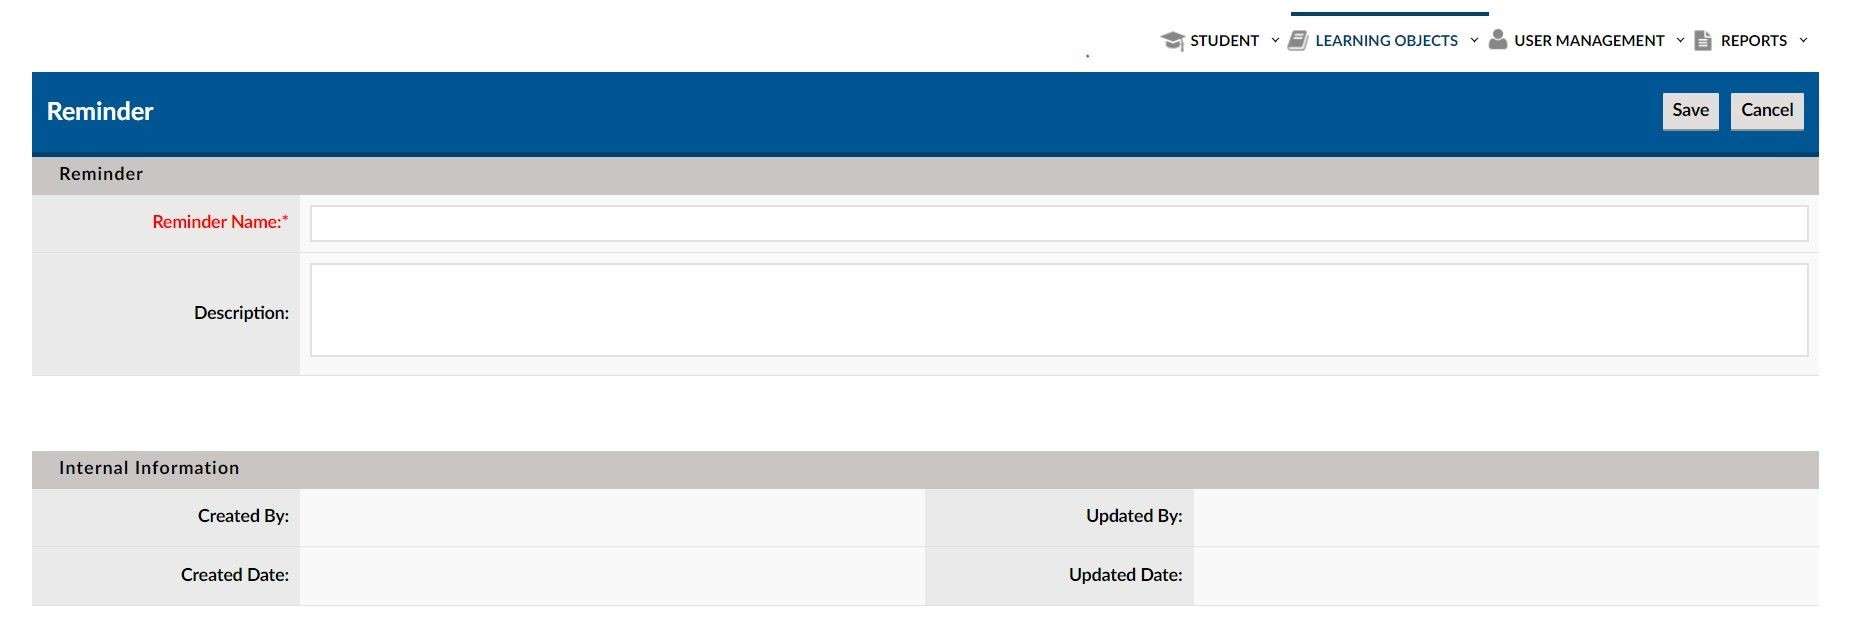
This will launch the New Reminder Details screen. The level of detailed entry will vary based on your organizational needs. (See Explanation of fields on the next page for next steps.)
screenshot 03
2.1.1Explanation of Fields: Skill Details
Reminder Name* – The name of the reminder.
Description* - A description of the reminder.
* Required Fields
- Enter a Name for and Description of the Reminder.
- Click the Save button located near the top right of the screen.
The Reminder has now been created and will be available in the Reminder List. Repeat this step as necessary for all Reminders.
Section 2.2: Create and schedule one or more Reminder emails
The power of the reminder is the performance of an action based on an event. The action is an email and the event is associated with a class (e.g. enroll, complete) and a time frame (e.g. 7 days prior to event, at time of an event, after an event). After a reminder is created, the Admin can create and associated (to this reminder) emails which can be sent based on the occurrence of these events.
Below are steps to create and schedule reminder emails and events.
2.2.1 How to Add an Email to a Reminder
After you have created a Learning Object Reminder (see Section 1), a new section, Available Email, will become visible. This section will list all emails associated with this reminder. (This section is also available when editing reminders, see Section 5).
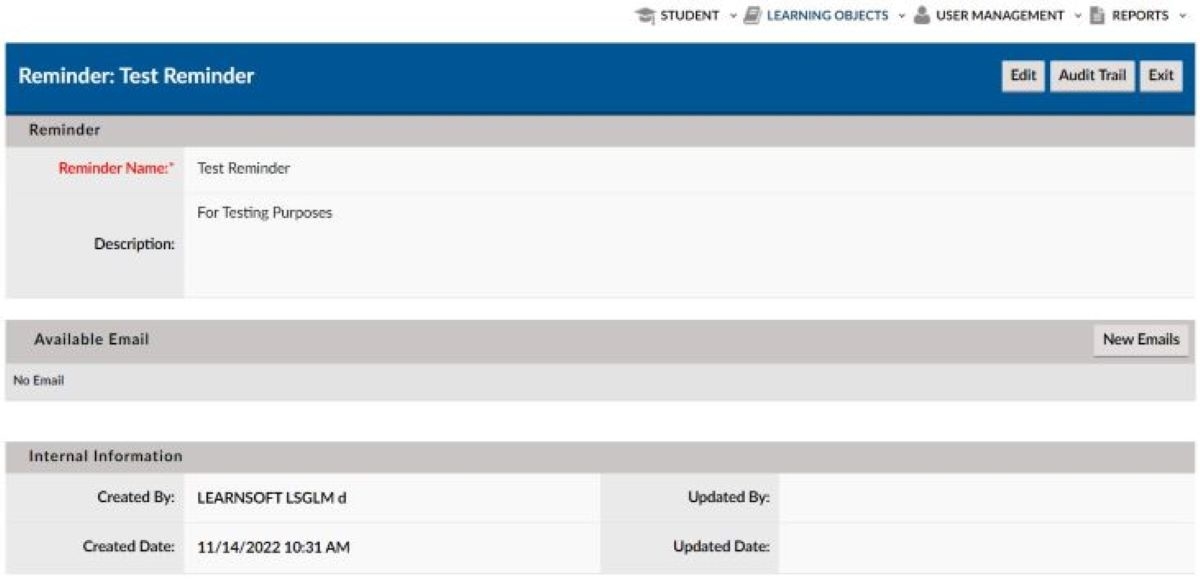
To create a new emails to associate with this reminder.
- Check the New Emails button, found on the right side of the Available Email Section.
- This will launch the Learning Object Email / Email Reminder Details page in a pop-up window.

It is in this section that events, timeframes and the email subject / body template will be created.
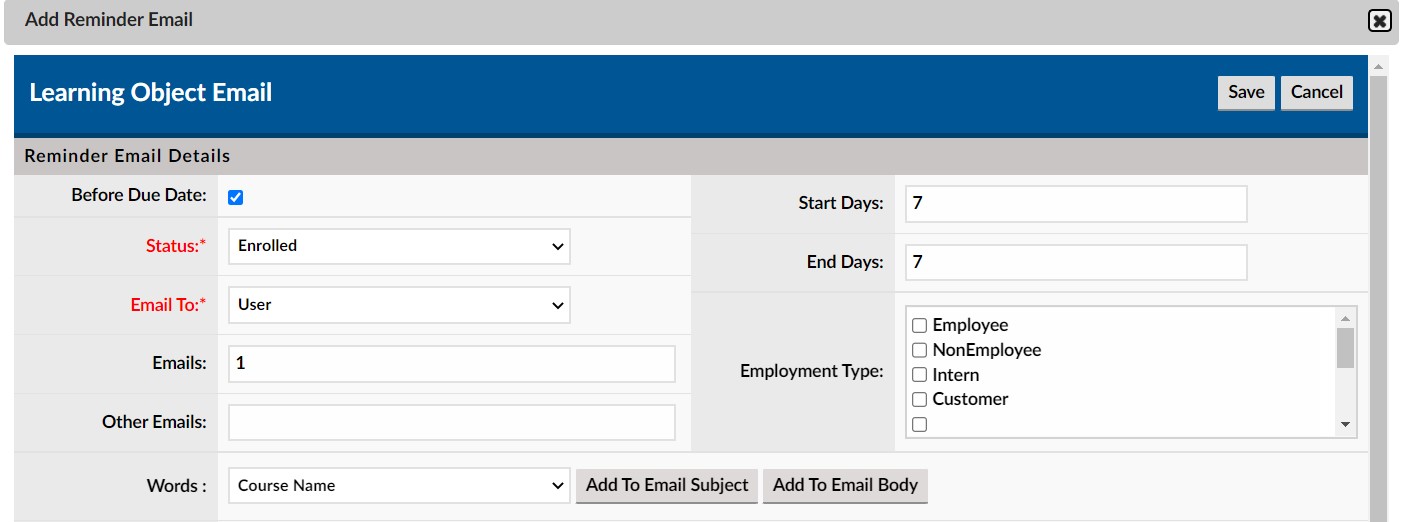
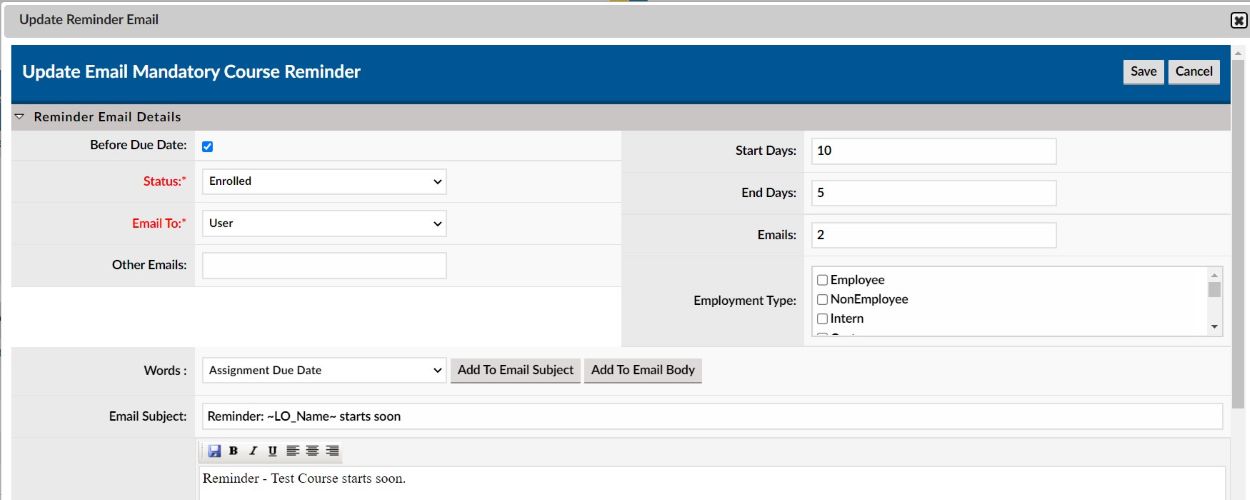
2.2.2 Explanation of Fields (Attributes): Learning Object Email / Reminder Email Details
- Before Due Date - If checked then the email will be sent PRIOR to an event taking place (For example, to send an email BEFORE a class starts, use this option.
- Status* - A dropdown box of specific event choices: Enrolled, Pending, Waitlist, Complete, No Show, Cancel, Class Session Complete, Fail Complete, Enrolled (Prerequisites Incomplete)
- Email To* - The person(s) to whom the email will be sent: User, Manager, Administrator, User and Manager, User and Administrator, Manager and Administrator, User Manager and Administrator, Others
- Emails - The number of emails to send between the start and end dates
- Other Emails - Email addresses of other email recipients
- Start Days - The number of days prior / subsequent to an event in which emails should start
- End Days - The number of days prior / subsequent to an event in which emails should end
- Words - Properly formatted variables that can be copied or pasted into the email subject or email body and will be replaced at run time with the variables value. Options include: Course Name, Course Type, First Name, Last Name, Authorizer First Name, Authorizer Last Name, Authorizer Phone Number, Authorizer Email, Student Phone Number, Student Email, Student Department, Course Notes, Enrollment Date, Paid-Unpaid Session, Training Room, Course Date, Login Page, Score, Passed / Failed, Assignment Due Date, Due Date, Due Date Countdown Days, Certification Name, Certification Expiry Date
- Add to Email Subject - By clicking the formatted variable from the words section will be pasted in the Email subject line at the cursor point
- Add to Email Body - By clicking the formatted variable from the words section will be pasted in the Email body at the cursor point
- Email Subject - The subject for the email to be generated and sent
- Email Body - The body of the email to be generated and sent
* Required Fields
- Enter the required information.
- Enter any desired optional attribute information.
- Click the Save button located near the top right of the screen to save the attributes of this particular email.
- Repeat Steps 2.1 and 2.2 for each email associated with this reminder. For example, you may wish to have a reminder message sent 7 days before attending a course, a second reminder sent two days before the course date, then a reminder to enroll in another course sent after they pass course.
2.2.3 Status options / Determining Events to trigger emails
Reminders are emailed based messages that are triggered by events. These events are determined in the Status field of the Reminder Emails Detail page. Below are the Status options
- Enrolled
- Pending
- Waitlist
- Complete
- No Show
- Cancel
- Class Session Complete
- FailComplete
2 2.4 Entering Dates Correctly
Note: The system uses a very complex algorithm for deciding when to send email messages. It may not be intuitive so, to ensure you are accurately sending emails on the correct day, utilize this guide.
- The date of the event = Day 0
- If the Before Due Date checkbox is enabled, (Checked), then 1 day before the due date would correspond to a start date of 1; 7 days before the due date would correspond to a start date of 7.
- If the Before Due Date checkbox is NOT enabled, (NOT Checked), then 1 day after the due date would correspond to a start date of 1; 7 days after the due date would correspond to a start date of 7.
For example, if Nov 10 is the event date….

Accordingly…
- If you want to send one email a specific number of days before an event:
- Check the Before Due Date checkbox
- Enter the specific # of days in the Start Date Field (e.g. 1 week = 7)
- Enter the same number in the End date Field (e.g. 7)
- Enter 1 in the # of Emails Field
- If you want to send more than one email a specific number of days before an event:
- Repeat the above process for the separate emails.
- Example, create one email to be set up for 7 days (Before due date (checked) Start days 7, End Days 7, # of emails 1) and create a second email for 2 days (Before due date (checked) Start days 2, End Days 2, # of emails 1)
- If you want to send more than one email, but don’t need specific dates, before an event:
- Click on the Before Due Date checkbox
- Enter the # of emails
- Enter start and end days
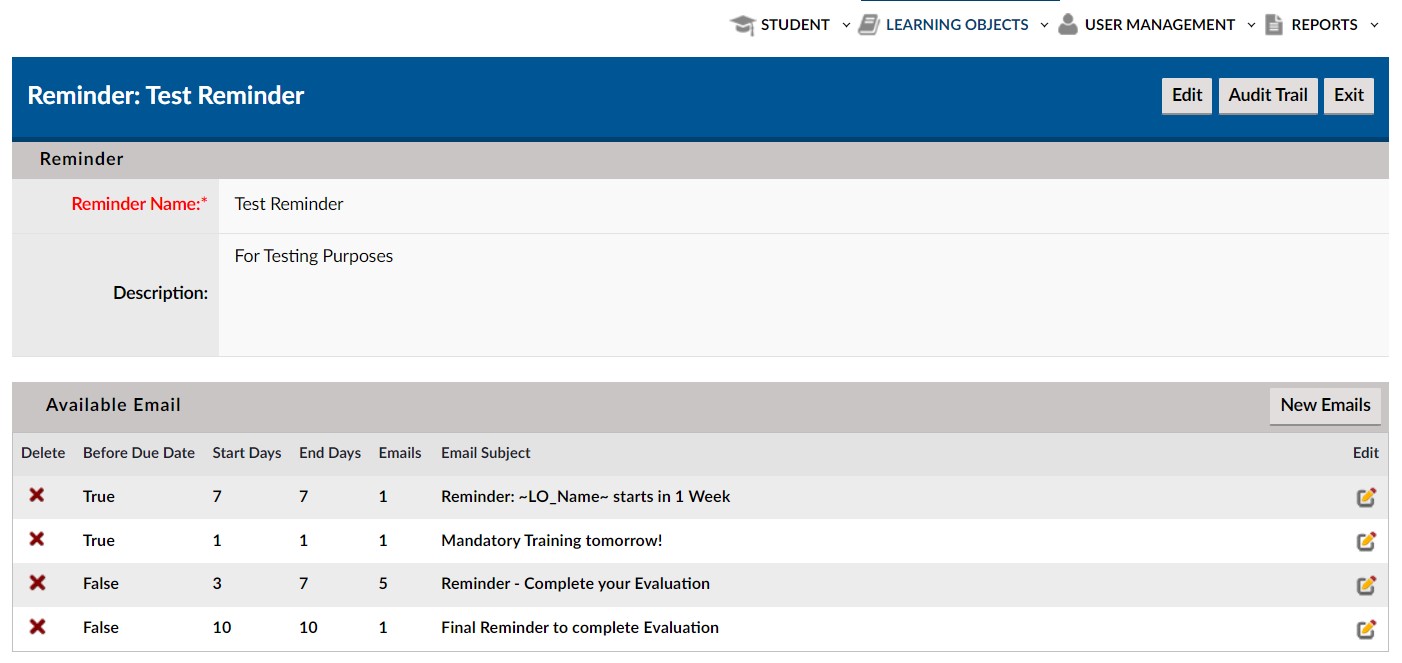
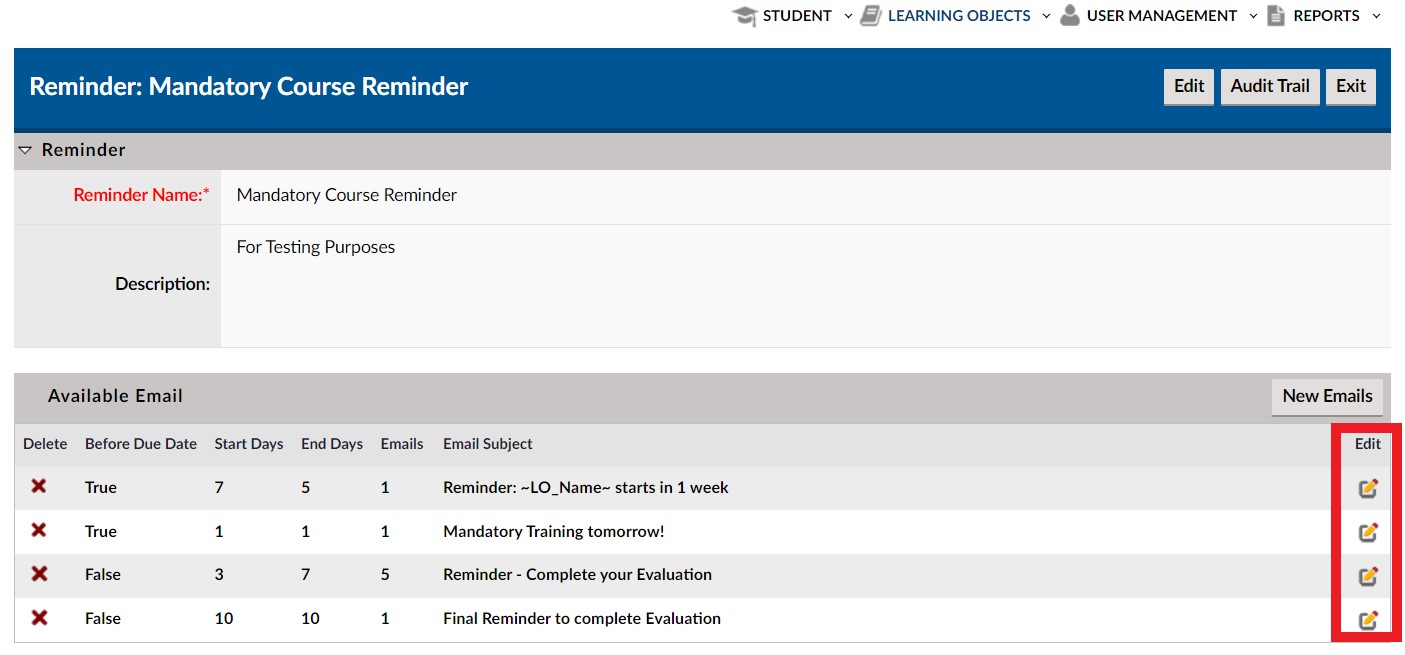
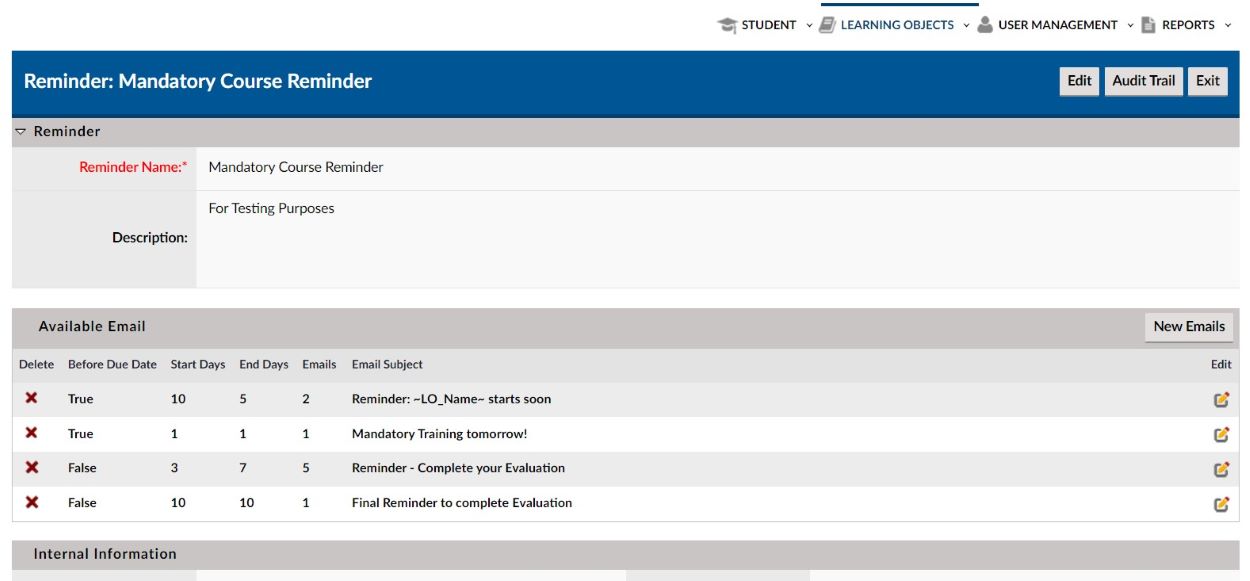
Below is a sample with a number of email reminders:
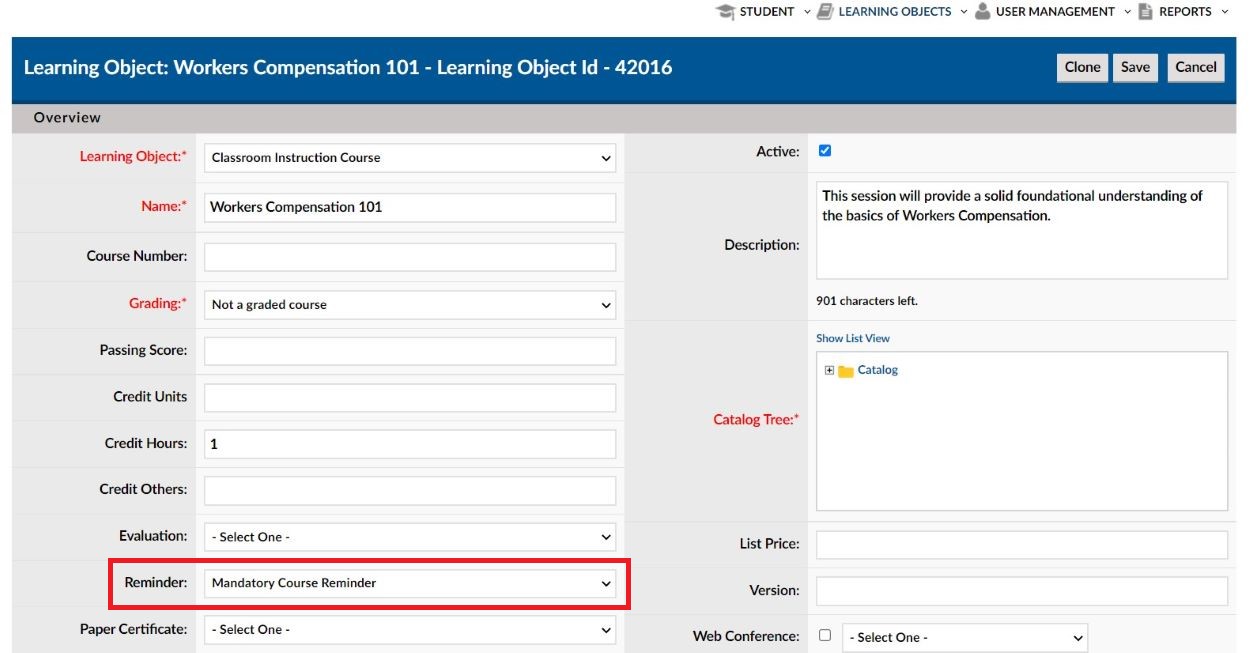
Section 2.3: Add a Reminder to a Course
After creating a reminder and adding email events, it has to be associated with a Learning Object Course to be active. This can be done when first creating a course or when editing a course post creation.
Note: this guide will assume you have already been trained on how to add and edit courses and create course instances. Accordingly, to add reminder to an existing course in the LMS system, follow these steps:
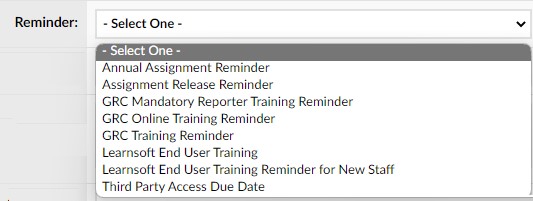
- Click on the Reminder drop down box.
- Select the Reminder from the list of reminders.
- Ensure that you click the Save button when finished adding the reminder desired.
Section 2.4: Edit and Delete Reminders and Reminder Emails
After reminders and the associated email events have been created, they can be edited and thereby allow for greater consistency with user and organizational needs. For example, a reminder may be originally set up with an email that will remind students 7 days before class that they have an upcoming class scheduled. The organization may find that most students only respond to events occurring in a shorter time frame and so the administrator could change the 7 day email to a 2 day or even 1 day email reminder (They could also add a 2 day email to the 7 day email and send both). Also, reminders and their associated emails that no longer serve a purpose can be deleted with a simple click of the mouse (and required confirmation) by Administrators.
2.4.1 How to Add Edit a Reminder
To edit existing Learning Object Reminders:
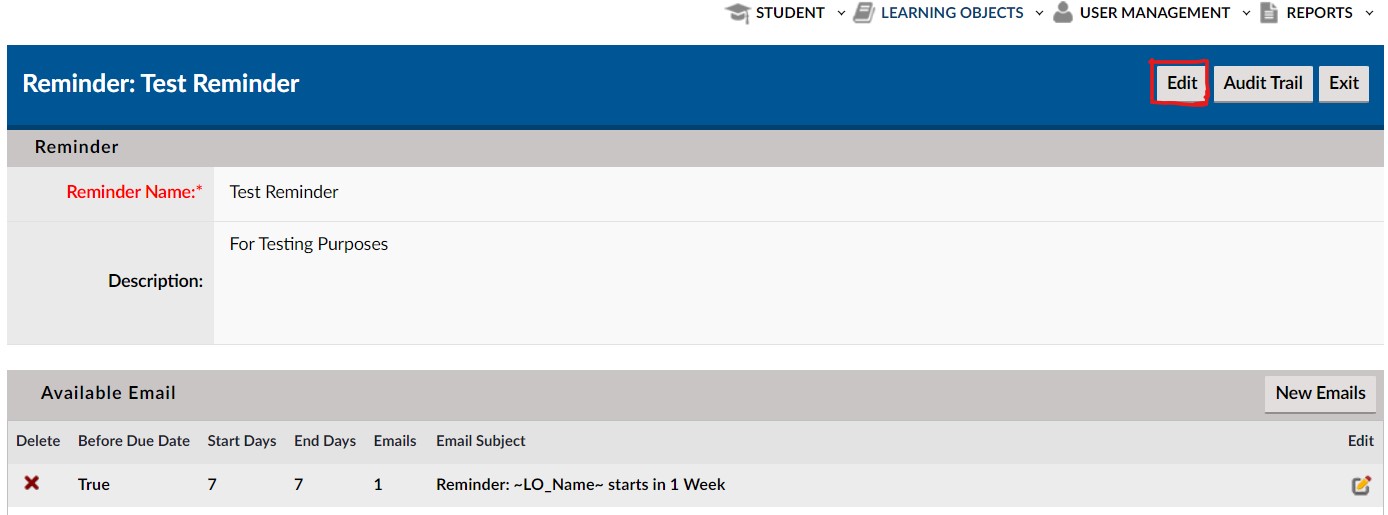
- Follow the steps in Section 1 to access the Reminder List, select the specific Reminder to modify and access its View > Reminder Details page.
- Click on the edit button in the upper right hand corner.
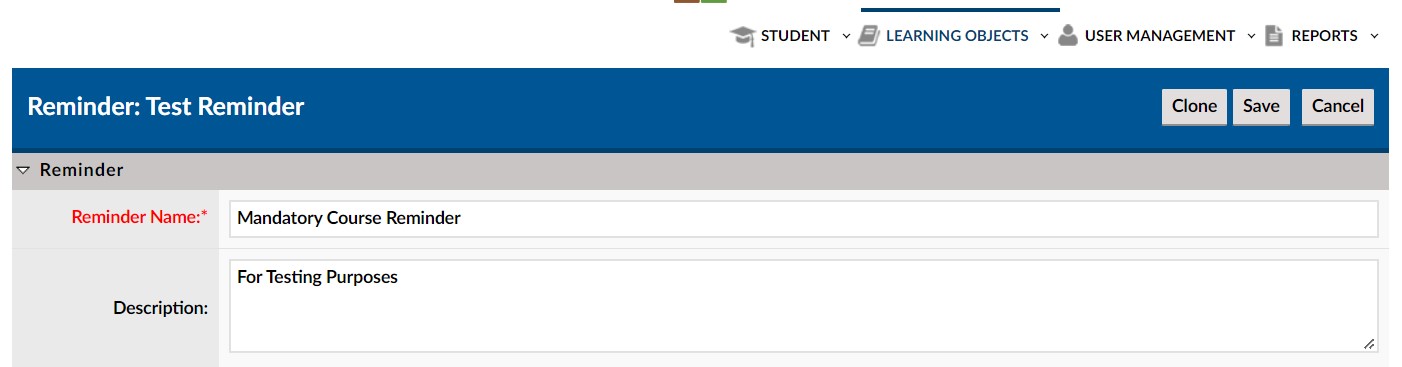
- Edit and then click the save button.
2.4.2 How to Edit Reminder Emails
To edit Reminder emails follow the steps above to select the specific reminder:
- In the section Available Email, click on the edit (pencil) icon corresponding to the row of the specific email you want to edit.
Screenshot 13
This will bring up the Reminder Email Details page:
- Edit as desired.
- Click Save to Save the changes.
- Click Cancel, to cancel any changes.
2.4.3 How to Delete a Reminder
To edit existing Learning Object Reminders:
- Follow the steps in Section 1 to access the Reminder List.

To delete…
- Click on the delete (X) button to the right of the row of the reminder you wish to delete.
- A pop-up box will ask you to confirm this deletion.
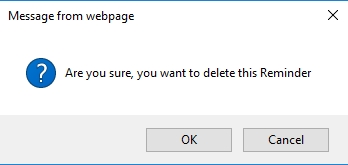
To confirm deletion…
- Click on the OK button
- To cancel, click Cancel.
2.4.4 How to Delete Reminder Emails
To delete Reminder emails follow the steps above to select the specific reminder:
- In the section Available Email, click on the delete (X) icon corresponding to the left of the row of the specific email you wish to edit.
- A pop-up box will ask you to confirm this deletion.
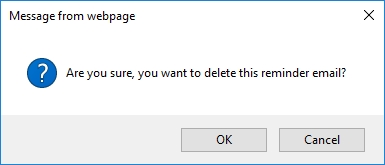
Screensho t19
To confirm deletion…
- Click on the OK button
- To cancel, click Cancel.