Global System Notification - Admin Guide
NOTES:
- New Format for EXTERNAL LINK - Last Parameter is number of times popup to play -
EXTERNALPAGE|https://lsglm705.learnsoft.com/lsglm/login/testfile.html|1
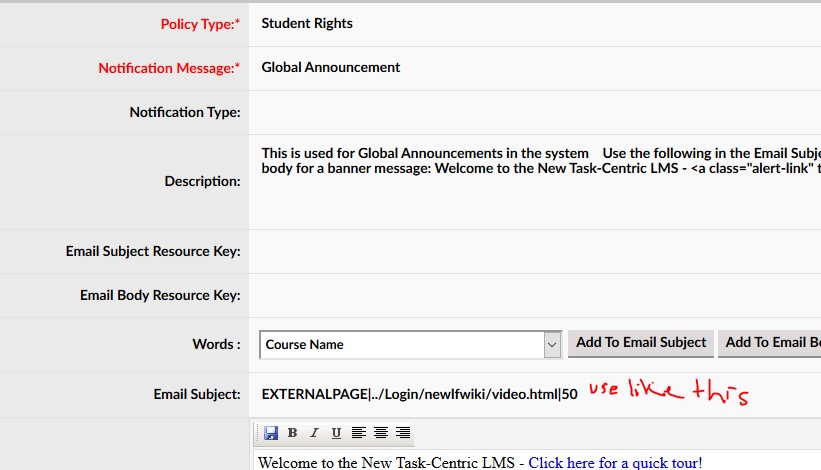
- New Format for EXTERNAL LINK - Use Relative Path if security problems-
EXTERNALPAGE|../Login/newlfwiki/video.html|5
Global System Notification Function - Overview
The Global System Notification Function is a specialized subset of the Notification Message Feature that provides a means by which LMS Administrators can create global messages that will be made available to all LMS users upon login to the system.
There are two Global System Notification Function Message Types:
- OPTION 1 / TOP OF THE PAGE- System message that will appear near the top of the page above the Section Tabs for all users. Additionally, this message can link to external web pages, documents or even videos;
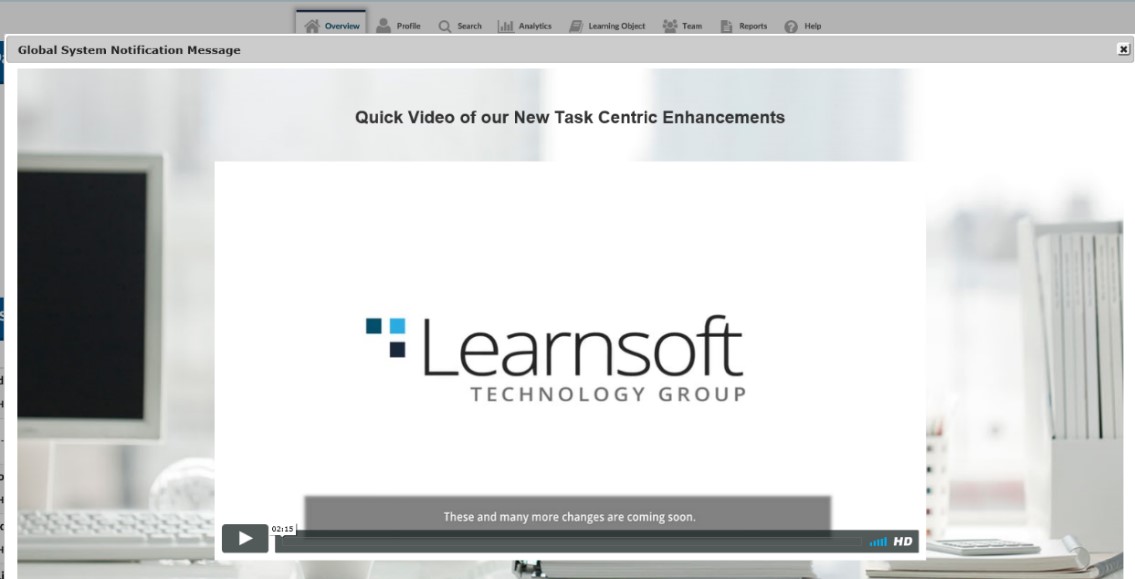
- OPTION 2 / AUTO-LAUNCH VIEWER- Auto-Launch a Viewer with a System Message and content (e.g. html page, video) for all users that will immediately grab the user’s focus when logging into the system. This window will need to be closed before the user can access the features of the LMS system.

A step-by-step process to operate this feature appears below.
Global System Notification Function – How to Guide
How to access the Global System Notification Function
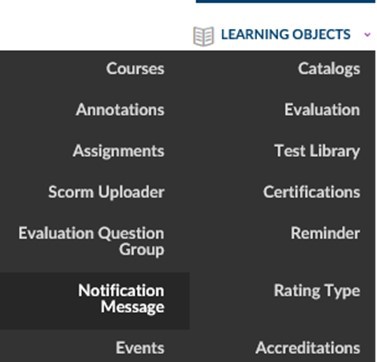
The Global System Message Notification is a specialized version of the Notification Message Feature and is only available to CSA’s (and designated Admins with Policy Rights to this feature). This section is easily accessed from the advanced view dropdown menu. To access the Notification Message Feature: 1. Use the Advanced View > Learning Objects drop down menu to select the item Notification Message.
2. This will bring up the Notification Message List, a listing of all standard and customized messages.

3. The Global System Notification Message is ALWAYS a specific message with the ID = 15

a. The Name may or may not be “Global System Notification Message” as both name and description are configurable by the client.
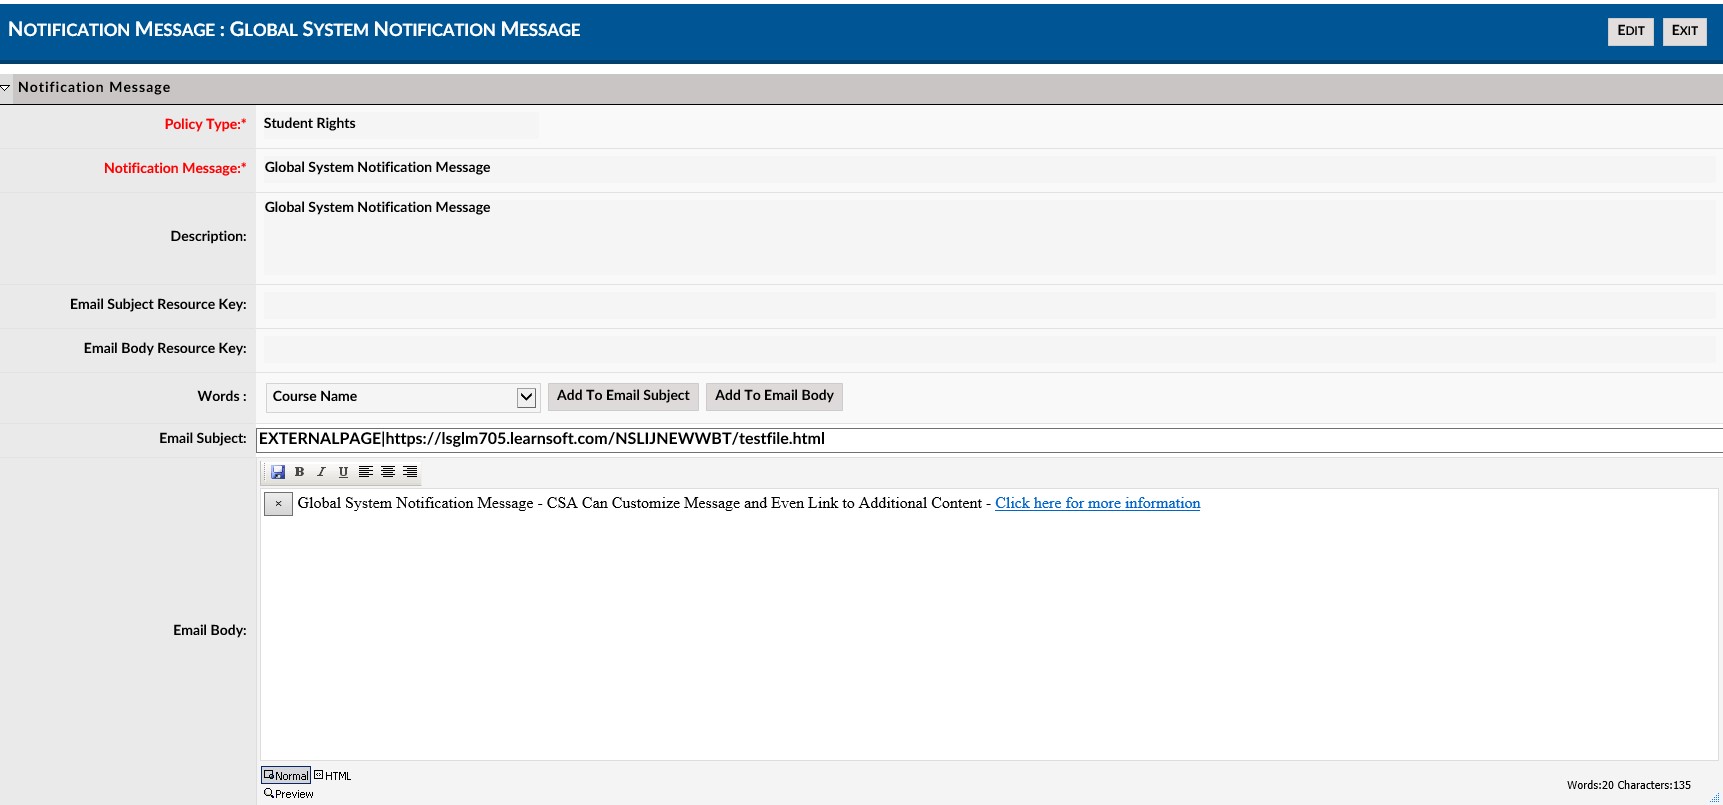
4. To access the Global System Notification Message details where you can add, edit or delete messages, simply double click the name column of the row with ID = 15. This will bring up the Notification Details page.
a. If Active - The Email Subject and / or Email Body sections will have text populated.
b. If Inactive - Both the Email Subject and Email Body sections will be blank
How to Create a Global System Notification Message - OPTION 1 / TOP OF THE PAGE:
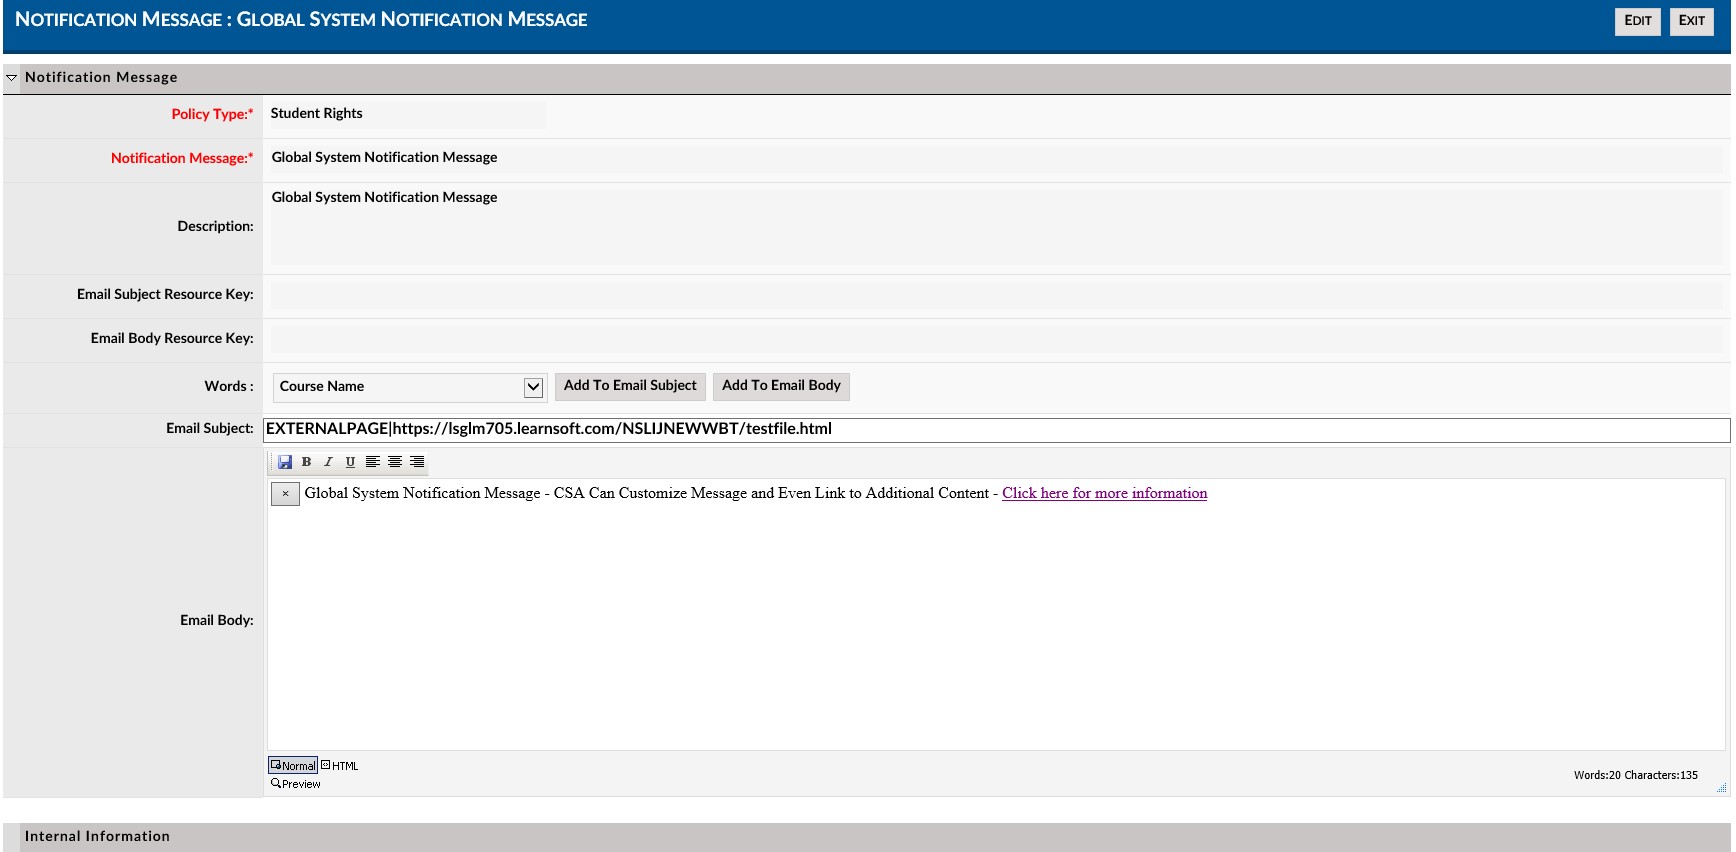
1. Navigate to the Advanced View > Learning Objects> Notification Message Feature and lick on the row containing the Global System Notification Message (ID = 15) to bring up the Global System Notification Message Details Page (as detailed in a prior section)

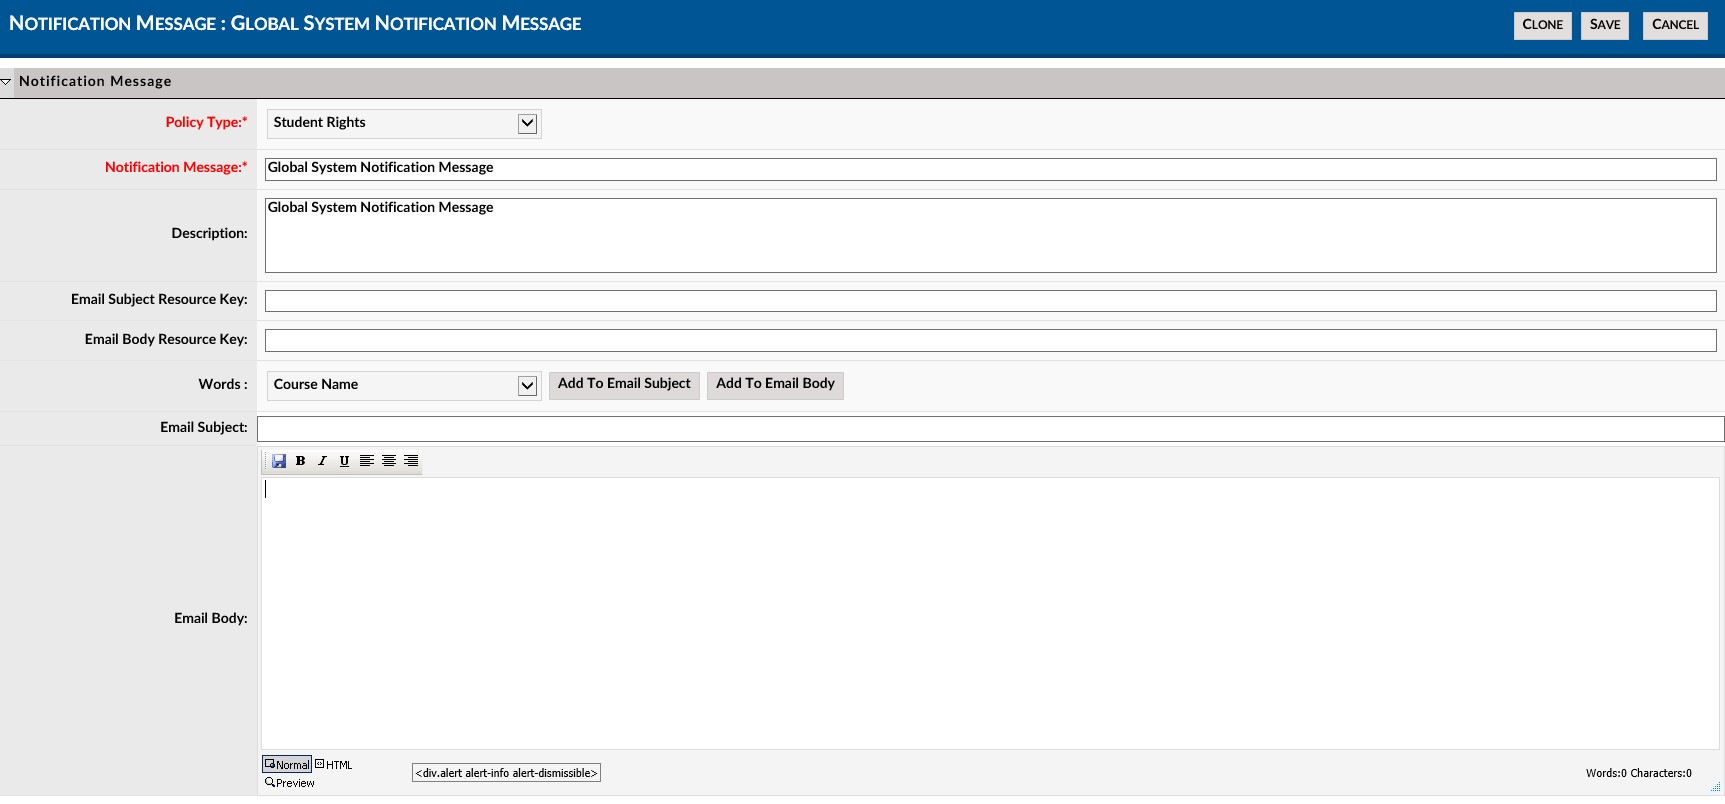
2. Click the Edit button in the upper right hand Corner to enter edit mode.
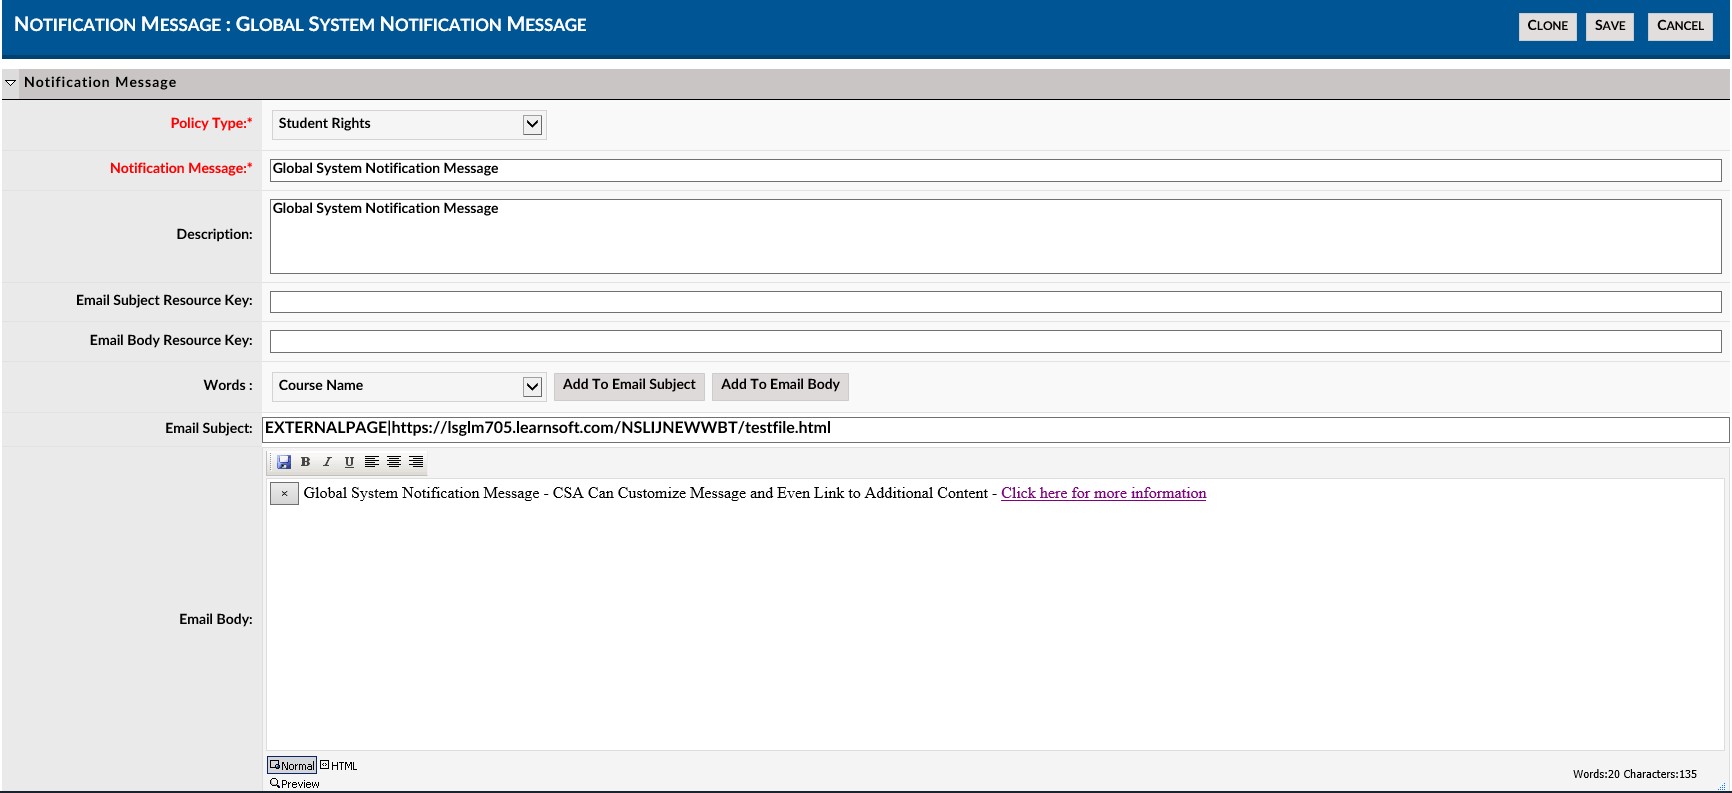
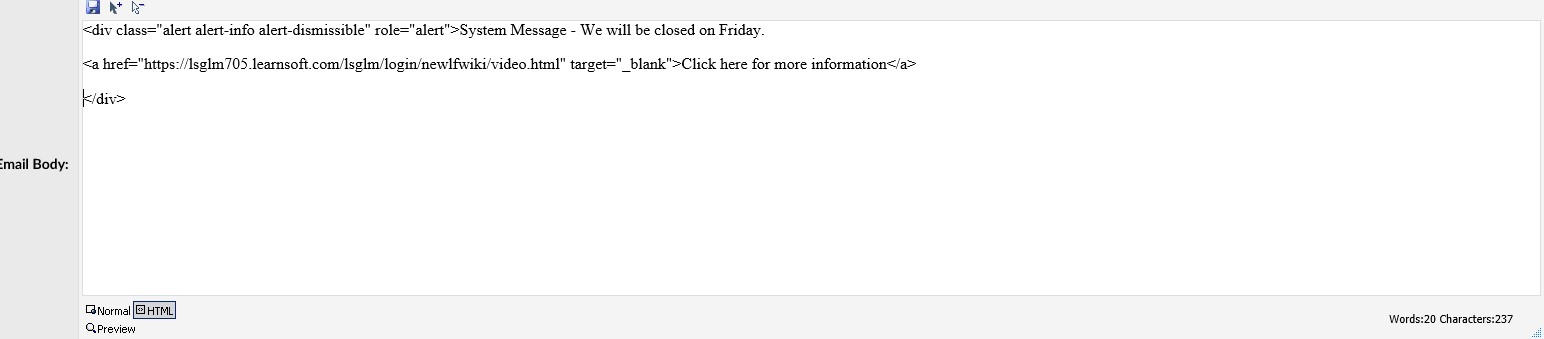
3. Navigate to the Email Body Section.
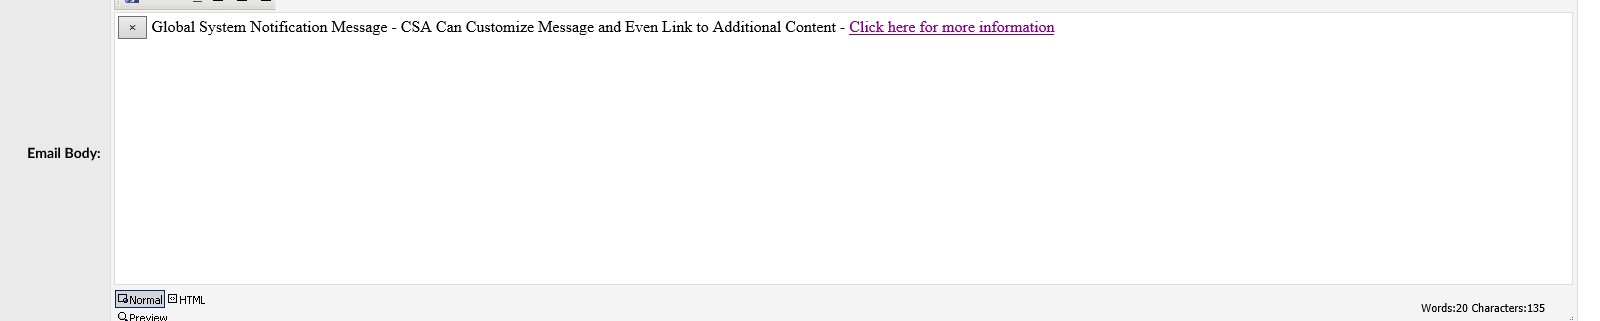
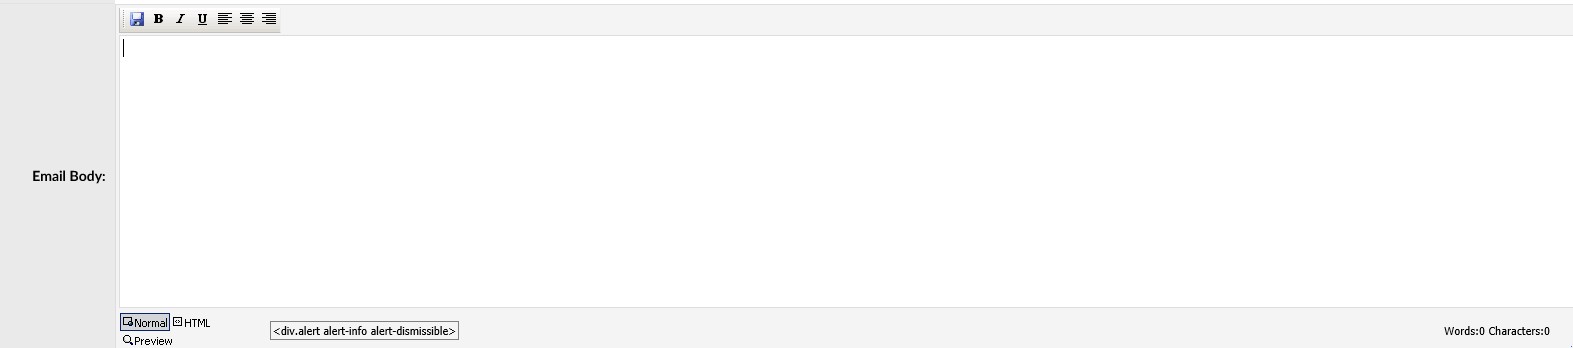
4. (Optional) if there is a current message and it will not be used, delete the message (e.g. select all the entered text / links in the Email Body textbox and click delete)
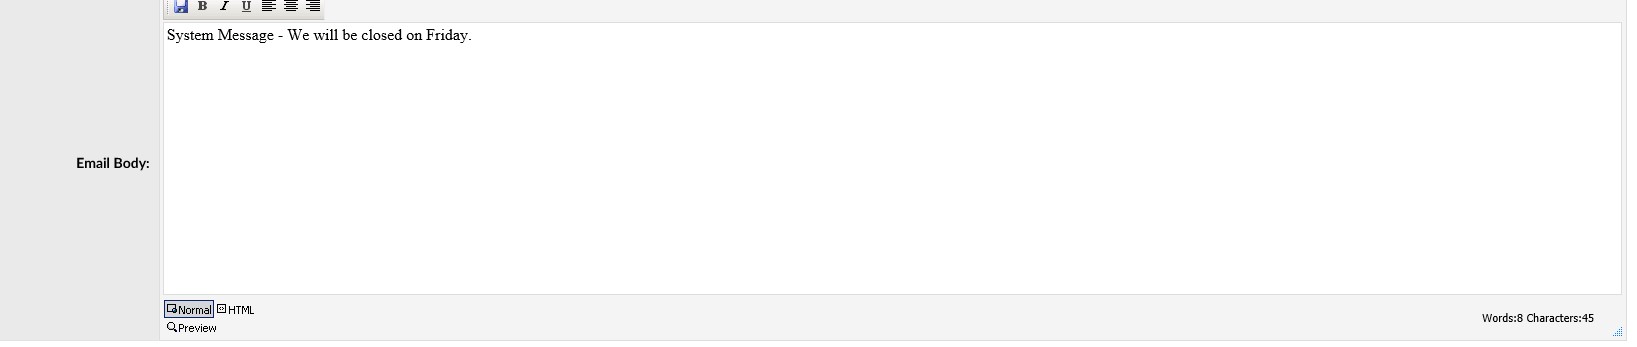
5. Enter the message you wish the user to see at the Top of the Page.
6. (Optional) If entering a link to an external page, use the HTML tab at the bottom of the Email Body section to enter the HTML Link and associated clickable reference text information. a. For example: https://lsglm705.learnsoft.com/lsglm/login/newlfwiki/video.html" target="_blank">Click here for more information
7. Click the Save button to save changes. The page will update and exit edit mode.

8. Return to simple view to preview.

How to Create a Global System Notification Message - OPTION 2 / AUTO-LAUNCH VIEWER:
1. Navigate to the Advanced View > Learning Objects> Notification Message Feature and lick on the row containing the Global System Notification Message (ID = 15) to bring up the Global System Notification Message Details Page (as detailed in a prior section)
2. Click the Edit button in the upper right hand Corner to enter edit mode.

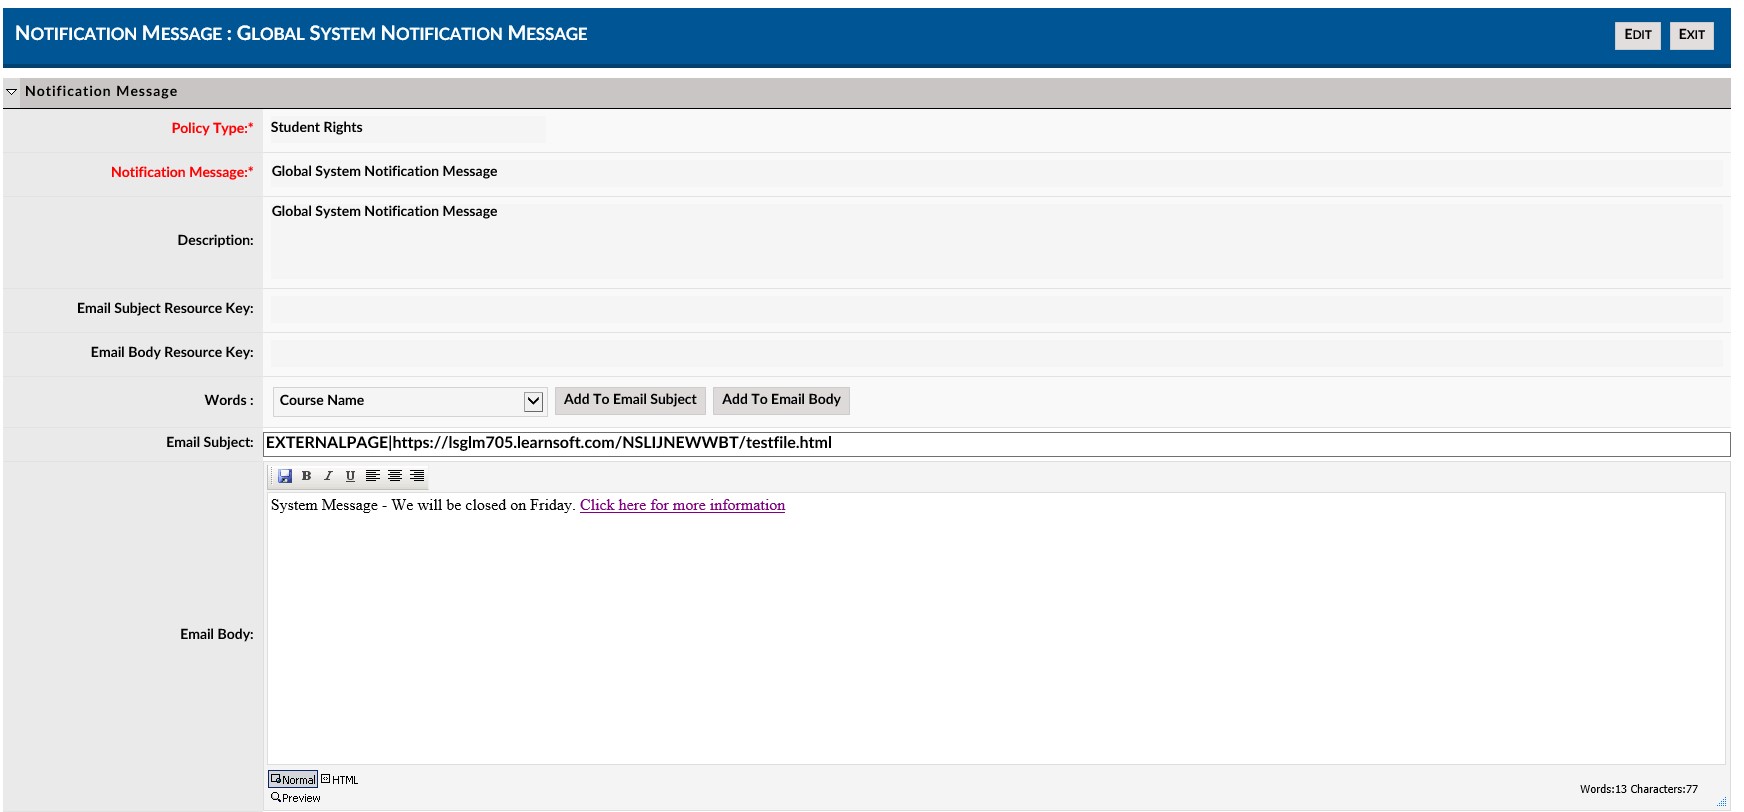
3. Navigate to the Email Subject Section.

4. (Optional) if there is a current link and it will not be used, delete the link, but keep the “EXTERNALPAGE|” Prefix. This is required.

5. Enter the https:// URL Link you wish to be loaded in the viewer.
NOTE: New Format for EXTERNAL LINK - Last Parameter is number of times popup to play -
EXTERNALPAGE|https://lsglm705.learnsoft.com/lsglm/login/testfile.html|1
a. REQUIRED - You must preface a link with “EXTERNALPAGE|” Prefix

NOTE: Make EXTERNAL LINK a RELATIVE Path if security issues pointing to fixed server- +++
(Note 5/30/2019 from Design) Team, I noticed that on some users/clients the popup window video doesn’t work sometimes. This may be because the video points to another server and it may bring conflicts for security reasons.If you are on production and point to a video that sits on sandbox, it wont show because of it sits on a different server.
Example, you are in production and indicate that the popup video is in https://lsglm705.learnsoft.com/LSGLM/Login/testfile.htm, this will give an error and show an eternally spinning loading screen.
What you should use in Email Subject instead is to give a ‘relative path’, meaning that you should use “../Login/testfile.htm” so it grabs the popup video from the same server.
Leave the Email Body as is, there is no issue with using different servers there since any link opens a new window.
6. Click the Save button to save changes. The page will update and exit edit mode.
7. Logout of the System. Login to preview. a. Note if link doesn’t work, recheck both the URL and ensure you have included the “EXTERNALPAGE|” Prefix

1. Navigate to the Advanced View > Learning Objects> Notification Message Feature and lick on the row containing the Global System Notification Message (ID = 15) to bring up the Global System Notification Message Details Page (as detailed in a prior section)

2. Click the Edit button in the upper right hand Corner to enter edit mode.

3. If wishing to turn off (inactivate) OPTION 1 / TOP OF THE PAGE message, navigate to the Email Body Section.

4. Delete the message (e.g. select all the entered text / links in the Email Body textbox and click delete)

5. If wishing to turn off (inactivate) OPTION 2 / Auto-Launch Viewer message Navigate to the Email Subject Section.

6. Delete the ALL the text in the Email Subject.

7. Click the Save button to save changes.
8. Preview / Log out as required to view updates.