Schedule Report - Admin Guide
SCHEDULE REPORT
Schedule Report - Overview
The Schedule Report Feature provides a means by which LMS Administrators can create reports which will be automatically emailed as attachments to Executives, Managers and selected others on a recurring basis allowing them to analyze Learning Object and User data for operational, decision making and compliance purposes.
Reports can be exported to standardized formats including PDF, Excel and Excel (data only) options. In the latter, they can be further sorted, filtered and manipulated using the power of Excel spreadsheets.
Additionally, the email message can be specifically customized by the creator, including allowing for the use of variables (e.g. Report Name) which will be generated at run time.
The Schedule Report Feature works in conjunction with the external Reports Web Service, which when activated, will daily (usually during non-business hours) generate and email scheduled reports.
- Please check with your project manager to see whether your Reports Web Service has been activated and scheduled.
A step-by-step process to schedule reports appears below.
Schedule Report – How to Guide
How to access the Schedule Report Feature
Scheduled Reports are only available to CSA’s (and designated Report Admins with Schedule Report rights). This section is easily accessed from both the advanced view dropdown tabs. To access the Schedule Report Section:
1. Use the Advanced View > Reports drop down menu to select the item Schedule Report.

2. This will bring up the Schedule report List, a listing of all reports which have previously been scheduled.

Scheduled Report List Columns
- ?– Checkbox to select specific report.
- Name – The name of the report
- Description – A description of the report (optional)
- Type (Date) – Indicates whether the scheduled frequency, (e.g. Daily, Weekly)
- Type (Format) – Indicates the report attachment type (e.g. PDF, Excel)
- View – A hyperlink allowing for instant viewing of the report using saved parameters without needing to enter additional selection data
- Delete (optional) – An optional column using the gear icon. A red (X) link will allow deletion of the report. This only applies to those with rights to delete reports.
Scheduled Report Search & Navigation
Depending on the number of reports, the list may require viewing several screens to find the particular report you are intending to use. To help speed this process up a number of navigation options have been added. These include:
- Clicking on the title bar of specific columns to sort by data in that column, (e.g. Name). o A single click will put items in ascending order. A second click will put items in descending order.
- Clicking on the individual letters of the Alphabet found using the search icon, will ensure only items whose name begins with that letter are shown o Click ALL to again show all items.
- Click on the previous and next links or corresponding arrows to scroll from page to page.
- Click on the search link, enter a name in the text search box and click the search link to bring up only items that match the search criteria. o Partial entries are allowed, for example, enter “comp” and “Completion reports” will be listed. o Make sure to click on the “clear” link to reset when doing a new search.
How to Create a Scheduled Report
Scheduled Reports are only available to CSA’s (and designated Report Admins with Schedule Report rights).
1. Navigate to the Schedule Report section.
2. Click the New button.

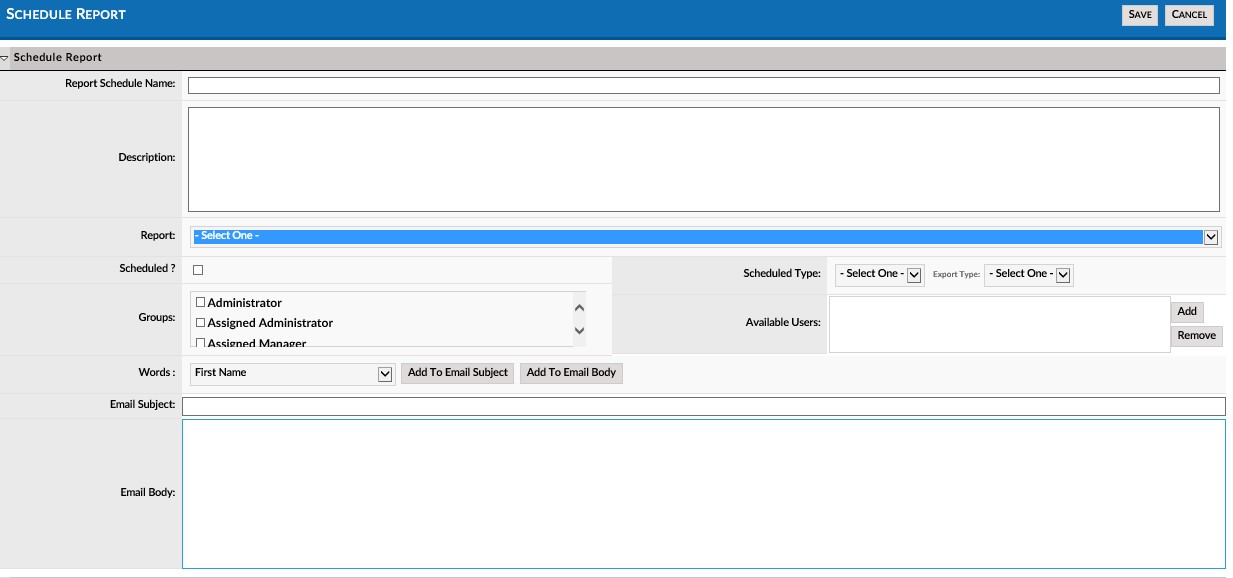
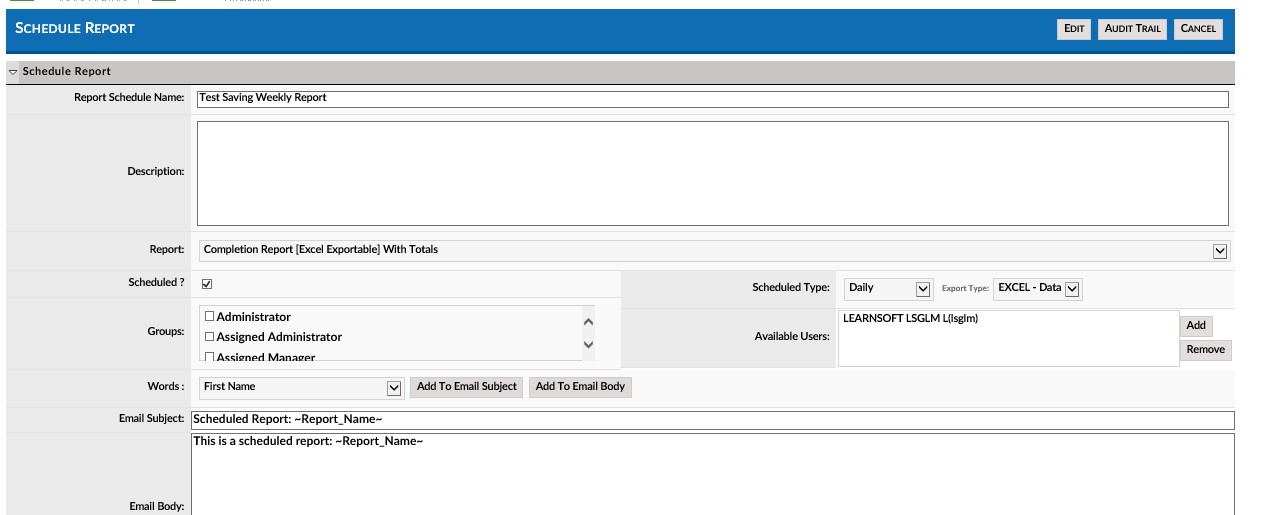
3. This will bring up a blank Schedule Report details page. There are generally 3 sections (details may differ depending on underlying report parameters):
a. Schedule Report Section - Controls the Report Scheduling / Distribution.
b. User Info Details - User and date filter options.
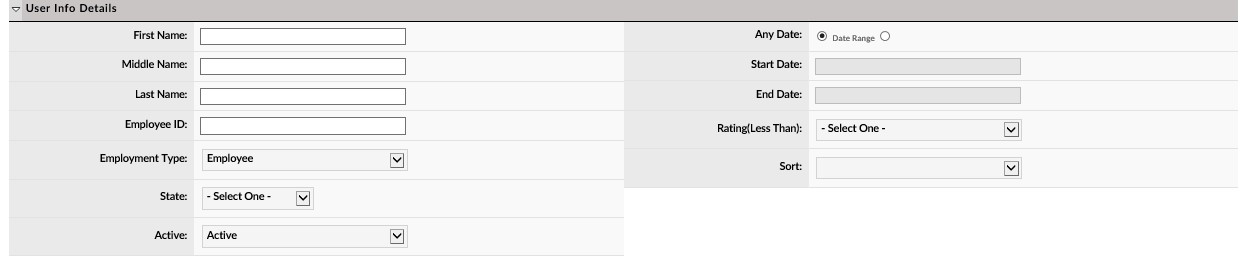
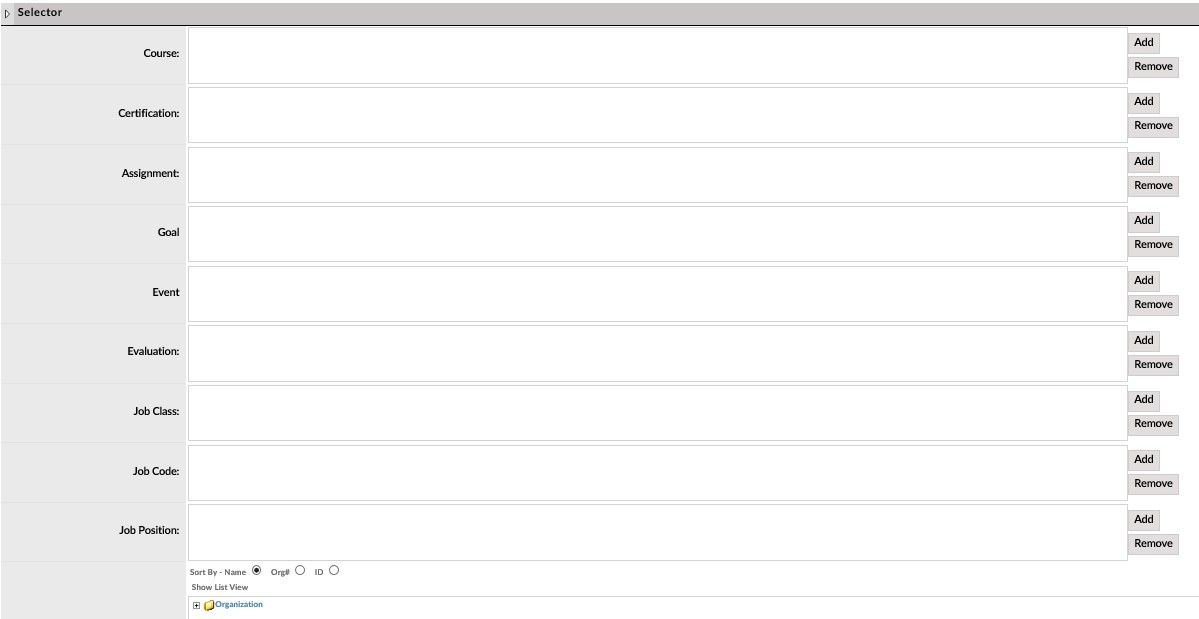
c. Selector - Learning object (e.g. Course, Certification), Job, Availability, etc. filter options.
- NOTE: Only the Schedule Report Section will be detailed in this document. For the other sections, see general REPORT Documentation.
4. Enter a name for the Scheduled Report in the Report Schedule Name text field. a. Optional - Enter a Description for the scheduled report. This will make it easier when reviewing and searching in the future.
5. Use the Report drop down to select a report you wish to schedule from the list of existing reports.


6. Select the Scheduling parameters
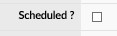
a. Click the Scheduled? checkbox if the report is to be actively scheduled and execute when the Report Service runs.
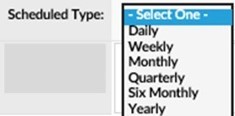
b. Use the Scheduled Type drop down selector to select the frequency of report creation / delivery (Daily, Weekly, Monthly, Quarterly, Six Month, Annually)
- Note: Non Daily selections run at predefined intervals, for example, Weekly, executes each Friday.
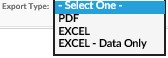
c. Use the Export Type drop down selector to select the report attachment export format (PDF, EXCEL, EXCEL - DATA ONLY)
7. Select the Recipient parameters: a. Groups - Select the LMS Group(s) to receive the report. Multi-selection is allowed.
- Note: Each individual will only see data results that is allowed by their specific group / availability rights (e.g. Division A Manager will see different data result set than Division B Manager result set)

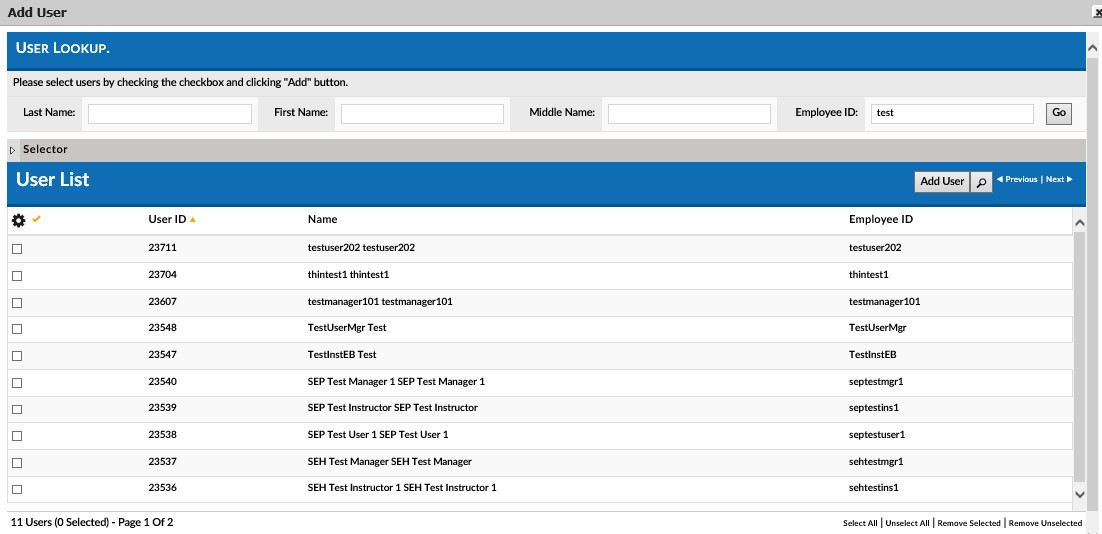
b. Available Users - Use the Add / Remove buttons to add specific users to the Recipient / Distribution list for the specific scheduled report.

- Use the Add User - User lookup popup and select desired users, click the Add User button to Add to Available Users.
8. Enter the email subject in the Email Subject text box.

a. Use the Words Dropdown / Add To Email Subject button if wishing to add variables to the email subject line that will update at runtime

9. Enter the email message in the Email Body text box.
Screenshot – Email Subject text box.
a. Use the Words Dropdown / Add to Email Body button if wishing to add variables to the email body will update at runtime

10. Select the Specific filters using the User Info Details and Selector sections. a. NOTE: Only the Schedule Report Section will be detailed in this document. For the User Info Details and Selector sections, see general REPORT Documentation.
- Only use filters that are available when creating the underlying report
11. Once all entries have been made and all filters selected, click the Save button.
12. The Schedule Report Page will be available in review mode. If wishing to Edit, click the Edit button. If wishing to Cancel and return to the Report List where this report will now be displayed, click the Cancel button.
How to Edit a Scheduled Report
1. Navigate to the Schedule Report feature / Schedule Report List.

2. Use the navigation, sort and search functions to find the desired report and click on the report Name to bring up the Schedule Report Details for the selected report.

3. Click the Edit button to enter edit mode.

4. Make necessary edits.
5. Click Save to retain edits or click Cancel to cancel changes and return to Schedule Report List.
How to Unschedule a Scheduled Report
1. Navigate to the Schedule Report feature / Schedule Report List.

2. Use the navigation, sort and search functions to find the desired report and click on the report Name to bring up the Schedule Report Details for the selected report.
3. Click the Edit button to enter edit mode.
4. Uncheck the Scheduled? Checkbox.

5. Click Save to retain change or click Cancel to cancel changes and return to Schedule Report List.
How to Delete a Scheduled Report
1. Navigate to the Schedule Report feature / Schedule Report List.

2. Click the Gearbox icon to bring up additional options.

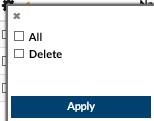
3. Select All or Delete and click Apply. The Delete column will appear to the far right.

4. Use the navigation, sort and search functions to find the desired report and click on the Red X in the row of the Scheduled Report you wish to delete. a. Note: Unlike other delete options, there may be no confirmation message and once click the item will be deleted.
5. The Scheduled Report will be deleted and the Schedule Report List will refresh to show the new listing minus the deleted report.