Groups - Admin Guide
Groups - Admin Guide
The LMS system uses groups and policies to define a role in the system. It uses the same functionality of the Windows authentication process to define access rights in the system.
By default all the users in the system belong to Student Group, and in addition, users can belong to extra groups like Manager, Instructor, Administrator, etc.
Each group has distinct policies and permissions assigned to it and users that are members of that group can view menu items, access screens and perform functions based on these policies and permissions (For details on adding policies to groups, see separate Policy Feature Guide).
Users can be assigned to more than one group and each group can be associated with the same or different divisions within the organizational structure.
By default the LMS system is loaded with a number of groups with predefined permissions to accomplish the most common tasks. CSAs can also add groups.
How to Access the Groups Feature
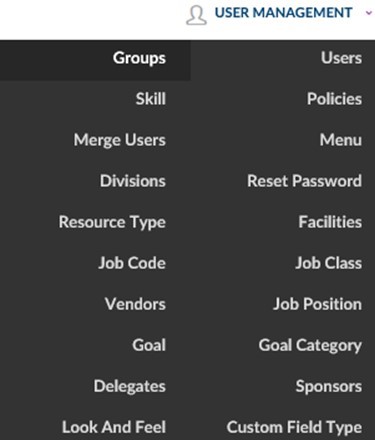
To access the Groups Feature, navigate to the Advanced View, hover over the User Management dropdown menu and select Groups.
This will bring up the Group List which provides a listing of all Groups that have been created in the LMS system.
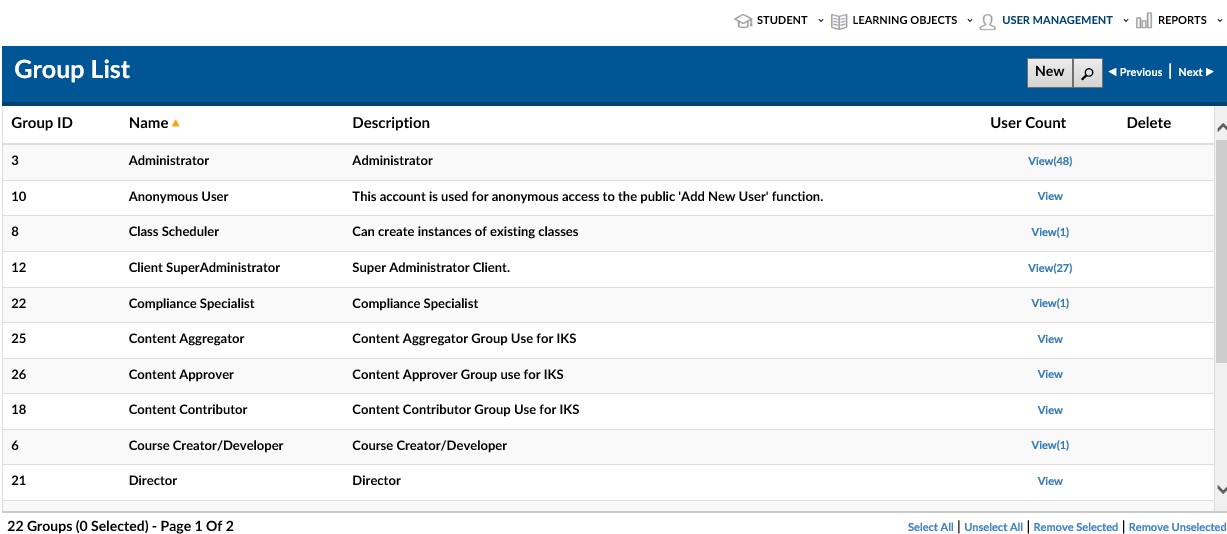
Explanation of Columns: Group List
- ID - LMS System generated ID based on order of creation.
- Name - Name of the Group.
- Description - Description of the group; sometimes lists group functionality.
- User Count - A View link and count of the number of users that have been associated with this Group
- Clicking on the View link will bring up a listing of users that are members of the selected group.

- Delete - Red (X) icon. If available and if clicked, it will ask for confirmation to delete a specific Group (As a precaution, this is disabled by default)
How to Add a Group
To add new group to the LMS system:
- 1 - In the Advanced View, hover over the User Management dropdown menu and select Groups.
- 2 - This will bring up the Group List.
- 3 - Click on the New Group button located in the upper right hand corner.

- 4 - This will bring up the New Group Screen.
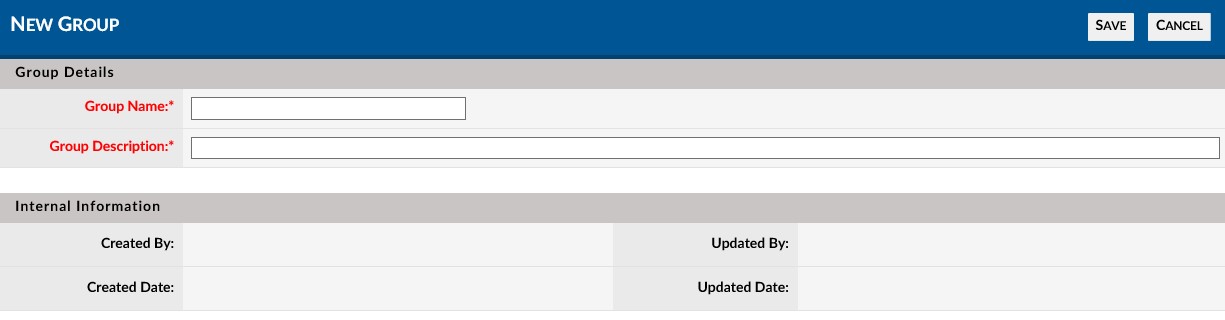
- 5 - Enter a name for the Group in the Group Name* field.
- 6 - Enter a description for the Group in the Group Description* field.
- 7 - Click the Save button in the upper right hand corner.
- If wishing to cancel, select the Cancel button.
- 8 - The screen will refresh and the new group with the saved information will be shown.

Screenshot 06 - New Group Screen with saved information
- 9 - Click the Exit button to return to the Group List, which now contains the New Group.
- If wishing to make changes, click the edit button and repeat steps 5-7 as desired.
How to Assign a User to a Group
Once you have created a group you can assign users to this group. This will give the user access to the policies enabled for this group.
To assign a User to a Group:
- 1 - Navigate to the Advanced View, hover over the User Management dropdown menu and select Users to bring up the User List.
- 2 - Use the sort, navigation and search functions to identify the particular User you wish to assign to a group.
- 3 - Click in anywhere in the row of the selected user to launch the User Details page for that specific User.
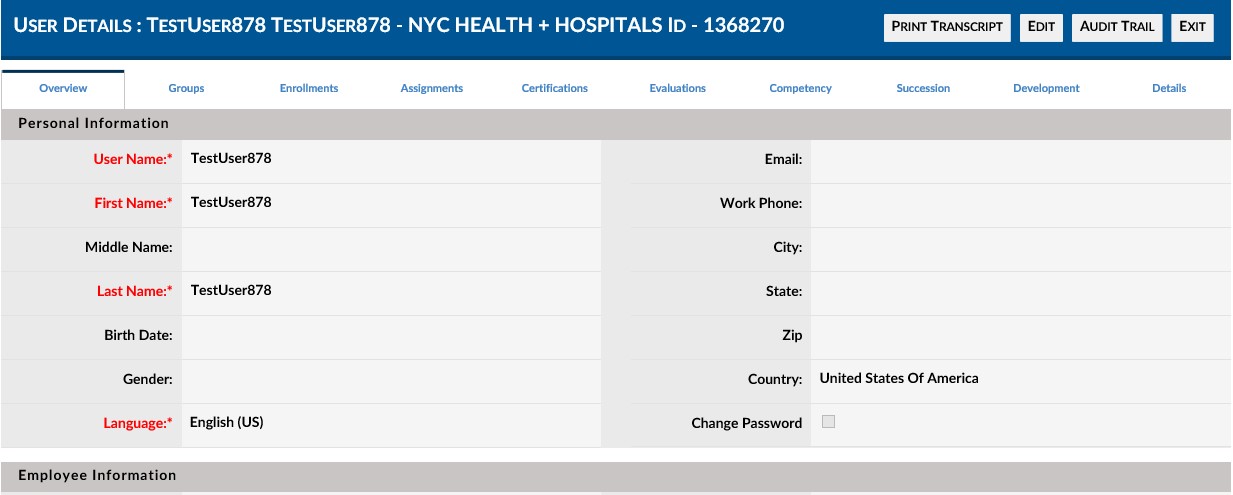
- 4 - Navigate to the Available Groups section of the User Details page.

Screenshot 08 - Available Groups Section / New Groups button
- 5 - Click the New Groups button to launch the Add UserGroup dialog box for the selected user.
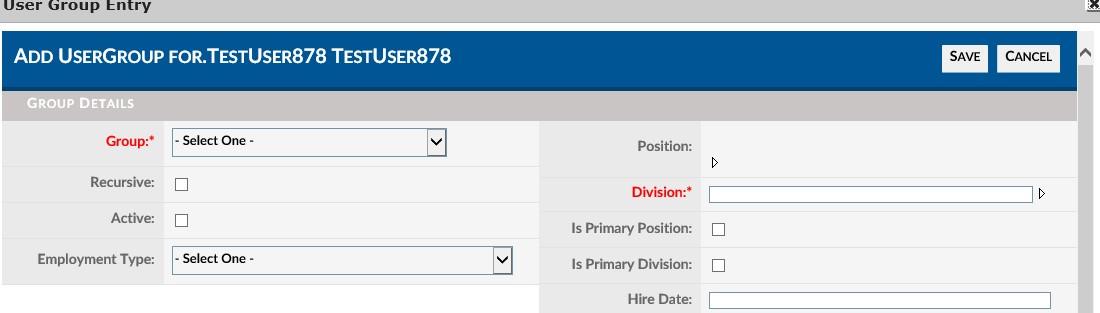
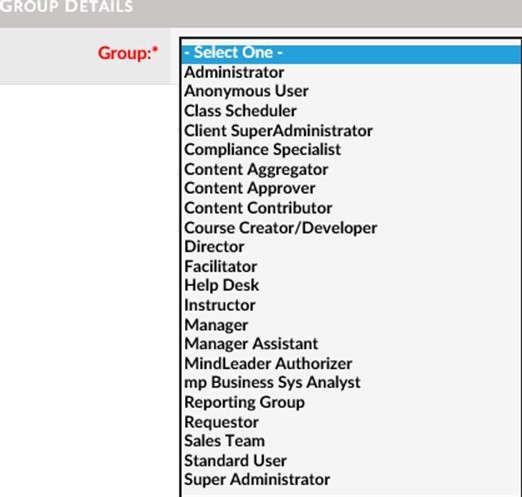
- 6 - Use the Group* dropdown menu to select from a group from the preexisting list of groups.
- 7 - Click on the arrow to the right of the Division* box to open the Division (Availability) Tree.
- Navigate the tree and select the appropriate Division.
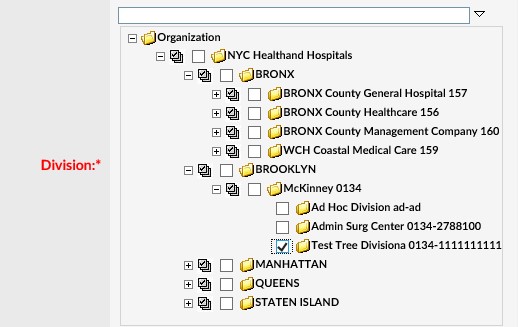
Screenshot 11 - Division (Availability) Tree.
- 8 - Select Active if wishing to make this Group association active.
- 9 - Make any additional optional selections as desired (See separate Users Feature Guide for detailed information on the options).
- 10 - Click Save to save the updated information.
- 11 - The dialog box will close and the user profile will refresh with the new information added.

- 12 - To edit a specific Available Group, select the edit (pencil) icon in the row of the desired group.