Goals - Admin Guide
SECTION 1: GOAL MANAGEMENT MODULE - OVERVIEW
The purpose of this manual is to guide administrator(s) on how to effectively use the Goal Management Module.
The Goal Management Module is part of the Talent Management Suite (TMS) of modules which extend the functionality of the existing Learnsoft Learning Management System (LMS).
The Goal Management Module allows assigned administrators (normally part of the HR function) to create goals that can be assigned and propagated throughout the organization. It also seamlessly integrates with the LMS to enable relevant training to be included in the performance management process.
Combined with the Performance Management Module, the system also provides a single dashboard to view, edit and complete forms and provides extensive reporting, assignment and notification features.
The Goal Management Module also provides for highly customizable manager utilization, including the capability to customize organizational goals to specific needs of their divisions / departments, as well as easily and quickly perform reviews, create and manage goals and view analytics and reports.
This guide will focus on the typical 3-step processes involved creating goals:
- Create Goal Ratings
- Create Goal Categories
- Create Goals
SECTION 2: GOAL MANAGEMENT MODULE - HOW TO GUIDE
How to Create Goal Ratings
Just like evaluations, goals use Ratings to measure performance. The Admin can utilize existing Ratings (steps 1-2 to view; then skip to next section) or create new Ratings (see below).
- 1 - To create new ratings use the Advanced View > Learning Objects dropdown menu and select Rating Type.
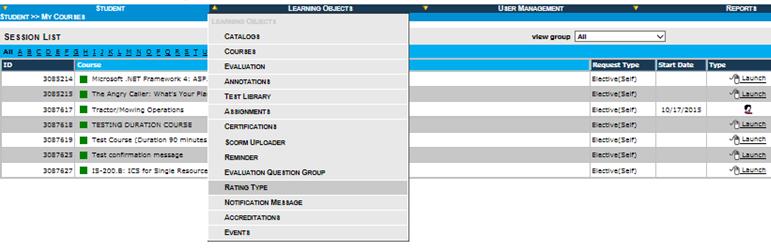
- 2 - This will bring up the Evaluation Rating List
- Goal Ratings are also created using this form.
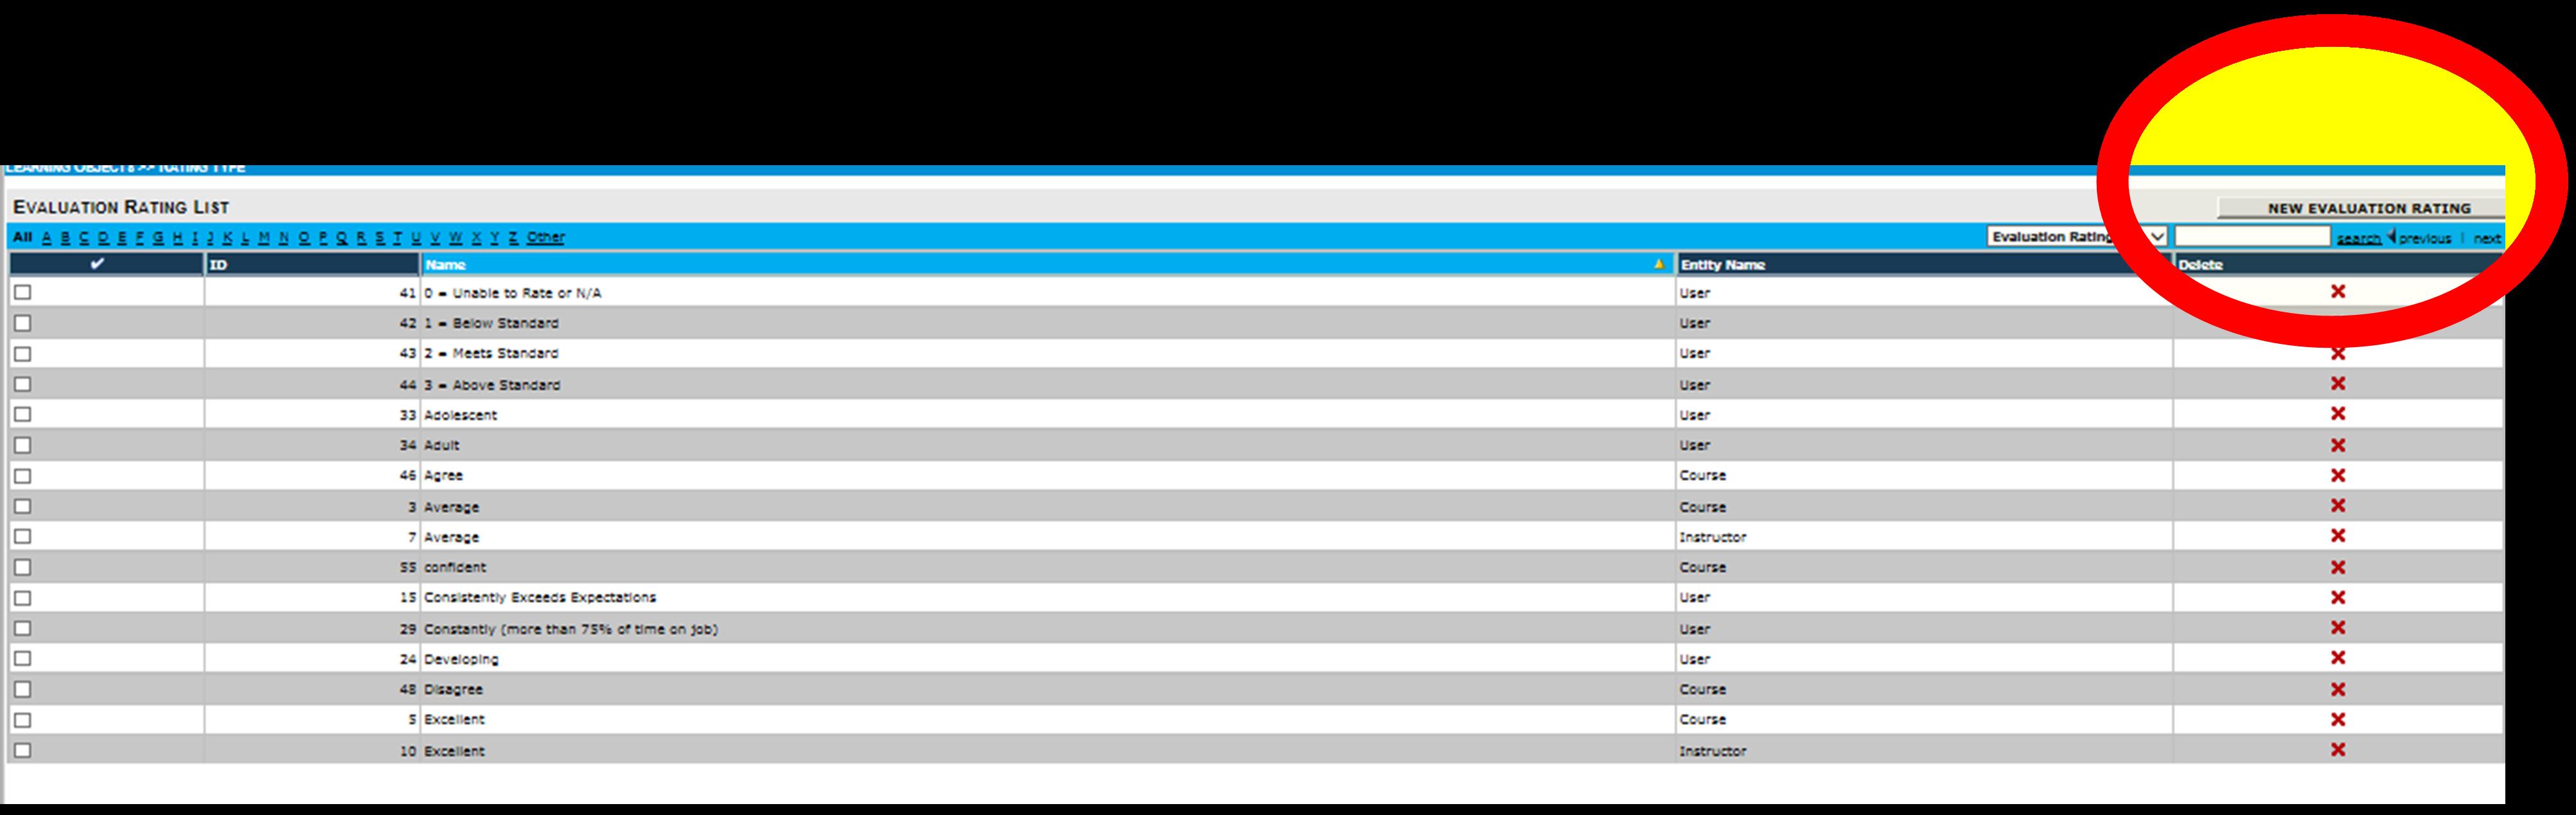
- 3 - To create a new Rating, click on the New Evaluation Rating button in the upper right hand corner of the Evaluation Rating List.
- 4 - This will bring up the Evaluation Question Group screen.

- 5 - In the field Evaluation Rating Name:*, enter a name for the Rating.
- This name will appear on Goal forms. (Examples include: Excellent, Satisfactory, Unsatisfactory, True, False, Agree, Disagree, 1- Poor, 2 - Average, 3 - Good, etc).
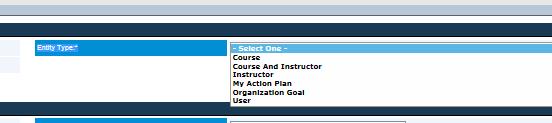
- 6 - Use the Entity Type:* dropdown box and select Organization Goal.
- 7 - Optionally- Add a value in the Score text box
- This will allow for numeric comparisons.
- 8 - Click Save to save the rating.
- 9 - Click Cancel to exit and return to the Rating List, now containing your newly saved rating
- (you may need to sort to see the rating if you have a long list)
- 10 - Repeat Steps 3 - 9 as necessary to enter all desired ratings to appear in the Goals section.
How to Create Goal Categories
Specific Goals can be tied to larger groupings called Goal Categories. The Admin can utilize existing Goal Categories (steps 1-2 to view; then skip to next section) or create new Goal Categories (see below).
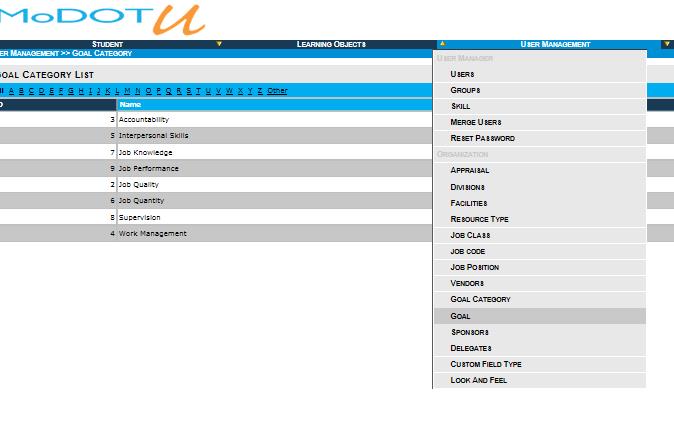
- 1 - To create new Goal Categories use the Advanced View > User Management dropdown menu and select Goal Category.
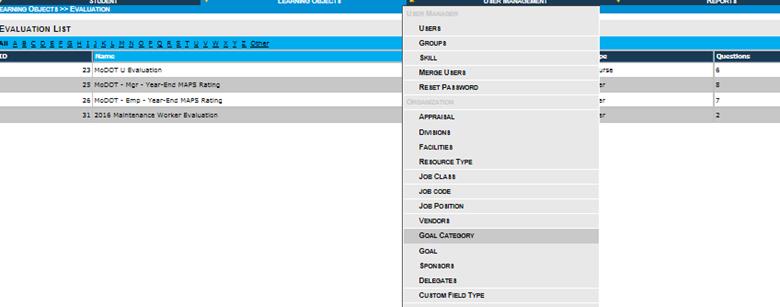
- 2 - This will bring up the Goal Category List.
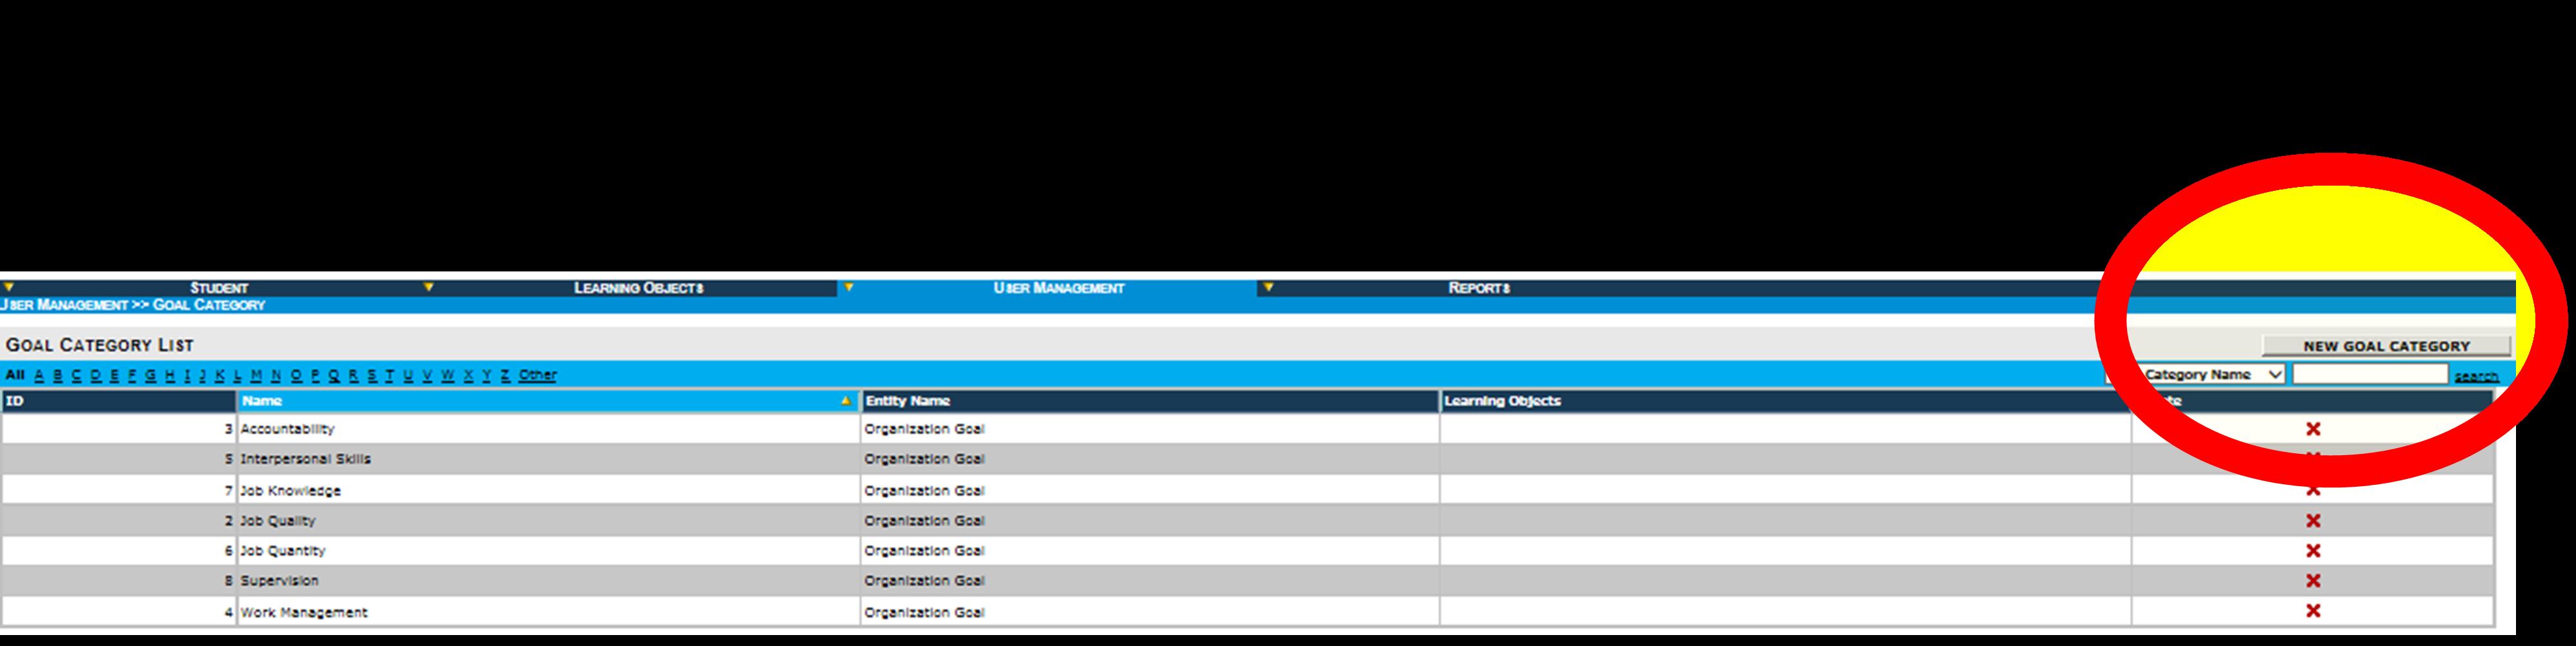
- 3 - To create a new Goal Category, click on the New Goal Category button in the upper right hand corner of the Goal Category List.
- 4 - This will bring up the Goal Category details screen.

- 5 - In the required and only field Goal Category Name:*, enter a name for the Goal Category.
- 6 - Click Save to save the new Goal Category.
- 7 - The page will refresh and a new section, Available Goal Learning Object will be added. This allows you to associate specific courses with this Goal Category.

- 8 - For now, click Cancel to exit and return to the Goal Category List, now containing your newly saved Goal Category
- You may need to sort to see the Goal Category if you have a long list.
- 9 - Repeat Steps 3 - 8 as necessary to enter all desired Goal Categories to be used in the Goal process.
How to Create Goals
Once your Goal Ratings and Categories have been created; you can create specific goals. To do so:
- 1 - Use the Advanced View >; User Management dropdown menu and select Goal.
- 2 - This will bring up the Goal List

- 3 - To create a new Goal, click on the New Goal button in the upper right hand corner.
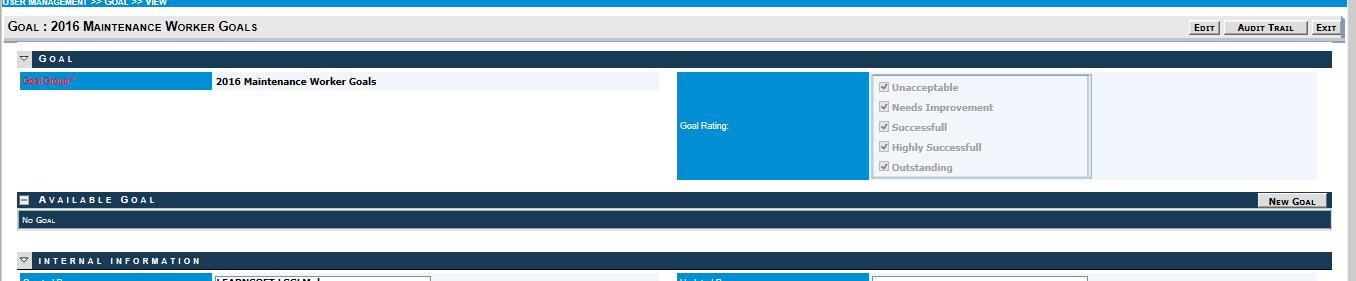
- 4 - This will bring up the Goal details screen (default view).

- 5 - Before entering individual goals, you will create a Goal Group. To do so, Enter a name in the Goal Group* Text box.
- 6 - Then select the ratings you wish to associate with these goals by clicking the desired checkboxes in the Goal Rating section.
- 7 - When complete click the Save button.
- This will cause the page to refresh with your selections added and with a new section visible: Available Goal.
- 8 - To add individual goals, Click the New Goal button at the top right of the Available Goal section.
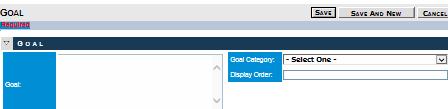
- 9 - This will launch the Individual Goal details page in a popup window.
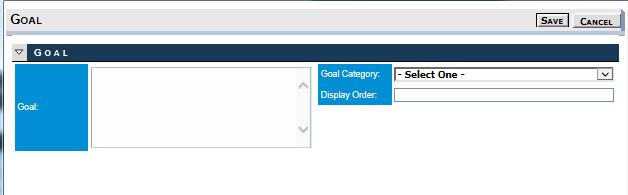
- 10 - In the text box Goal, enter the text for a Goal.
- 11 - In the Goal Category Dropdown box, select the category to which this goal applies from the prepopulated list you created earlier.

- 12 - In the Display Order field, enter the order in which this goal should appear.
- For example, if creating 5 goals and you want this to appear first, enter 1.
- 13 - Click the Save button to save the goal.
- This will close the individual goal popup and return you to the Goal details page, with the new goal added to the section Available Goal.

- 14 - Repeat steps 8 - 13 to add all individual goals associated with this new goal.
- For the second goal onward, a new Save And New button will appear in the individual Goal popup screen. You can use this to more quickly enter goals without having to return to the Goal details page.
- 15 - When all individual goals have been entered and saved, click the Exit button to return to the Goal List. Your new goal will appear (as will the numeric count of individual goals associated with this goal)

- 16 - Repeat steps 3 - 15 for all Goal listings required by your organization.
NOTE: Each Organization will approach the creation of goals differently. For example, one organization may set up a single list of all Master Organization Goals to propagate (cascade) down and allow each level to edit / remove goals as necessary for different departments / positions, while another organization might choose to set up separate goals for each different type etc.