Divisions - Admin Guide
Divisions
Divisions are created as part of the organizational structure during the initial setup of the LMS system. It can be modified at a later stage, but this function is reserved for Learnsoft’s developers.
Divisions are updated automatically as part of the daily User Import Service where the latest organizational HR / ERP data is imported into the LMS system. Administrators, however, do have the capability of adding and editing these items directly.
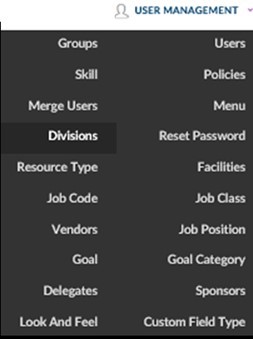
To access the Divisions Feature, navigate to the Advanced View, hover over the User Management dropdown menu and select Divisions.
How to Access the Divisions Feature
To access the Divisions Feature, navigate to the Advanced View, hover over the User Management dropdown menu and select Divisions.
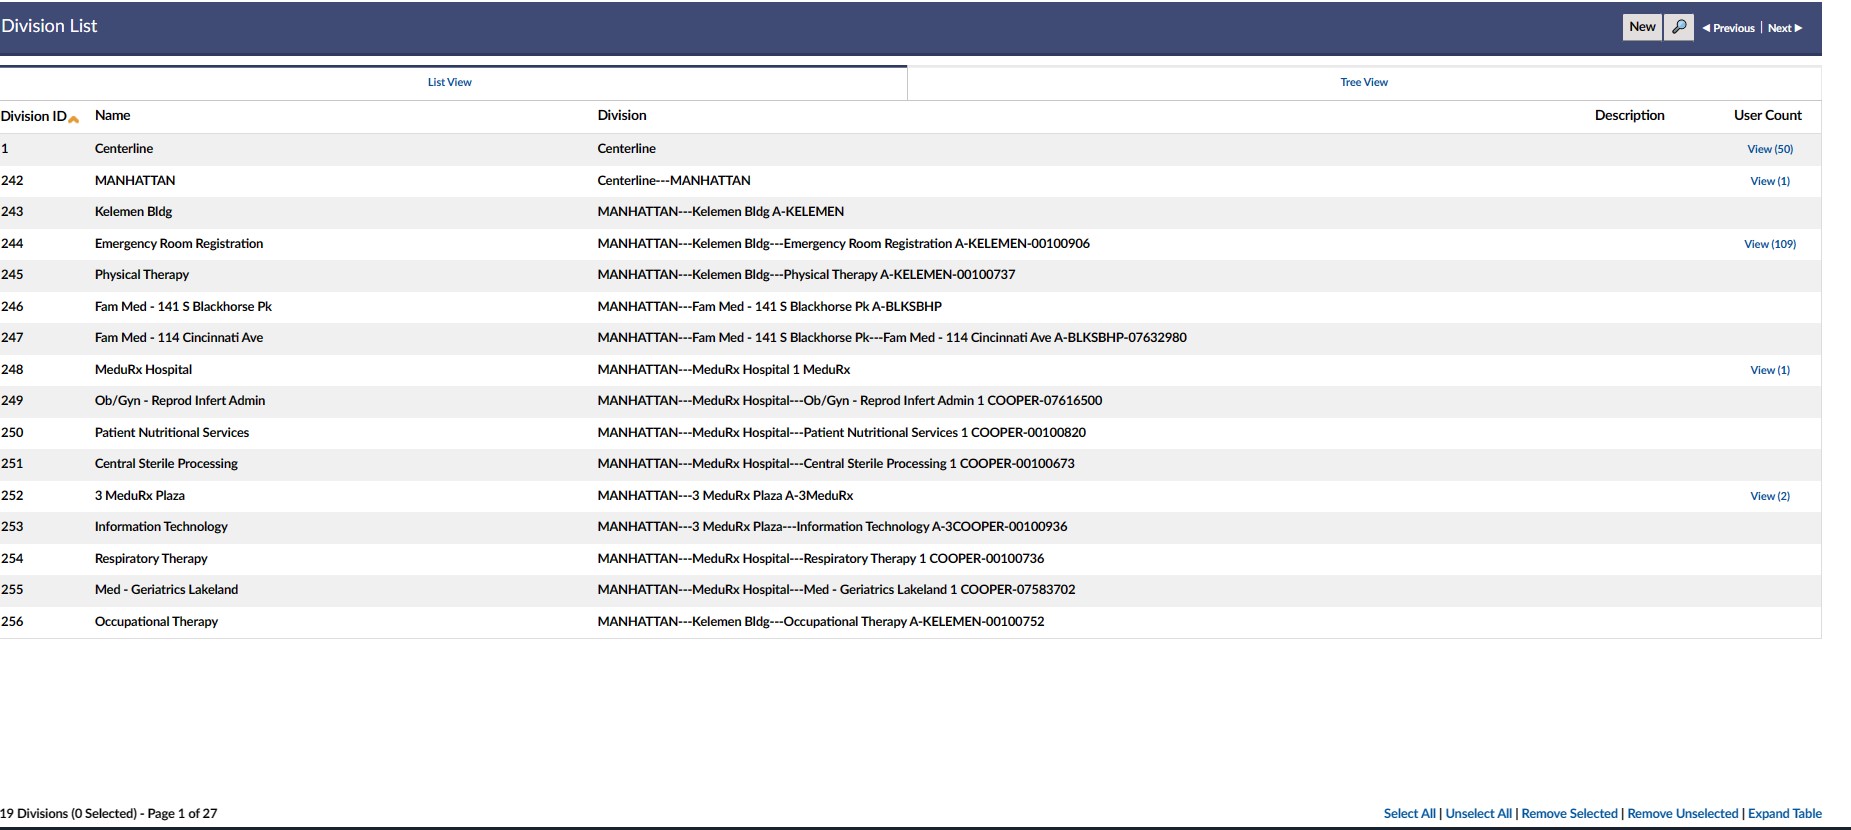
This will bring up the Divisions List which provides a listing of all Divisions that have been created in the LMS system. By Default the List View subtab, which displays in list form will be shown.
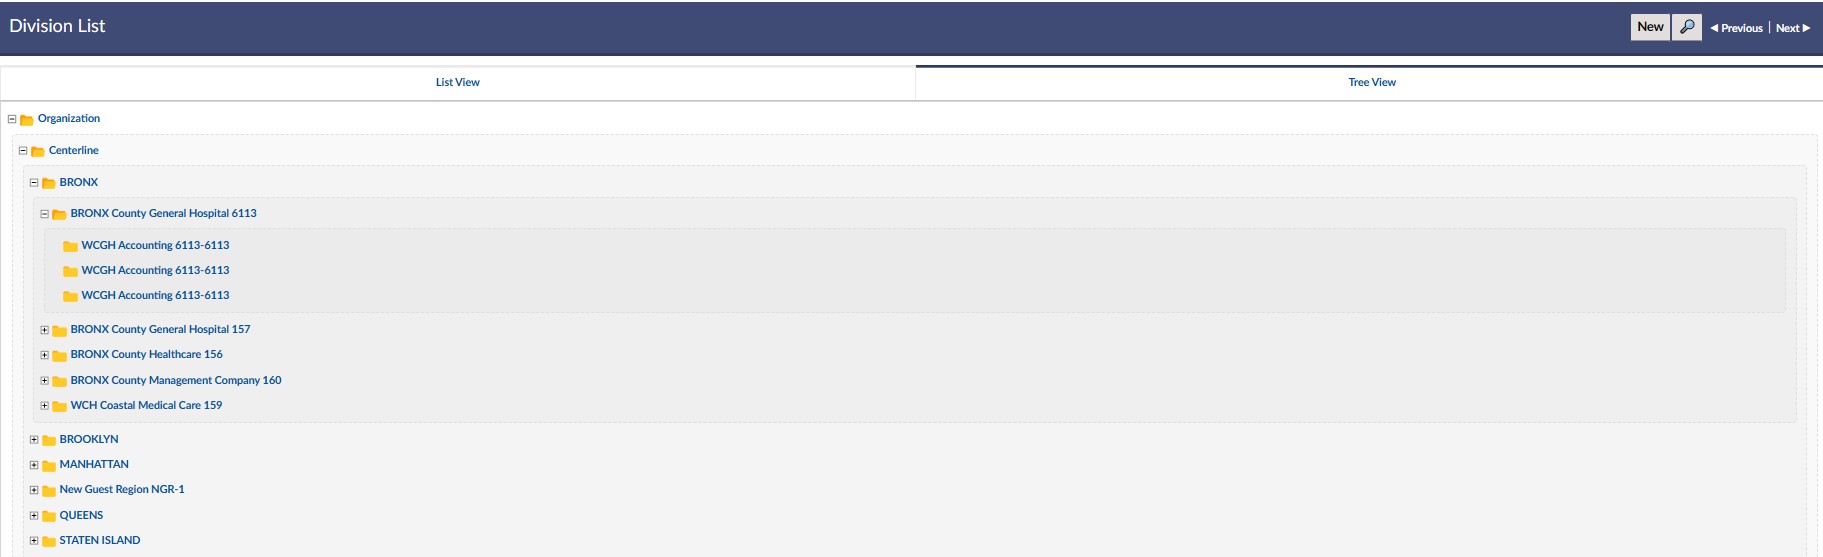
Click the Tree View subtab if wishing to see the division tree structure in file / graphical format.

Use the + / - links to expand and contract the graphical view.
Explanation of Columns: Divisions List
- - Column of checkboxes allows selection of single or multiple divisions.

- ID – LMS System generated ID based on order of creation.
- Name – Division name as entered by the creator.
- Division – Division path.
- Description – Description.
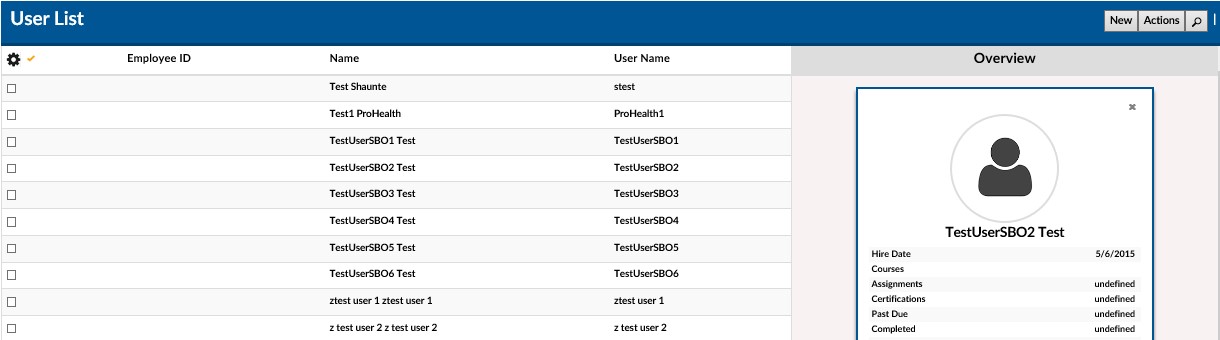
- User Count – A listing of the number of users that have been associated with this Division
- Clicking on this link will bring up the User list with a listing of the associated Users.
- Delete – Red (X) icon. If available and if clicked, it will ask for confirmation to delete a specific Division.
How to Add a Divisions
To add a new Division:
- Click the New Divisions button in the upper right hand corner of the Divisions List.
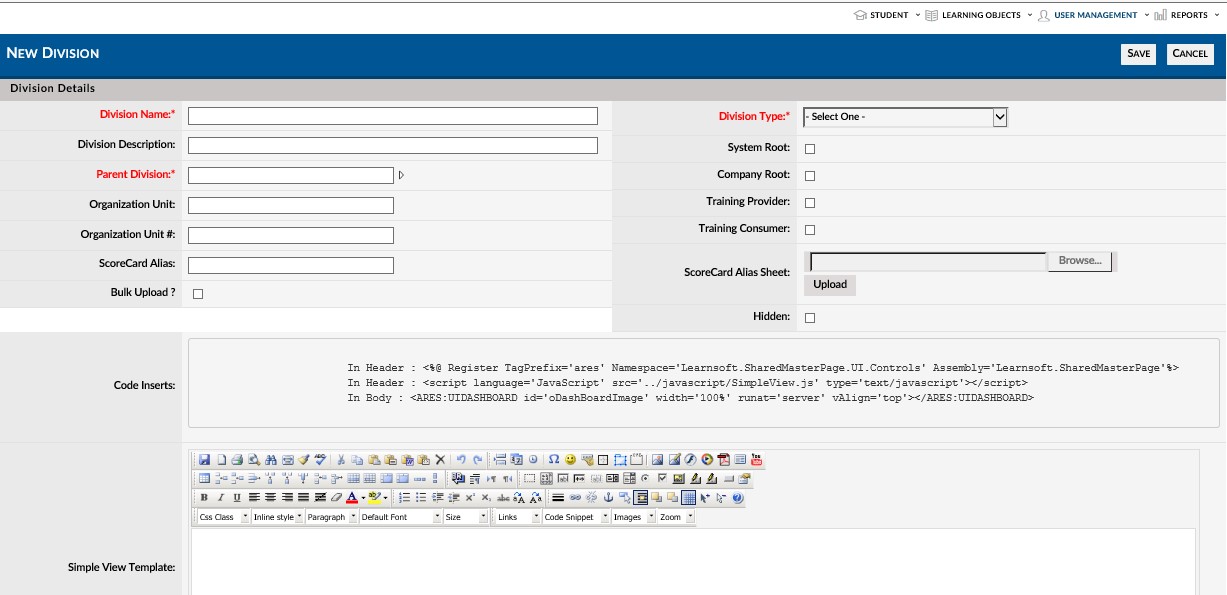
- This will load a blank Divisions Details page.
Explanation of Columns: Divisions List
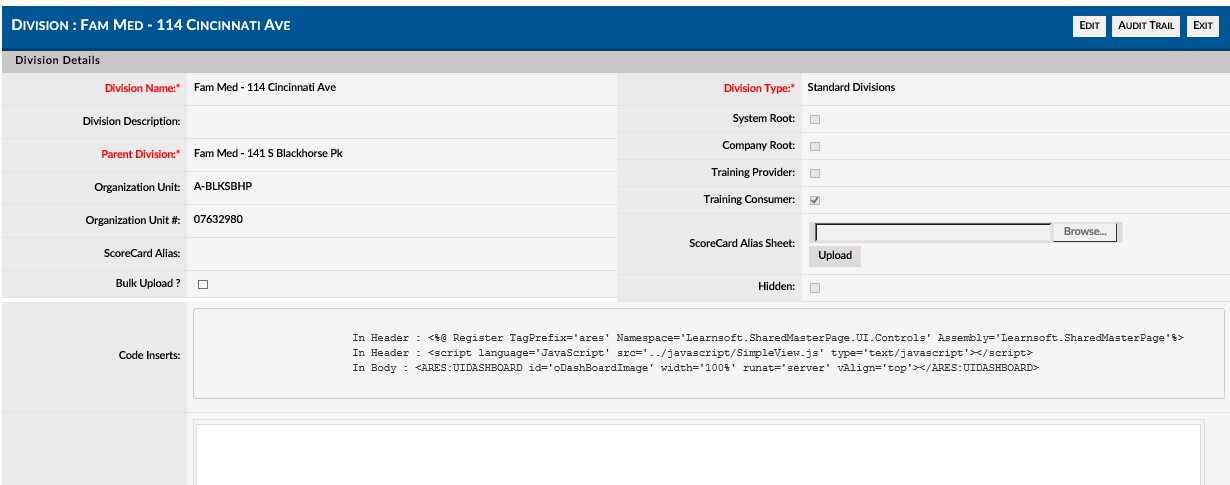
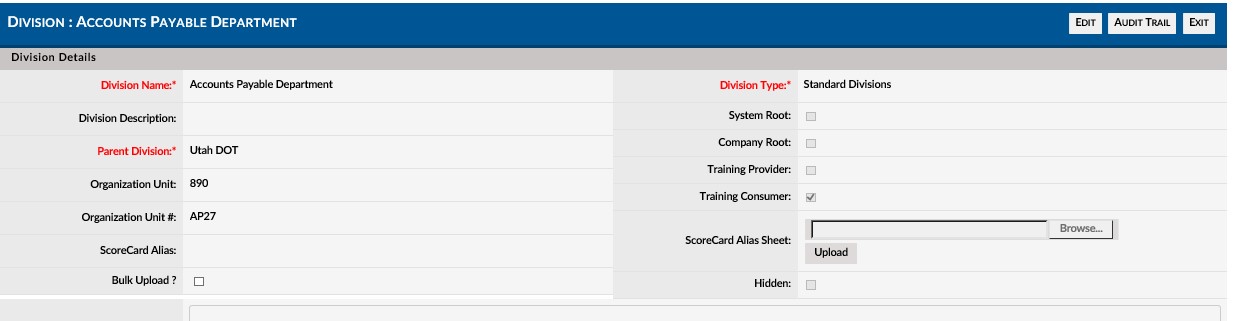
- Divisions Name* – Divisions name as entered by the creator.
- Division Description – A description of the division.
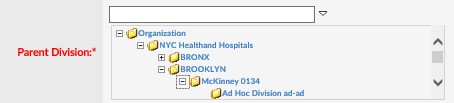
- Parent Division* – Parent of new division.
- Clicking will launch the Parent Division / Availability tree allowing selection for a windows like tree structure.
- Organization Unit: – Unit field of the division defined in HR system.
- Organization Unit #: – Unit number field of the division defined in HR system.
- Score Card Alias – Weighting assigned to this group
- Bulk Upload – Checkbox, if selected
- Score Card Alias Sheet –
- Use the Browse button to locate the file. Click the Upload button to upload.
- DivisionsType* – Dropdown selection (Training Vendors, Standard Divisions, Training Facilities, Root Divisions)
- System Root: – Is this division a system root? Yes, if checked.
- Company Root: – Is this division a company root? Yes, if checked.
- Training provider: – Is this division a training provider for the organization? Yes, if checked.
- Training Consumer: – Is this division a training consumer for the organization? Yes, if checked.
- Code inserts –
- Simple View Template –
(*) Required
- Enter a Divisions Name.
- Navigated the Parent Division Tree and select the parent division.
- Select a Division Type from the Dropdown box.
- Click the appropriate checkbox if a system root, company root, training provider and training consumer.
- Enter any additional information as desired.
- Click the Save button.
- The new Divisions will be saved and Divisions Details Screen will reload with the updated information.
- If wishing to make changes, click the Edit button.
- To return to the Divisions where the new Divisions will now have been added, click Cancel.
How to Edit a Division
To edit an existing Division:
- Navigate to the Advanced View, hover over the User Management dropdown menu and select Divisions to bring up the Divisions List.
- Use the sort, navigation and search functions to identify the particular Division you wish to edit.
- Click in anywhere in the row (between the division ID and the description column) of the Division you wish to edit to launch the Divisions Details page for that specific Division.
- Click the Edit button in the upper right hand corner to enter edit mode.

- Make the required edits.
- Click Save to save the updated information.
How to Delete a Division
Note: Depending on system set-up, not all Divisions may be deleted. It is also not recommended to delete Divisions unless you are sure this will have no impact to users and reporting.
To delete an existing Division:
- Navigate to the Advanced View, hover over the User Management dropdown menu and select Divisions to bring up the Divisions List.
- Use the sort, navigation and search functions to identify the particular Division you wish to delete.
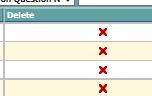
- Click on the red (X) in the far right Delete column of the row of the Division` you wish to delete.
- A message box will popup asking you to confirm deletion.
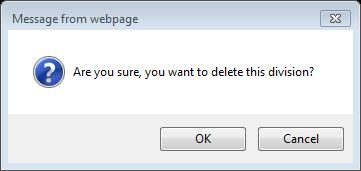
- Click OK to delete (or click Cancel to cancel the deletion).