REPORT DESIGNER - QUICK START GUIDE
Creating a simple report using Report Designer Wizard
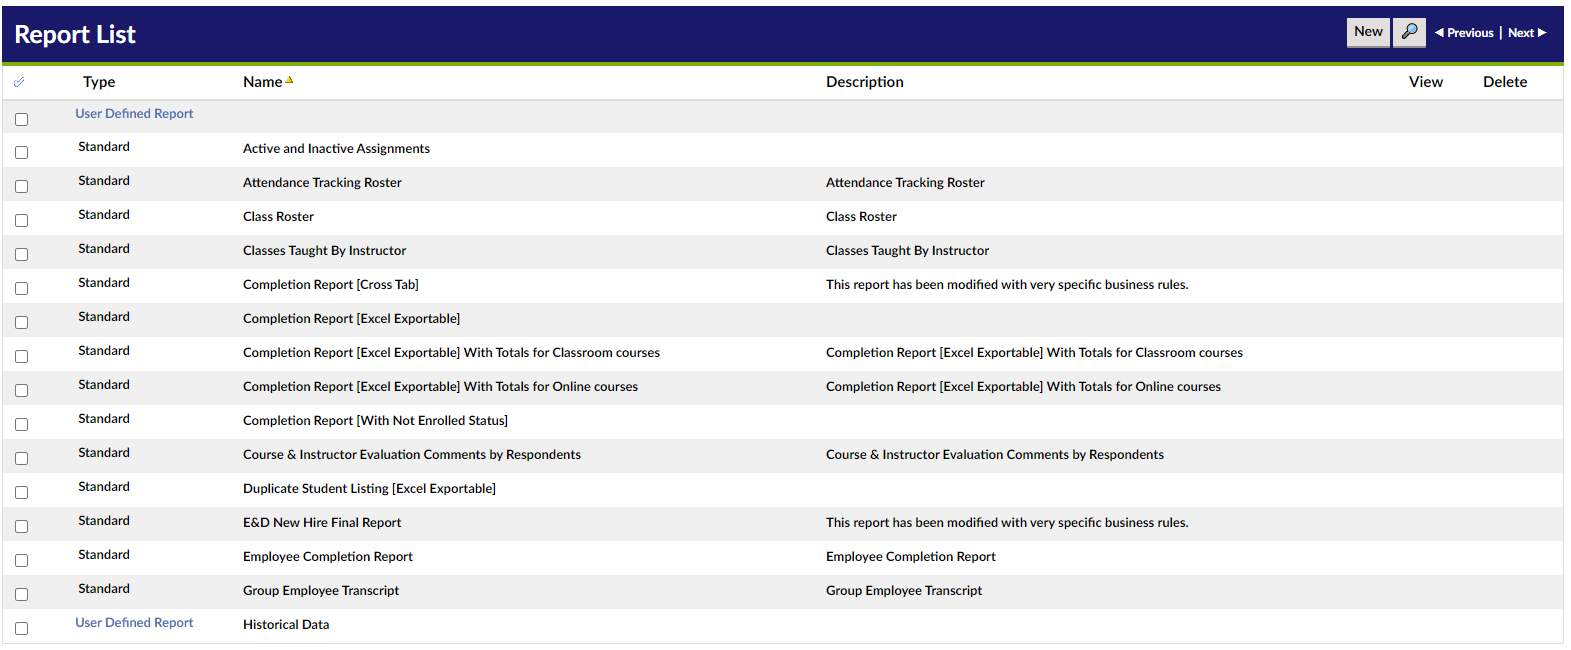
1. Navigate to Advanced View > Reports > Reports.
a. This will bring you to the report list
2. Click on the New Report Button
a. This will bring you to the Report – Basic Setup page
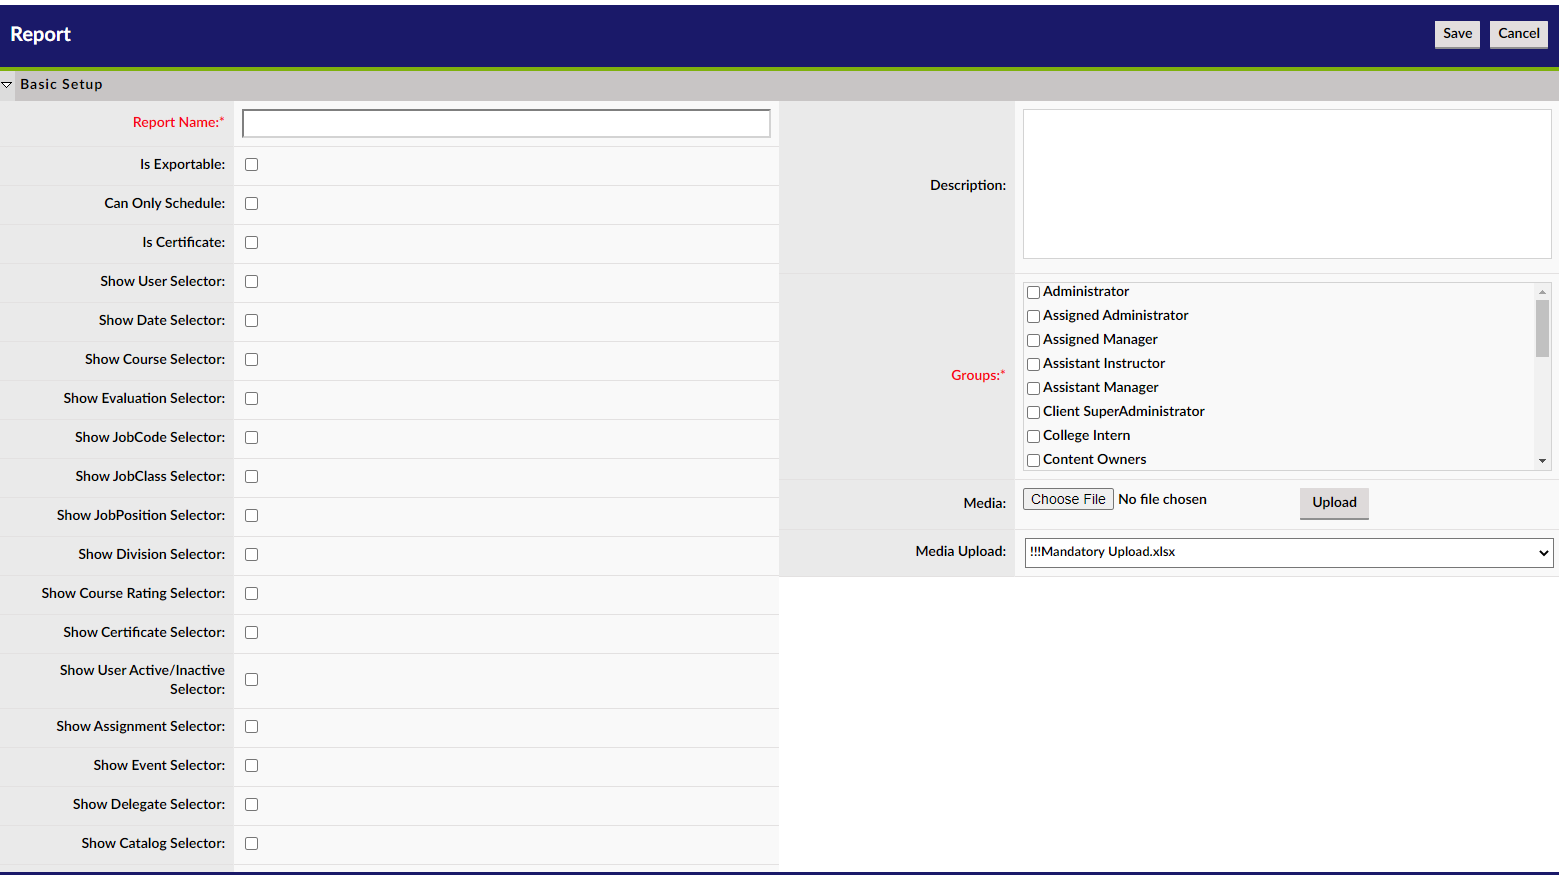
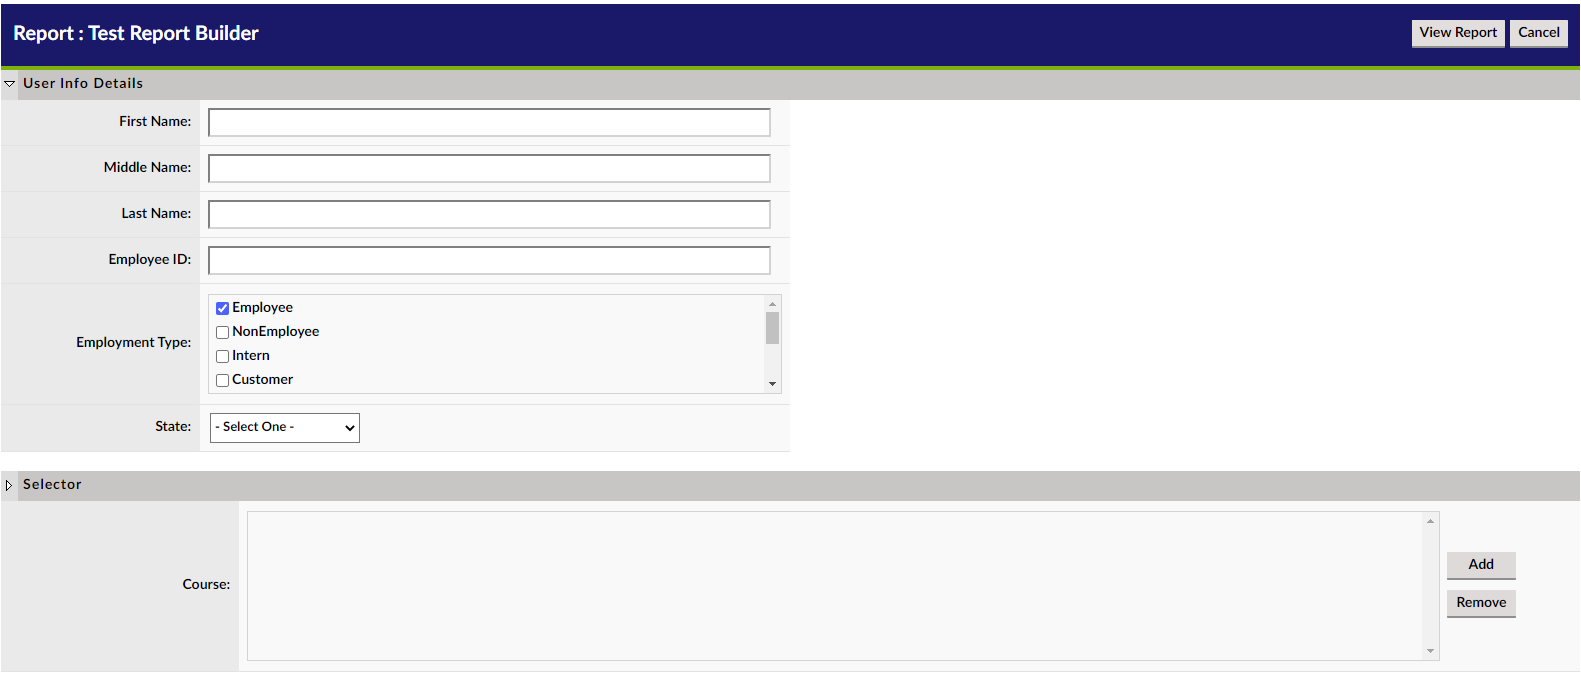
3. Enter a Report Name and select a Group to view the report
a. For this sample, I will call it “Test Report Builder” and select Client SuperAdmin
4.Choose other parameters, for example selectors (filters)
a.For this sample, I will simply select user selector and course selector NOTE: YOU MAY WANT TO SELECT SELECTORS AFTER DESIGNING REPORT
5. Click Save to Save the report
6. Click the Design Report button which should be visible after saving.
a. This should launch the report designer
-

Image title
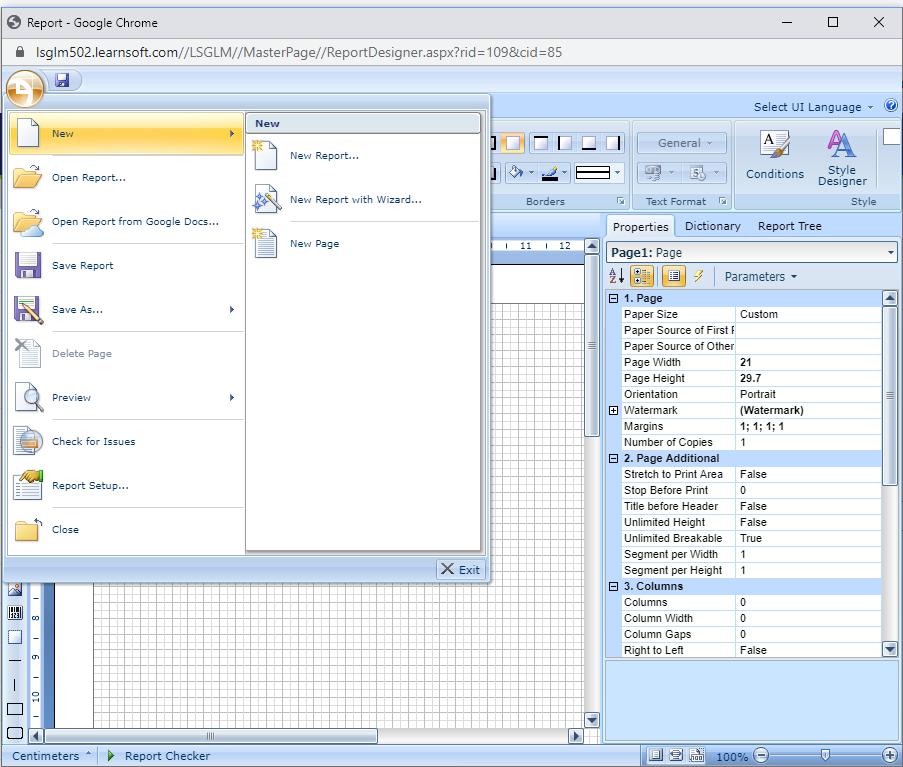
7. Click the Round Button / Icon in the upper left hand corner a. This will give you file menu options
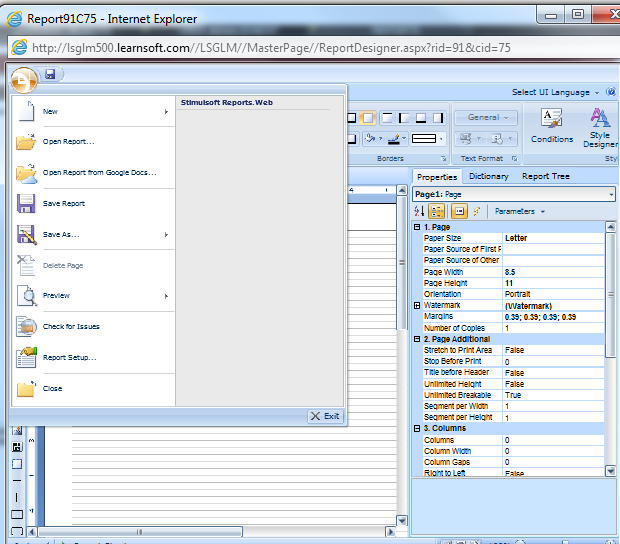
8. Select New > New Report with Wizard
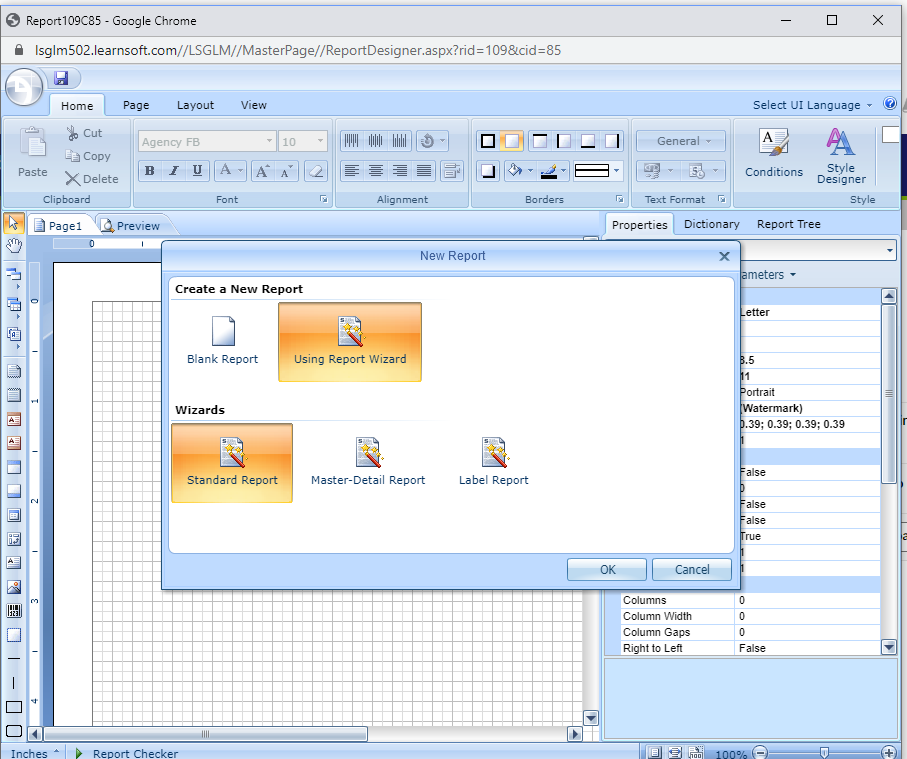
9. For now select Standard Report
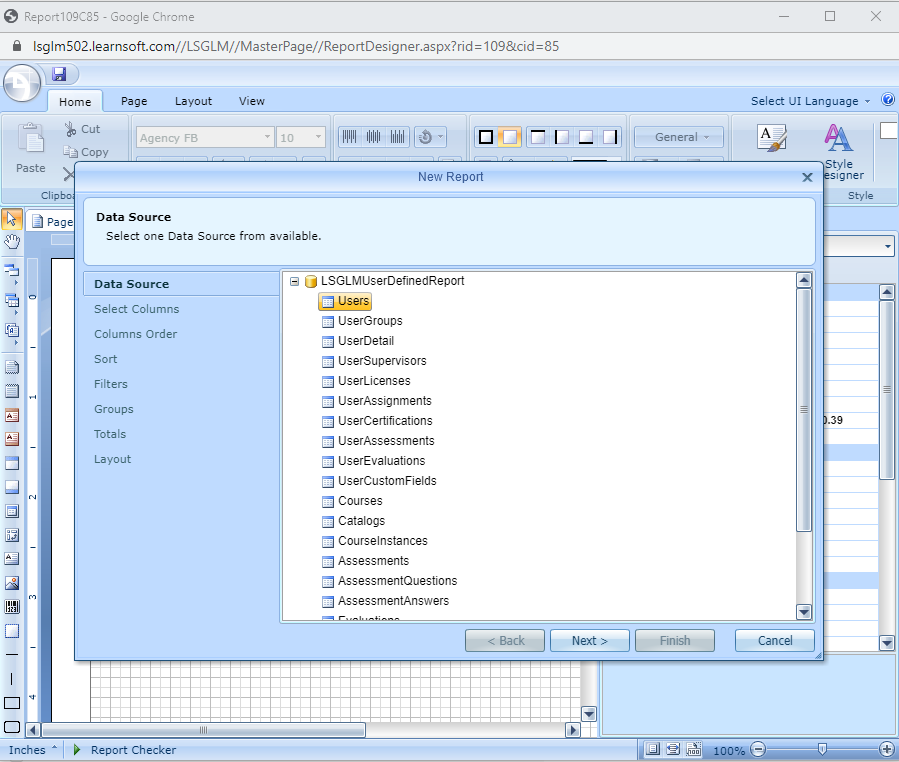
10. A list of data sources should pop up, for now click on Users and then click the Next button
11. This should bring up a list of columns from which to select.
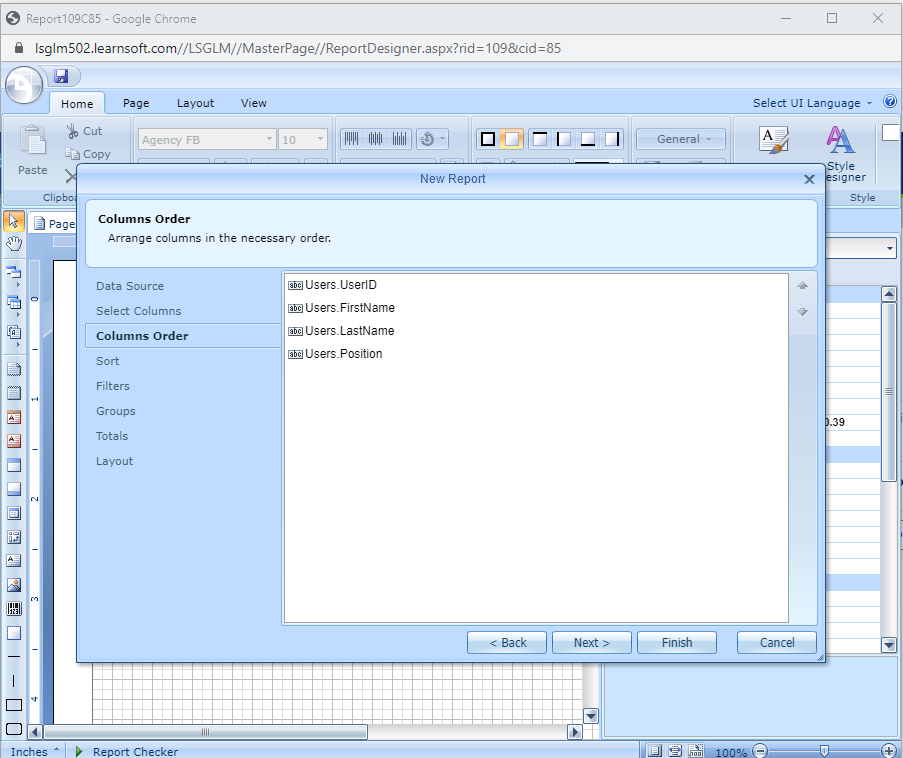
12. This will bring up the columns order, for now leave as is and just press Finish
13. This will bring up a preview of the layout.
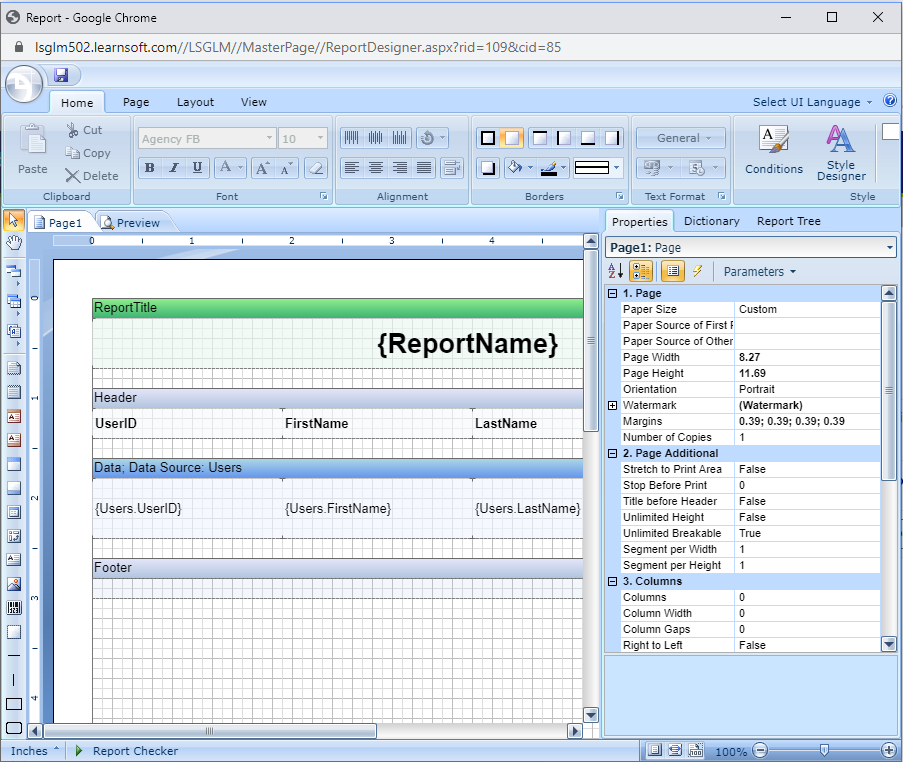
14. Click the save icon in the upper left corner.
15. Exit and Run the report
a. Enter - Enter info in a selector, eg. First name = “John”
16. Click View Report